Imagine stepping into your backyard and being greeted by a charming garden shed that not only stores your tools but also elevates your outdoor space’s aesthetic appeal. Whether you’re a beginner eager to dip your toes into the world of DIY or a seasoned homeowner looking to revamp your garden’s charm, “10 DIY Garden Shed Ideas You’ll Love” is your golden ticket to transforming your outdoor area into a personal oasis.
With this guide, you’ll discover the joy of creating a beautiful, functional space that reflects your unique style and meets your practical needs. Each idea is crafted to boost your confidence and inspire creativity, ensuring you find a project that fits your skill level and enriches your outdoor living experience. Dive in and unlock the potential of your backyard, where every project is a step closer to the outdoor haven you’ve always envisioned.
Maximize Space With Vertical Storage
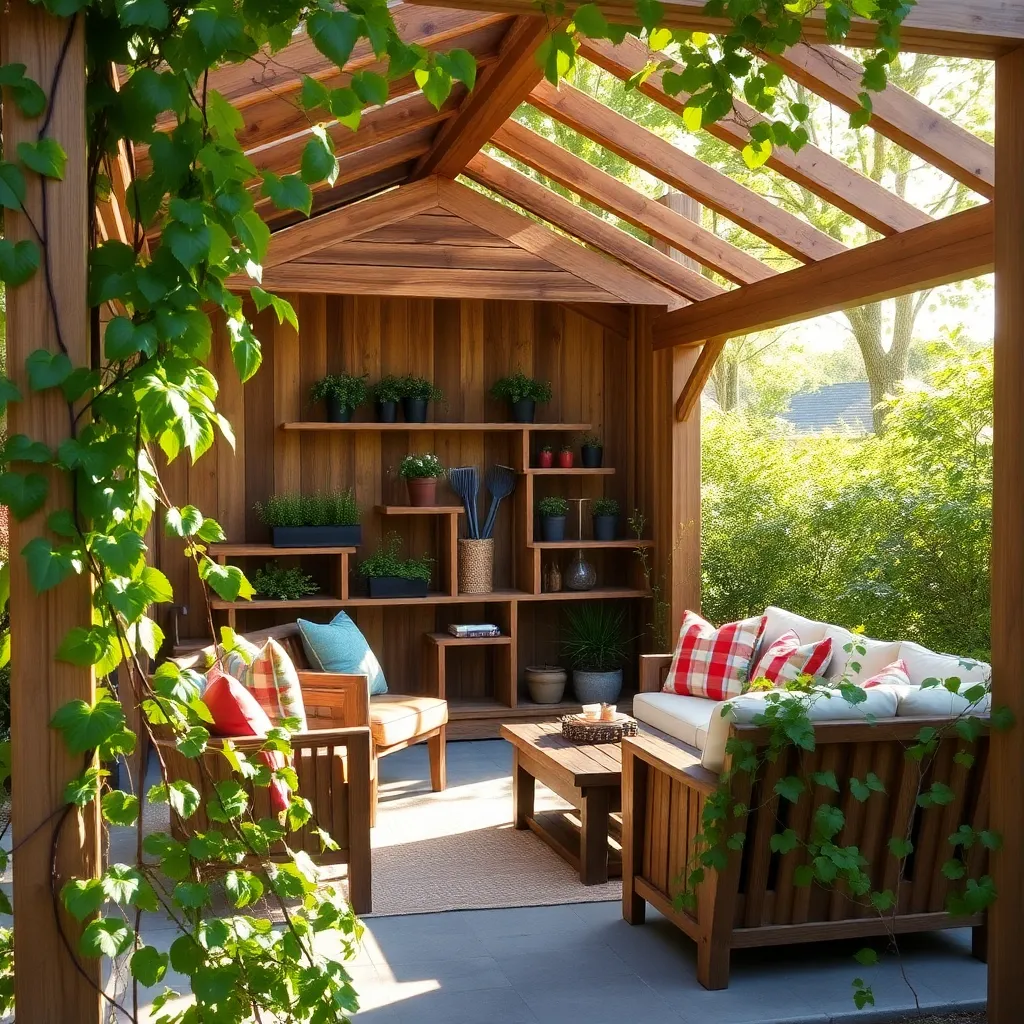
One of the most effective ways to maximize space in your garden shed is by utilizing vertical storage solutions. Start by installing sturdy shelving units along the walls, which can hold tools, pots, and other garden essentials. For a beginner-friendly option, consider using prefabricated metal shelves, which are easy to assemble and can be adjusted to accommodate items of various sizes. If you’re looking for a more advanced project, build custom wooden shelves that fit your specific storage needs, using pressure-treated wood to ensure durability in outdoor conditions.
Beyond shelves, think about incorporating pegboards and hooks to create a versatile and accessible storage system. Mount a pegboard on an unused wall and use it to hang small tools, gloves, and other frequently used items, keeping them within arm’s reach. For a personalized touch, paint the pegboard to match your shed’s interior or use different colored hooks to categorize tools by function. Additionally, consider adding a series of hooks beneath shelves or along rafters to store items like hoses or extension cords, which can otherwise create clutter on the floor.
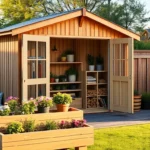
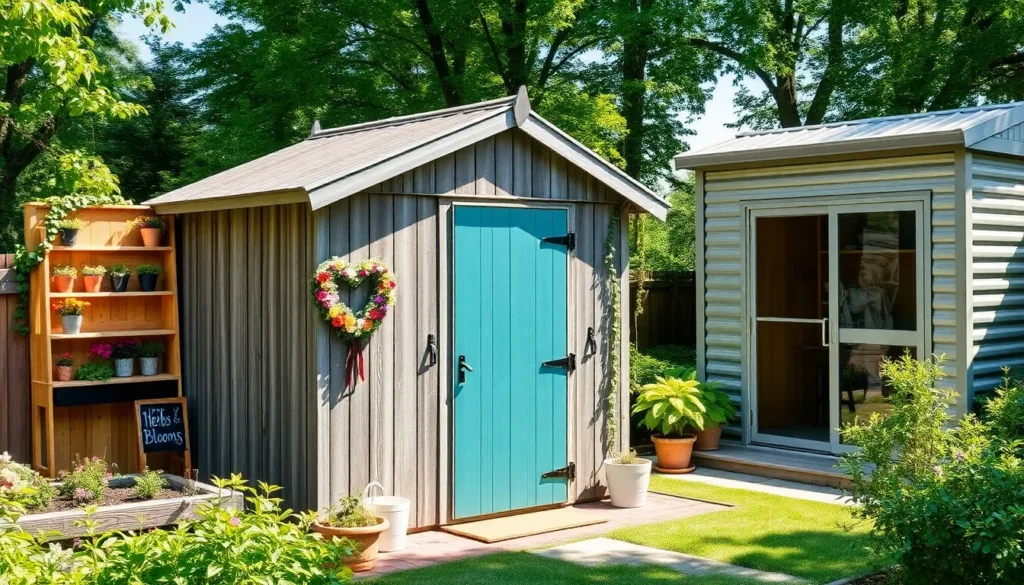
Incorporate Reclaimed Wood Accents
Reclaimed wood offers a sustainable and charming way to accent your garden shed, adding both character and functionality. To incorporate reclaimed wood effectively, consider using it for the door or trim, where its unique texture can become a focal point. Choose sturdy pieces that have been treated to withstand the elements, ensuring your accents not only look good but last long. For a beginner-friendly project, create simple shelving or hooks inside the shed using reclaimed planks to enhance storage space.
Advanced DIYers might explore building entire sections of the shed, like a side wall or roof overhang, from reclaimed wood for a rustic yet cohesive look. Ensure you measure accurately and plan your layout before cutting, to make the most of your materials. Using a combination of nails and wood glue can help reinforce joints, providing a sturdy finish. This approach not only enhances your shed’s aesthetic but also promotes eco-friendliness by reusing materials that would otherwise go to waste.
Add Skylights for Natural Light
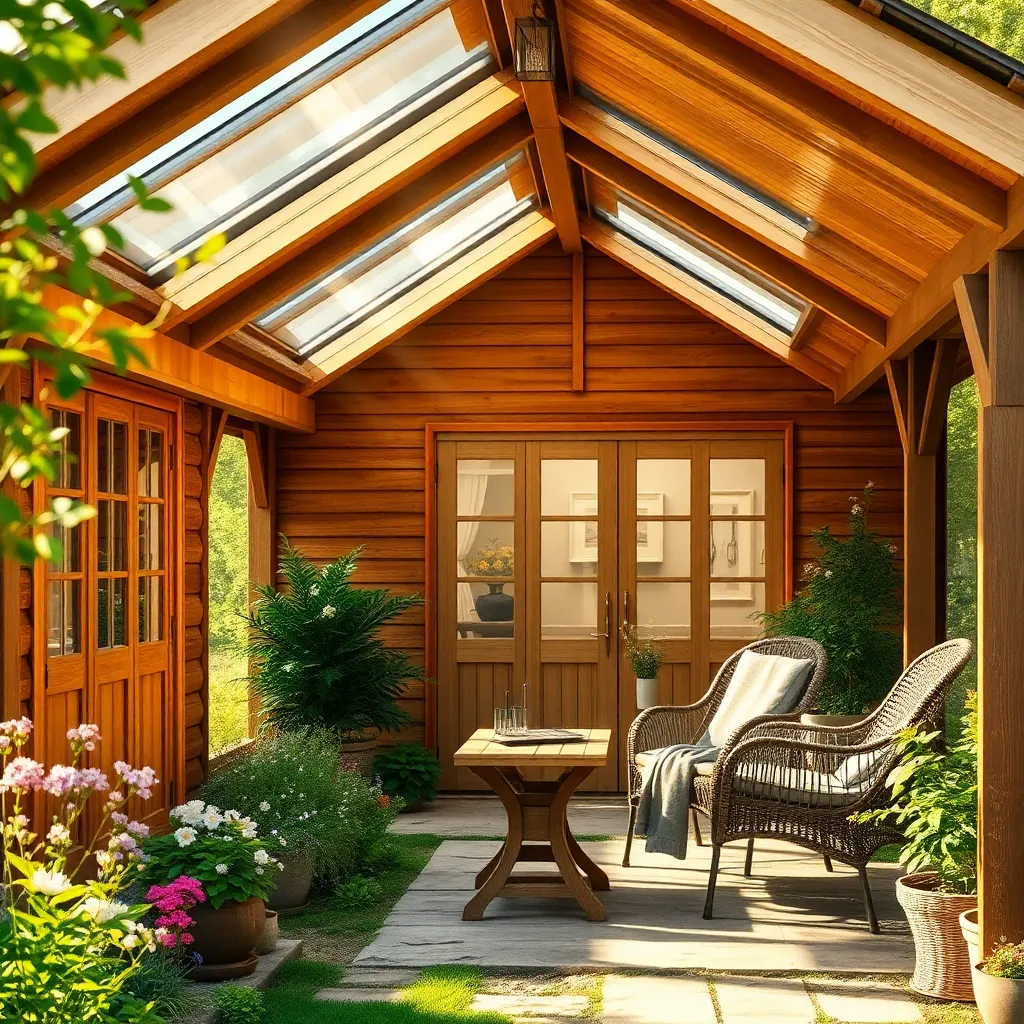
Adding skylights to your garden shed is a fantastic way to introduce natural light, making the space feel more open and inviting. Start by choosing durable materials like polycarbonate or tempered glass, which are both sturdy and weather-resistant. Consider the placement carefully to maximize sunlight throughout the day; south-facing skylights often capture the most light. For beginners, pre-fabricated skylight kits can simplify the installation process, offering easy-to-follow instructions and all necessary components.
For a more customized approach, advanced DIYers can design a skylight that complements the shed’s architectural style. Ensure proper sealing around the skylight frame to prevent leaks—use high-quality silicone caulk or flashing tape for a watertight seal. Consider adding a vented skylight that can be opened to improve airflow during warm months, enhancing both light and ventilation in your outdoor haven. This thoughtful addition not only elevates the aesthetic appeal but also increases the functionality of your garden shed.
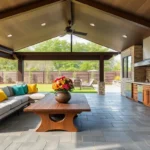
Utilize Multipurpose Furniture Pieces
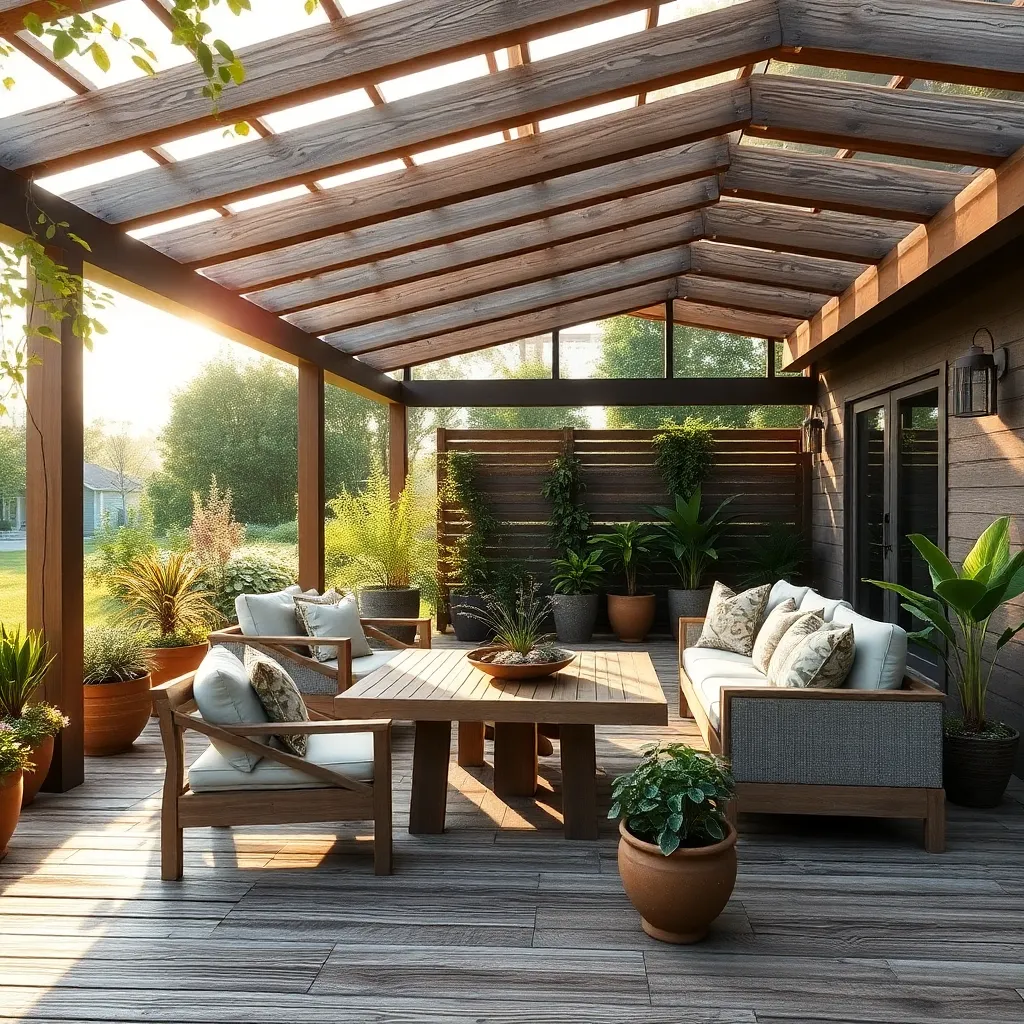
Incorporating multipurpose furniture into your garden shed can maximize functionality and save space. Consider using a fold-down workbench that can double as a table for potting plants or hosting a garden tea party. Shelving units with adjustable heights or built-in storage compartments can help organize tools, seeds, and other gardening essentials efficiently. Opt for weather-resistant materials like treated wood or metal to ensure durability and maintain a cohesive outdoor aesthetic.
For those looking to elevate their design, integrating furniture with hidden storage is a clever approach. A bench with a lift-top seat can serve as extra seating and a spot to store garden cushions or small tools. Advanced DIYers might consider building a custom piece with a convertible feature, such as a bench that transforms into a picnic table. Ensure all furniture pieces are coated with a protective finish to withstand the elements, and remember, even small adjustments, like adding wheels for mobility, can significantly enhance the versatility of your outdoor space.
Create a Green Roof for Insulation
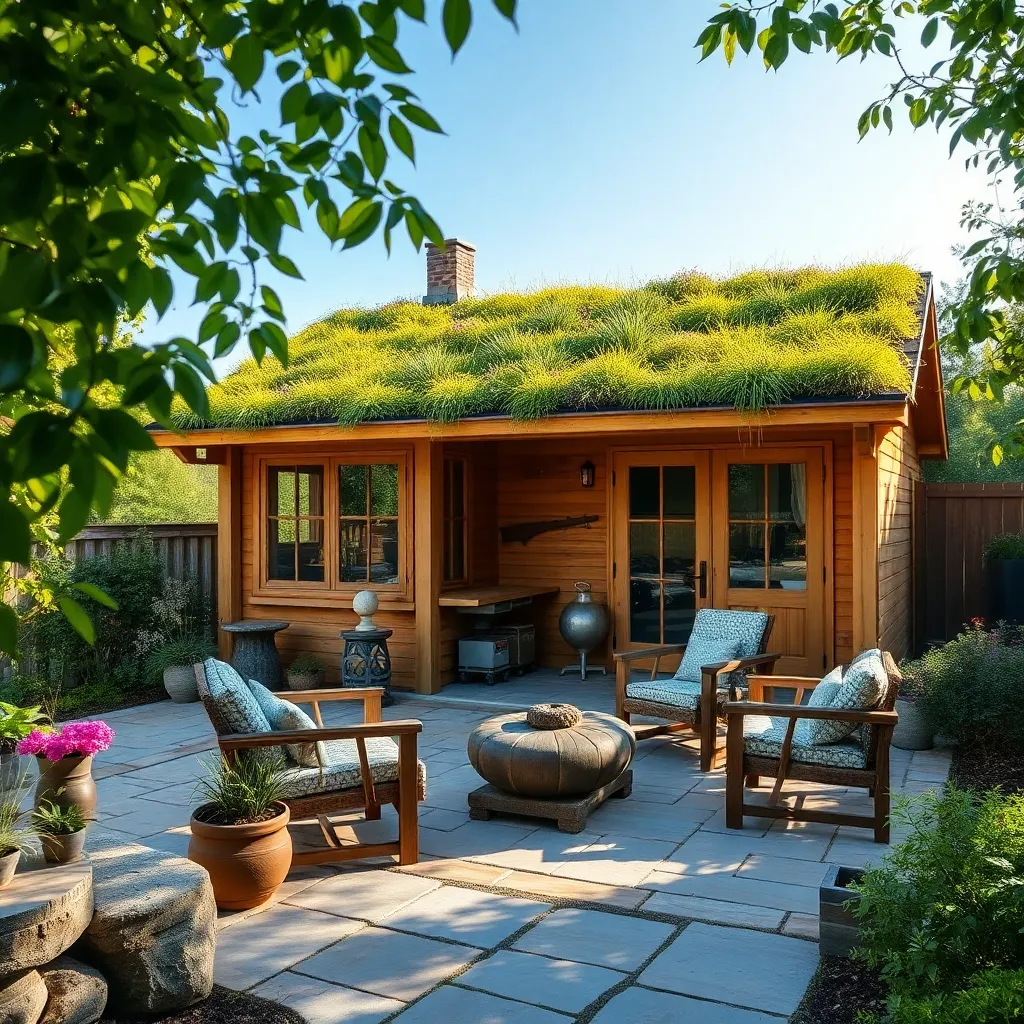
Transforming your garden shed with a green roof is an eco-friendly way to enhance its insulation and aesthetic appeal. Begin by ensuring your shed’s roof is strong enough to support the weight of soil and plants—this might mean reinforcing it with extra beams or using a durable material like marine plywood. Install a waterproof membrane to prevent leaks, followed by a root barrier, and finish with lightweight soil specifically designed for green roofs. Choose hardy, low-maintenance plants such as sedums or native grasses that can withstand various weather conditions.
Consider creating a modular system with trays for easy installation and maintenance, especially if you’re new to green roofing. To elevate insulation, opt for a substrate depth of at least 3 to 4 inches, which provides better thermal protection. Ensure proper drainage by including a layer of gravel or a drainage mat beneath the soil. Advanced gardeners can experiment with a variety of plants, but be sure to check your local climate and sun exposure to pick the right mix. Implementing a green roof not only regulates the temperature inside your shed but also boosts biodiversity in your garden space.
Paint With Weather-Resistant Colors
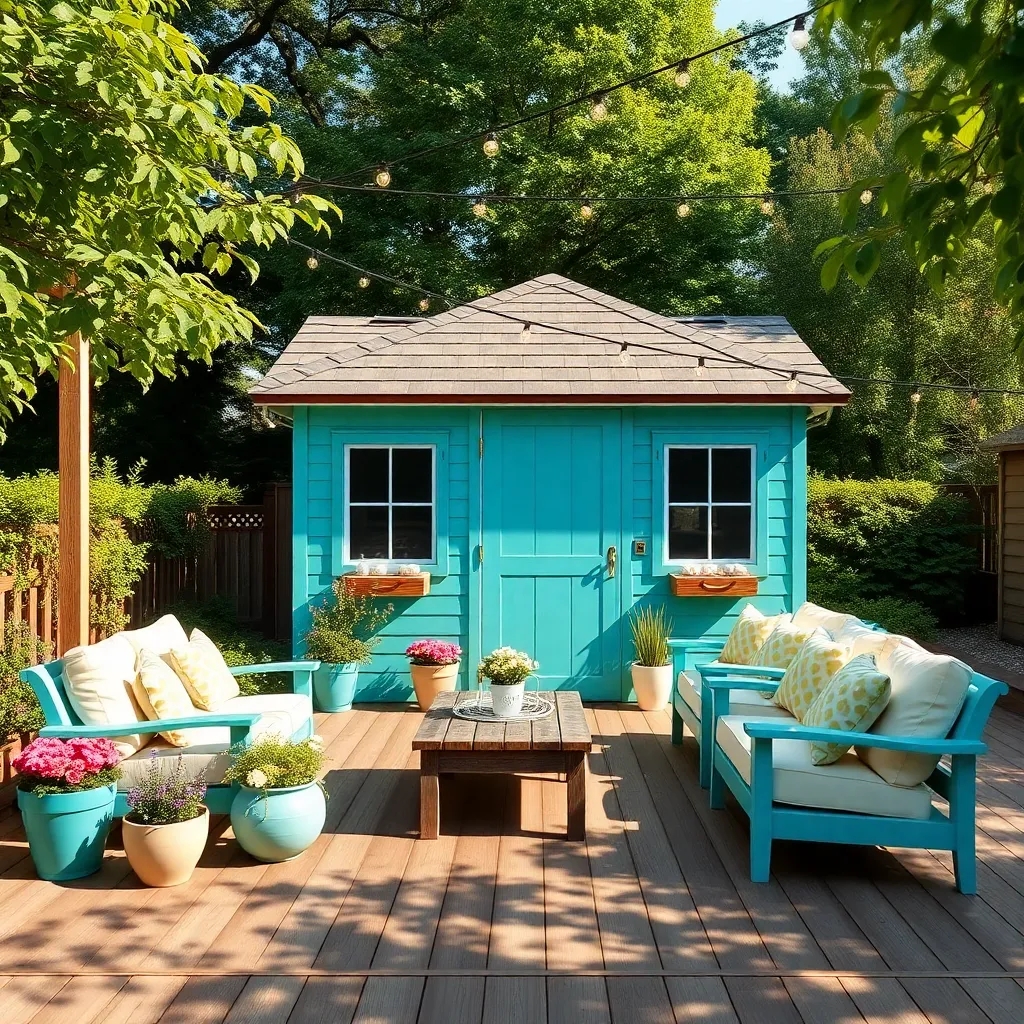
To ensure your garden shed withstands the elements, choose weather-resistant paints that protect and beautify. Look for paints specifically labeled for exterior use, as they often contain UV blockers and water repellents. For beginners, start with a primer to seal the wood, followed by a coat of acrylic-latex paint, which is durable and easy to apply. For a more advanced approach, consider using marine-grade paints, especially if your shed is exposed to harsh weather conditions, as they offer superior protection.
When selecting colors, consider both aesthetics and functionality. Lighter shades can help reflect sunlight, keeping the interior cooler during hot months, while darker hues might better hide dirt and stains. For a polished look, use a contrasting color for trim and doors. To ensure longevity, apply at least two coats and allow adequate drying time between applications. Regular maintenance, such as touch-ups every few years, will keep your shed looking fresh and vibrant, ensuring it remains a standout feature in your garden.
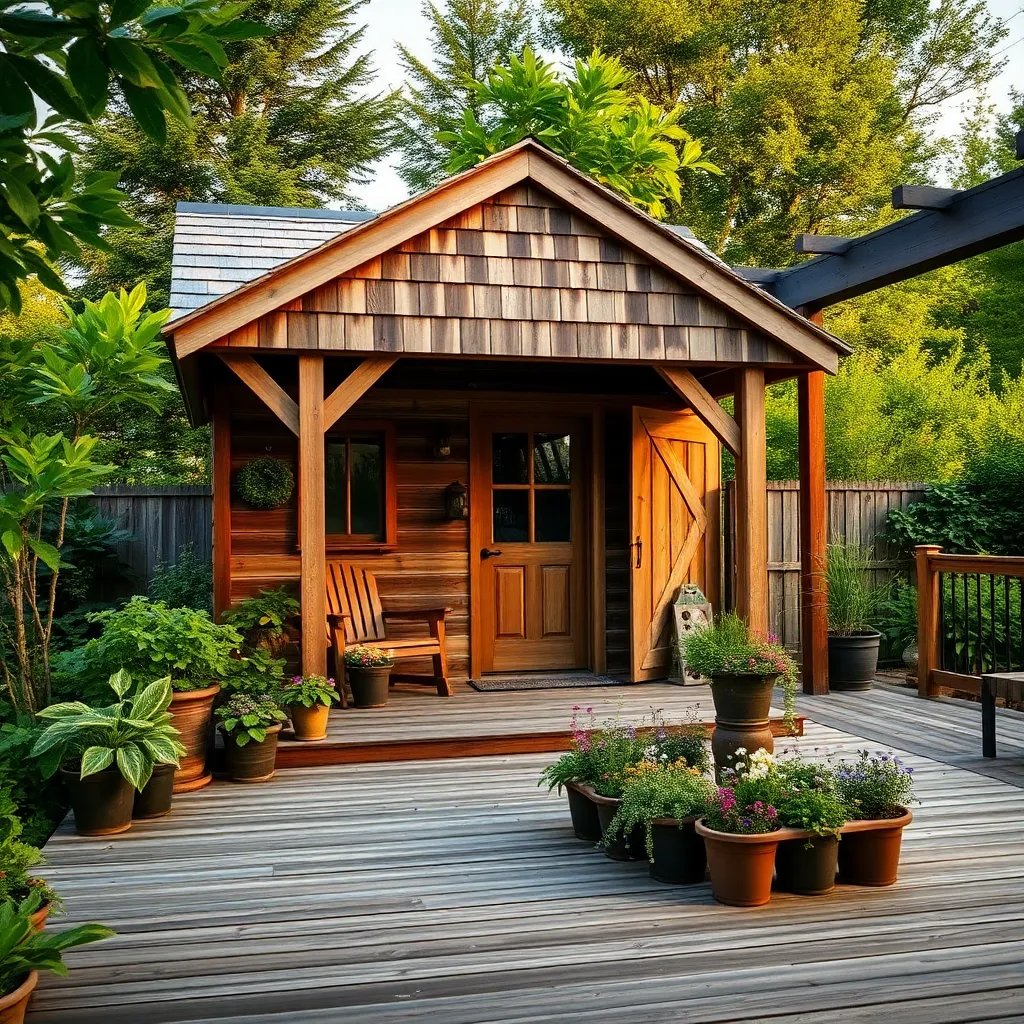
Install Sliding Barn Doors
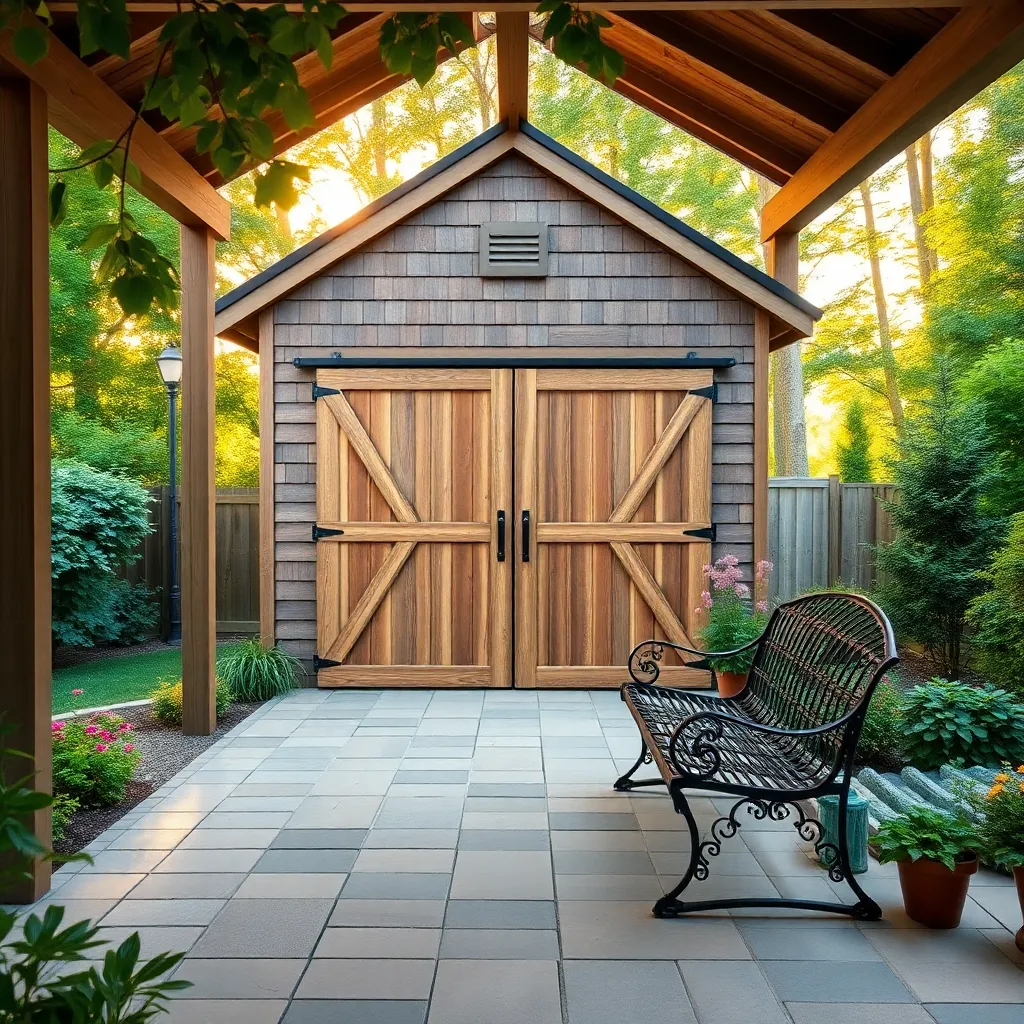
Adding sliding barn doors to your garden shed is a practical and stylish way to enhance its functionality and aesthetic appeal. Start by selecting durable materials like cedar or reclaimed wood for the doors, ensuring they can withstand outdoor elements. Measure your shed’s opening precisely and choose a sliding door kit that fits these dimensions, typically available at home improvement stores. For a touch of rustic charm, consider iron hardware; it not only looks great but is also robust and weather-resistant.
Beginner-friendly installation involves attaching the track securely above the shed entrance using heavy-duty screws, making sure it’s perfectly level for smooth operation. Advanced tip: Add a soft-close mechanism for a quieter experience. This upgrade enhances both convenience and the longevity of your doors by reducing wear and tear. Don’t forget to seal the wood with a weatherproof finish to protect your investment from rain and sun damage. With these steps, your garden shed will not only look more inviting but also provide easier access to your gardening tools and supplies.
Craft a Potting Bench Area
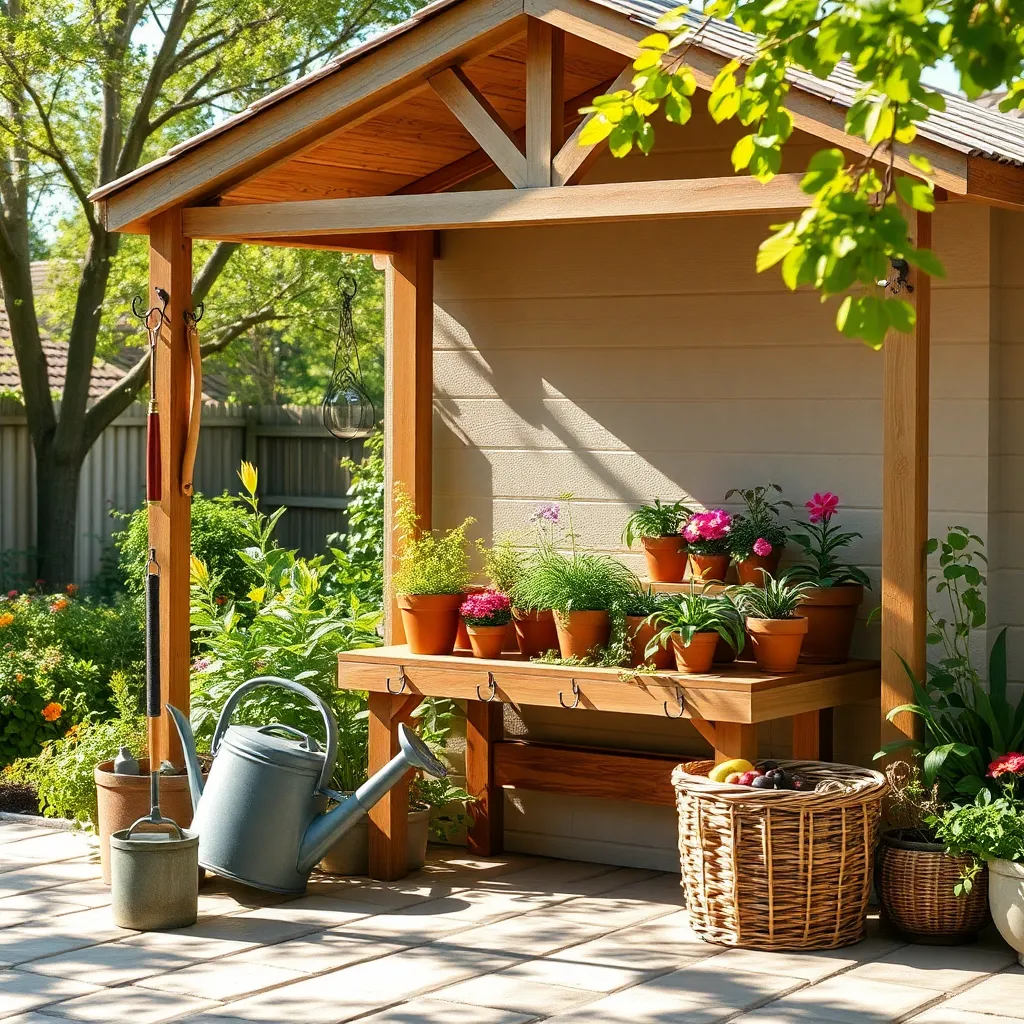
Transform a corner of your garden into a functional potting bench area by starting with a sturdy, weather-resistant work surface. Opt for materials like reclaimed wood or galvanized metal that can withstand the elements. Ensure the bench is at a comfortable working height, typically around 36 inches, to prevent strain during planting tasks. For beginners, a simple design with a flat surface and a bottom shelf for storage is a great start, while advanced gardeners might incorporate features like built-in sinks or hooks for hanging tools.
Enhance the utility of your potting bench by adding essential organizational elements. Install a pegboard or magnetic strip above the bench to keep tools easily accessible. Consider creating a small storage area underneath for soil bags and pots, using waterproof bins to protect contents from rain. Paint or stain your bench in a color that complements your garden or add a weatherproof sealant to extend its lifespan. For those looking to add a touch of style, integrate decorative elements like a lattice backdrop for climbing plants or a small awning to provide shade and shelter. These thoughtful touches not only boost functionality but also make the space inviting and personalized.
Integrate Solar-Powered Lighting
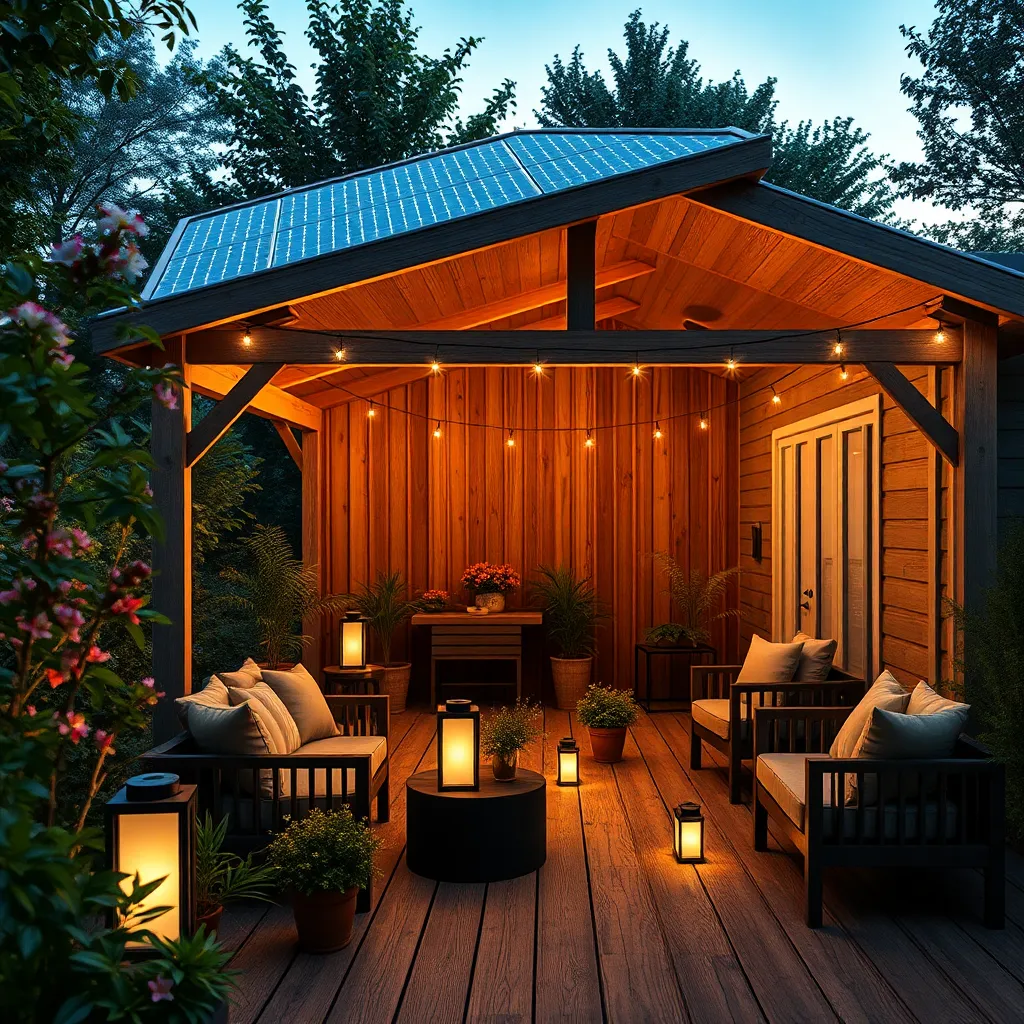
Enhancing your garden shed with solar-powered lighting is an eco-friendly way to illuminate your space while minimizing electricity use. Start by choosing solar lights designed for outdoor use, which are available in a variety of styles, from sleek spotlights to charming string lights. When installing, place the solar panels in an area that receives ample sunlight throughout the day, ensuring they can charge fully. For beginners, consider lights with built-in sensors that automatically turn on at dusk, providing hassle-free operation.
Experienced DIY enthusiasts might explore integrating solar lights into the structure of the shed itself. Install solar panels on the roof and run wiring inside to power overhead lighting or wall-mounted fixtures. This setup can transform your shed into a cozy, functional space for evening activities. Remember to use weather-resistant materials, such as galvanized steel or treated wood, to protect your solar components from the elements. By integrating solar-powered lighting, you not only enhance the aesthetics of your garden shed but also contribute to a sustainable environment.
Build a Rainwater Collection System
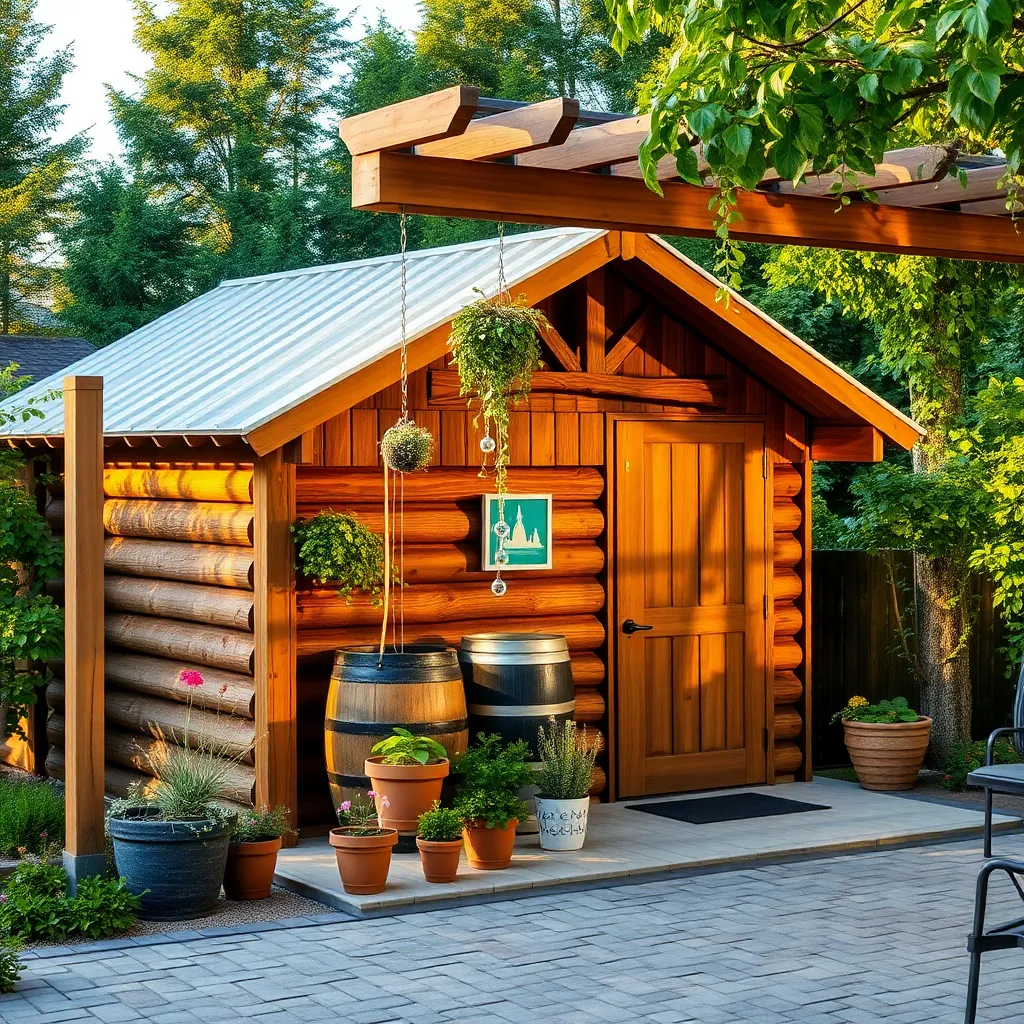
Transform your garden shed into a sustainable oasis by building a rainwater collection system. Start with a simple setup using a rain barrel, which can be easily connected to the shed’s downspout. Choose a barrel with a capacity of at least 50 gallons to ensure sufficient water storage. For beginners, consider using a plastic or wood barrel, as they are easy to handle and cost-effective. Place the barrel on a sturdy platform to enhance water flow and include a spigot for convenient access.
For those looking to enhance their system, consider installing a first flush diverter to keep debris out of your collected water. Advanced users might explore linking multiple barrels for increased capacity, especially if space allows. Ensure all connections are secure and use mesh screens to prevent mosquito breeding. This eco-friendly addition not only conserves water but also provides your plants with nutrient-rich rainwater, making it a valuable investment for any garden enthusiast.
Conclusion: Creating Beautiful Outdoor Spaces
In exploring the ’10 DIY Garden Shed Ideas You’ll Love,’ we’ve delved into a range of creative concepts that mirror the essence of nurturing relationships. From laying a strong foundation akin to building trust, to incorporating personal touches that reflect understanding and appreciation, each idea offers a metaphor for thriving partnerships. We’ve discussed the importance of adaptability, much like flexible storage solutions, and the value of shared goals, similar to co-creating a dream space. Just as a garden shed evolves with needs, relationships flourish with ongoing care and attention.
As a next step, consider choosing one DIY project to undertake with a loved one, transforming not just your physical space but also enhancing your emotional connection. This shared activity can be a fun bonding experience, strengthening your partnership in creative ways.
Remember, relationships are an evolving journey. Bookmark this article as a handy reference for continuous inspiration and guidance. As you embark on these projects, envision a relationship that grows as beautifully as your garden. With each step you take, you’re not only building a shed but also laying the groundwork for enduring love and companionship. Your journey to relationship success begins today!