Whether you’re just beginning your gardening journey or are a seasoned green thumb, creating a thriving vegetable garden can be both rewarding and challenging. One key to success lies in providing the right shelter for your plants, protecting them from harsh weather while optimizing their growth conditions. By choosing effective garden shelters, you can transform your outdoor space into a productive vegetable haven, no matter the season.
In this article, we’ll explore ten practical garden shelter ideas that cater to a variety of needs and budgets. From simple DIY solutions to more advanced structures, you’ll discover strategies to enhance your garden’s productivity. Embrace the joy of growing your own food while ensuring your plants have the best chance to flourish, all with a touch of creativity and practicality.
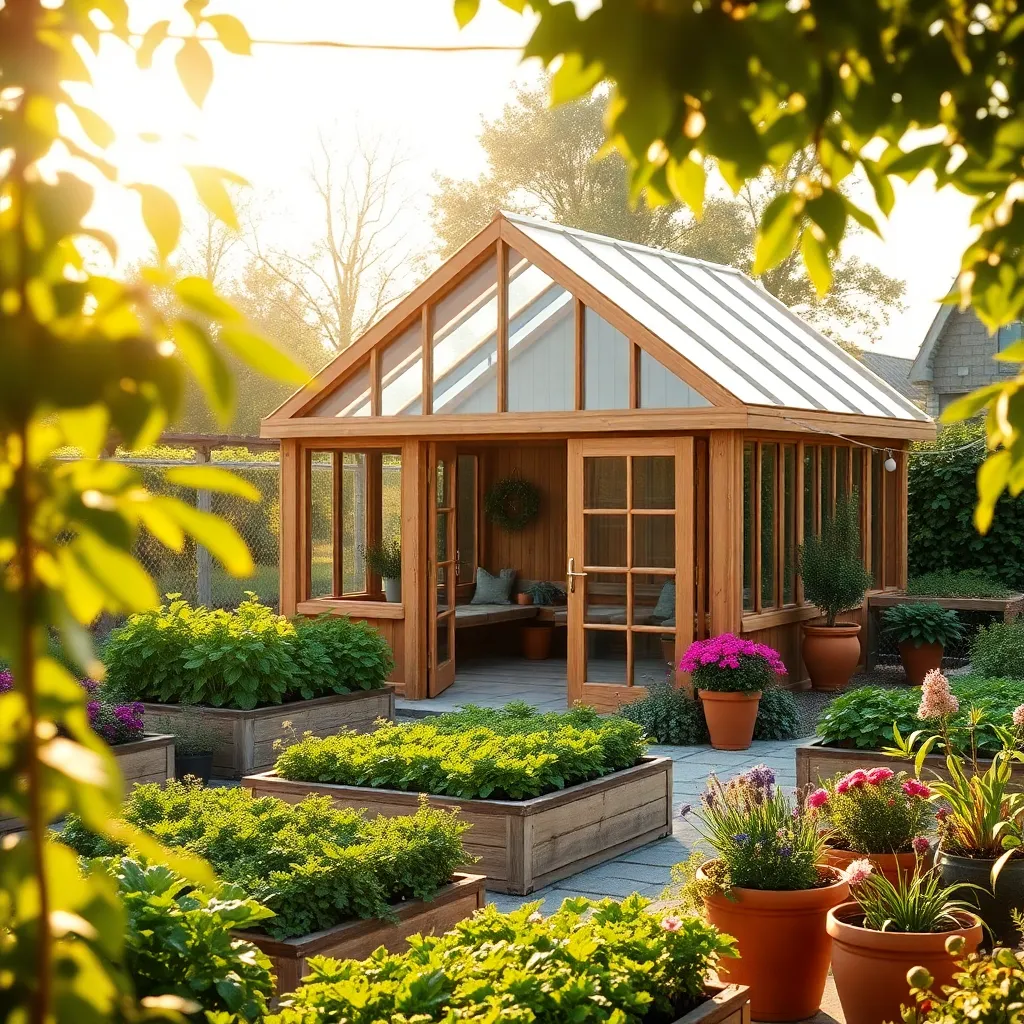
Choosing Durable Greenhouse Structures
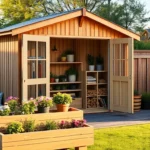
When selecting a durable greenhouse structure, consider the materials that will best withstand your local climate conditions. Aluminum and galvanized steel frames offer excellent durability and resistance to rust, making them ideal for long-term use. For the covering, opt for polycarbonate panels, as they are lightweight, provide excellent insulation, and have superior light diffusion compared to traditional glass.
For those with more space, investing in a larger greenhouse, such as one with a width of at least 8 feet, allows for better air circulation and more planting options. To enhance the functionality, ensure your greenhouse has adjustable vents and a reliable door system to manage temperature and humidity effectively. Additionally, consider adding a base made from treated wood or concrete to further stabilize the structure, especially in windy areas.
Harnessing Hoop Tunnels for Growth
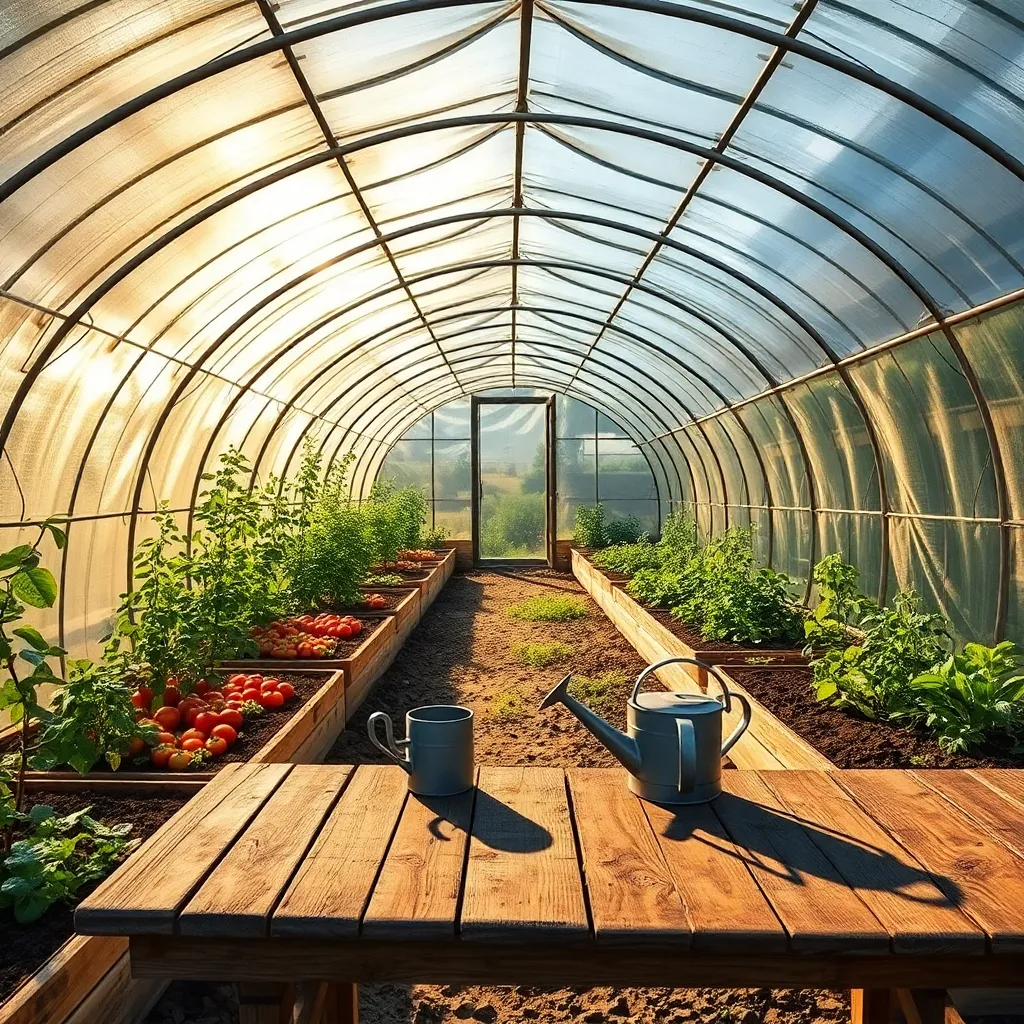
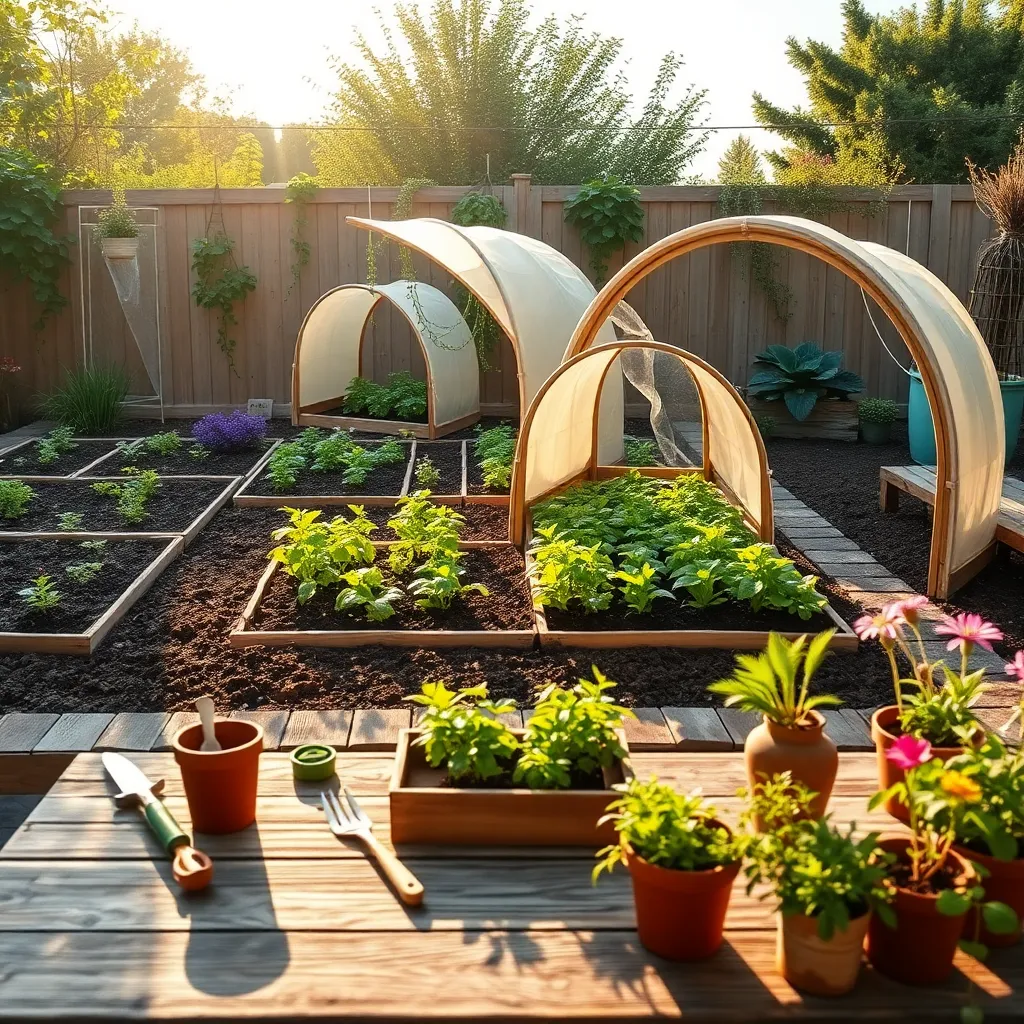
Hoop tunnels are a versatile and cost-effective option for protecting your vegetables from harsh weather conditions. To construct a hoop tunnel, you’ll need flexible materials like PVC or metal pipes to form the frame, covered with a sturdy plastic sheeting. Begin by selecting a sunny spot in your garden and measure the length and width based on your plant rows, typically around 3 to 4 feet wide and as long as you need. Secure the hoops into the ground at regular intervals, ensuring they’re evenly spaced to support the weight of the covering.
For those looking to enhance their hoop tunnel’s effectiveness, consider adding features like removable end panels or ventilation flaps. These allow for easy access and control over temperature and humidity levels inside the tunnel. Opt for UV-resistant plastic sheeting to increase durability, prolonging the lifespan of your hoop tunnel.
- Ensure the covering is taut to prevent sagging and potential water pooling.
- Secure the plastic with clips or weights to keep it in place during windy conditions.
This setup not only protects your crops but also extends your growing season, making it an excellent choice for gardeners eager to maximize their harvest.
Building Effective Cold Frames
Building a cold frame is an excellent way to extend your growing season and protect tender plants from harsh weather. Start with a simple design using a wooden frame and an old window or clear plastic as the top cover. The frame should ideally be about 12 to 18 inches high to allow space for plant growth, and it can be constructed from materials like untreated cedar, which is durable and rot-resistant. Position your cold frame in a sunny spot, ideally facing south, to maximize solar heat gain during the day.
For those looking to enhance their cold frame’s effectiveness, consider adding insulation such as straw bales around the exterior. Advanced gardeners might incorporate automatic vent openers to ensure proper ventilation on warm days, preventing overheating. Additionally, a layer of gravel on the ground inside the frame can improve drainage and thermal mass. With these practical steps, your cold frame will become a robust tool for nurturing your vegetables through cooler months.
Designing Shade Cloth Shelters
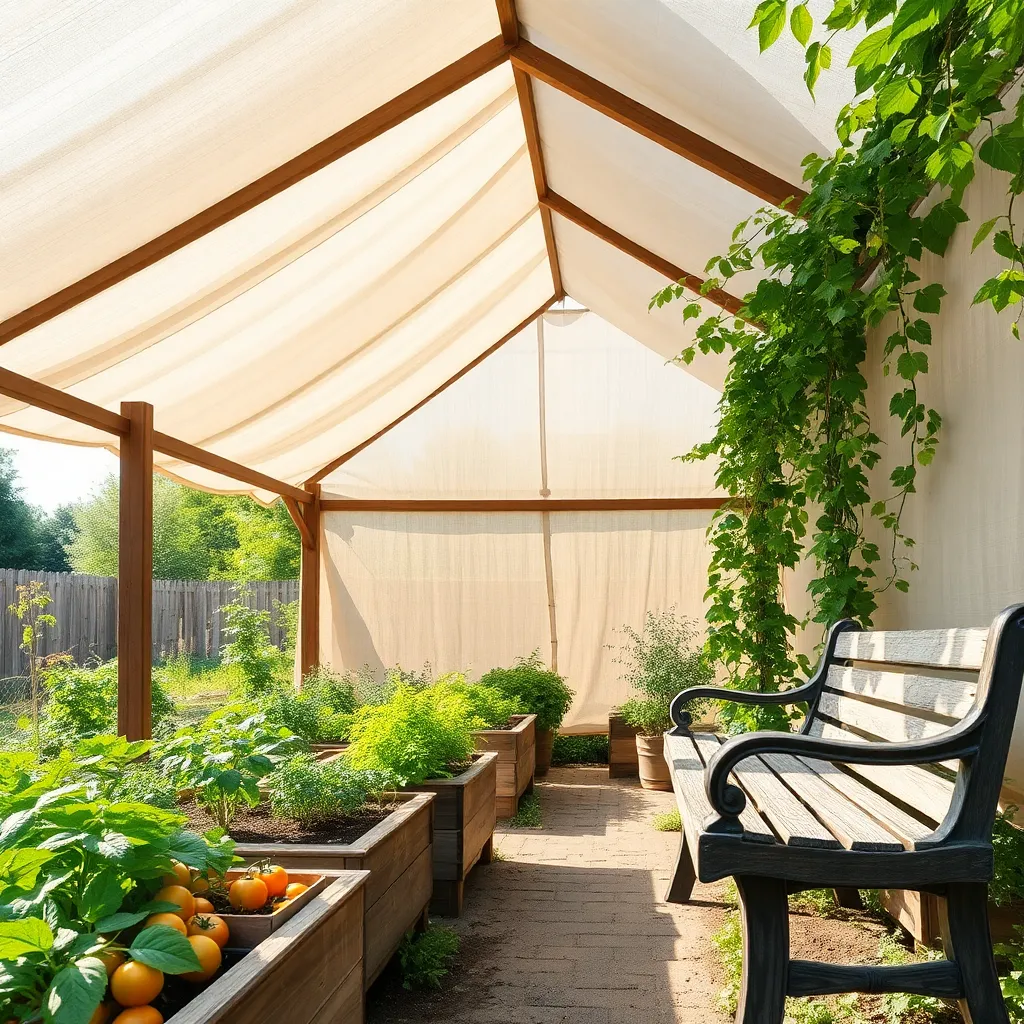
Designing shade cloth shelters is a practical way to protect your vegetable garden from excessive heat and sun exposure. To start, choose a durable, UV-stabilized shade cloth, preferably with a 30-50% shading factor, which is ideal for most vegetables. Secure the cloth over a simple frame made from PVC pipes or wooden stakes, ensuring it’s taut but not overstretched to avoid tearing. This basic setup can be a quick project for beginners while offering flexibility for various garden sizes.
For those seeking a more advanced setup, consider installing a retractable shade cloth system. This allows you to adjust shading based on the day’s weather, providing optimal plant health management. When constructing the frame, use galvanized metal poles for increased durability and weather resistance. Additionally, incorporate a pulley system to easily retract or extend the cloth as needed. These enhancements not only protect your vegetables but also add a professional touch to your garden space.
Incorporating Raised Bed Covers

Incorporating raised bed covers into your garden design offers a versatile way to protect your vegetables from harsh weather and pests. Consider using materials like PVC piping or metal hoops to create a sturdy frame, then cover it with clear plastic, row cover fabric, or shade cloth depending on your climate needs. This setup is particularly useful for extending the growing season in colder climates or providing shade during intense summer heat, allowing for year-round vegetable cultivation.
For beginners, start with a simple design: use a rectangular frame that fits snugly over your raised bed and secure it with clamps or ties. Advanced gardeners might experiment with hinged covers, allowing easy access for plant care and harvest. Ensure the cover is easily removable to allow for pollination and prevent overheating. Additionally, consider integrating ventilation options like roll-up sides or end vents if using plastic covers, to maintain a healthy growing environment inside the shelter.
Maximizing Space with Vertical Gardens
Maximizing space with vertical gardens is a clever way to enhance your vegetable-growing capabilities, especially if you’re short on ground area. Start by selecting sturdy materials like cedar or pressure-treated wood for the framework, ensuring longevity against the elements. Consider using pocket planters or recycled pallets as these can provide ample room for root growth while keeping your setup cost-effective. Positioning your vertical garden against a sunny wall or fence will optimize light exposure, crucial for robust vegetable growth.
For beginners, begin with easy-to-grow climbing vegetables like peas or pole beans, which naturally thrive in vertical environments. Advanced gardeners might explore stacking arrangements that incorporate drip irrigation systems for efficient watering. Use trellises or wire mesh to support and guide plant growth vertically, ensuring stability. By integrating these structures, you create a multifunctional outdoor shelter that not only protects but also maximizes your gardening space efficiently.
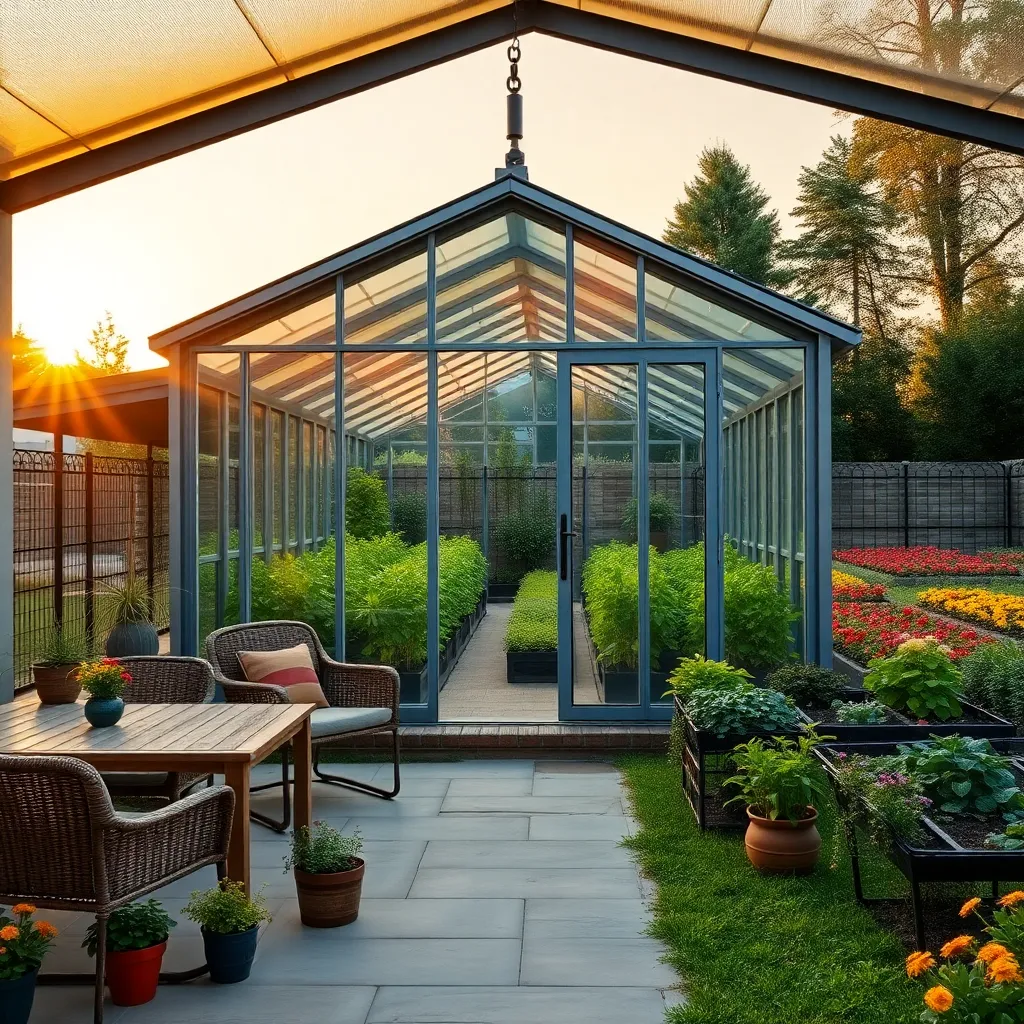
Utilizing Polytunnels for Year-Round Crops
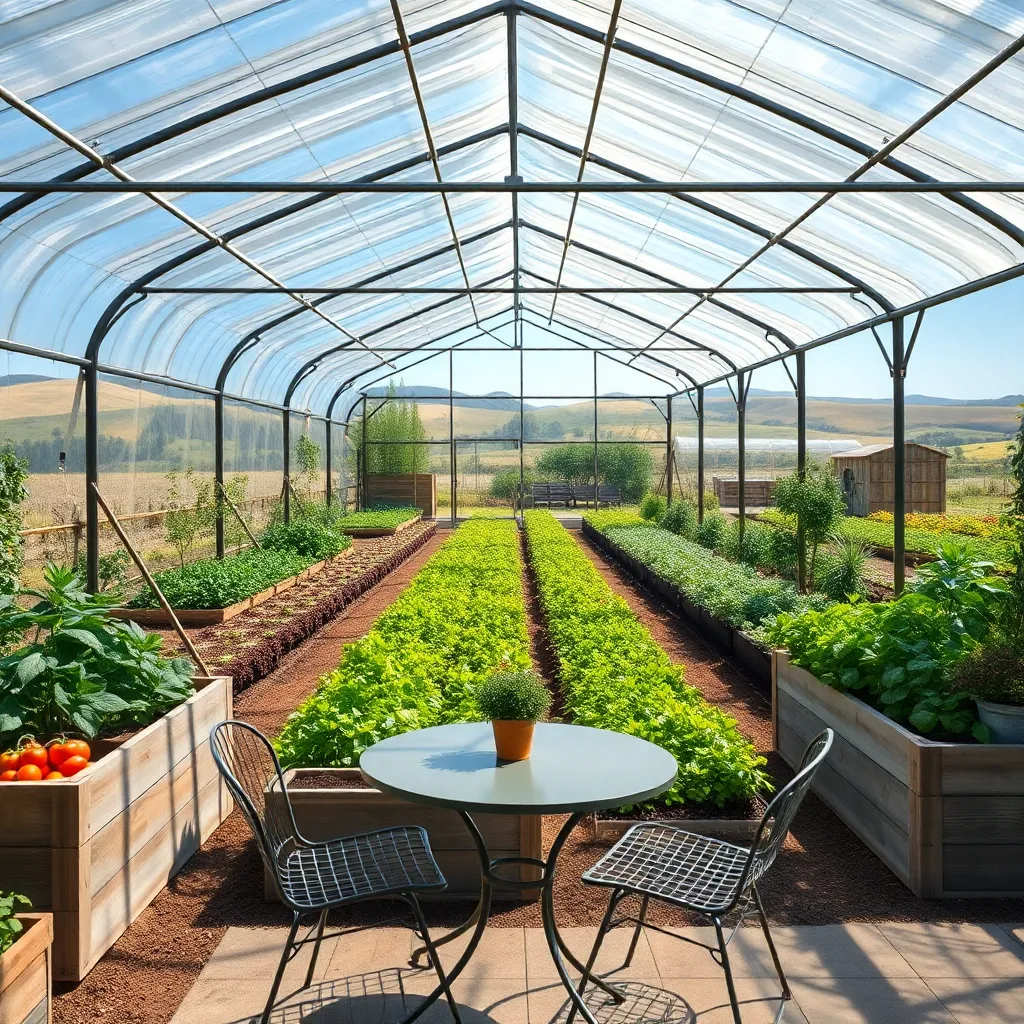
Polytunnels offer an excellent way to grow crops year-round, regardless of the climate outside. They provide a controlled environment that protects plants from harsh weather conditions, such as frost in winter and excessive heat in summer. When selecting a polytunnel, consider the size of your garden—a standard model ranges from 10 to 30 feet long, but customizing dimensions to fit your space is possible. Opt for a high-quality, UV-resistant polythene cover to ensure durability and longevity.
To maximize the effectiveness of your polytunnel, incorporate features such as ventilation and irrigation systems. A simple drip irrigation system can maintain consistent moisture levels, reducing manual watering needs. For added versatility, use raised beds inside the tunnel; this improves drainage and soil quality, essential for healthy plant growth. Advanced gardeners might consider installing a solar-powered ventilation system to automatically regulate temperature and humidity, ensuring optimal conditions for a variety of crops throughout the year.
Crafting DIY Cloche Protectors
Creating a cloche protector for your vegetable garden is a simple yet effective way to shield young plants from harsh weather and pests. Start with basic materials like clear plastic bottles or glass jars, which you can place over individual plants to create a mini greenhouse effect. For a more sophisticated approach, consider using wire hoops covered with heavy-duty plastic or row cover fabric, ensuring your setup is secure with pegs or garden staples.
For those looking to enhance their DIY skills, constructing a cloche from bamboo stakes and plastic sheeting offers both durability and flexibility. Cut the bamboo stakes to approximately 18 inches and form a dome over your plants, draping the plastic securely over the frame. Ensure proper ventilation by leaving slight openings at the base, or use cloche clips for easy adjustments. This method not only provides protection but also allows for easy access to your plants, ensuring they thrive throughout the growing season.
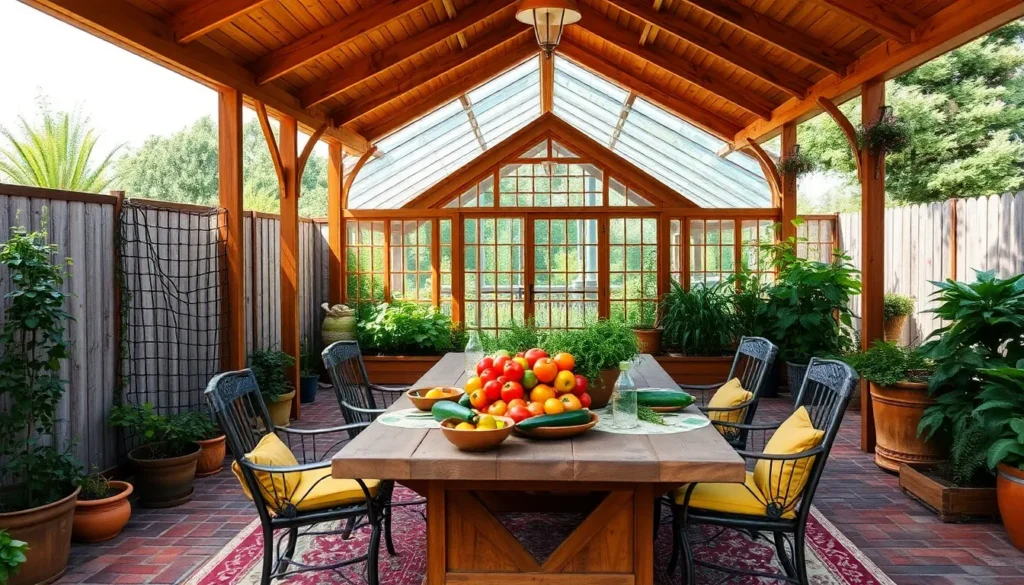
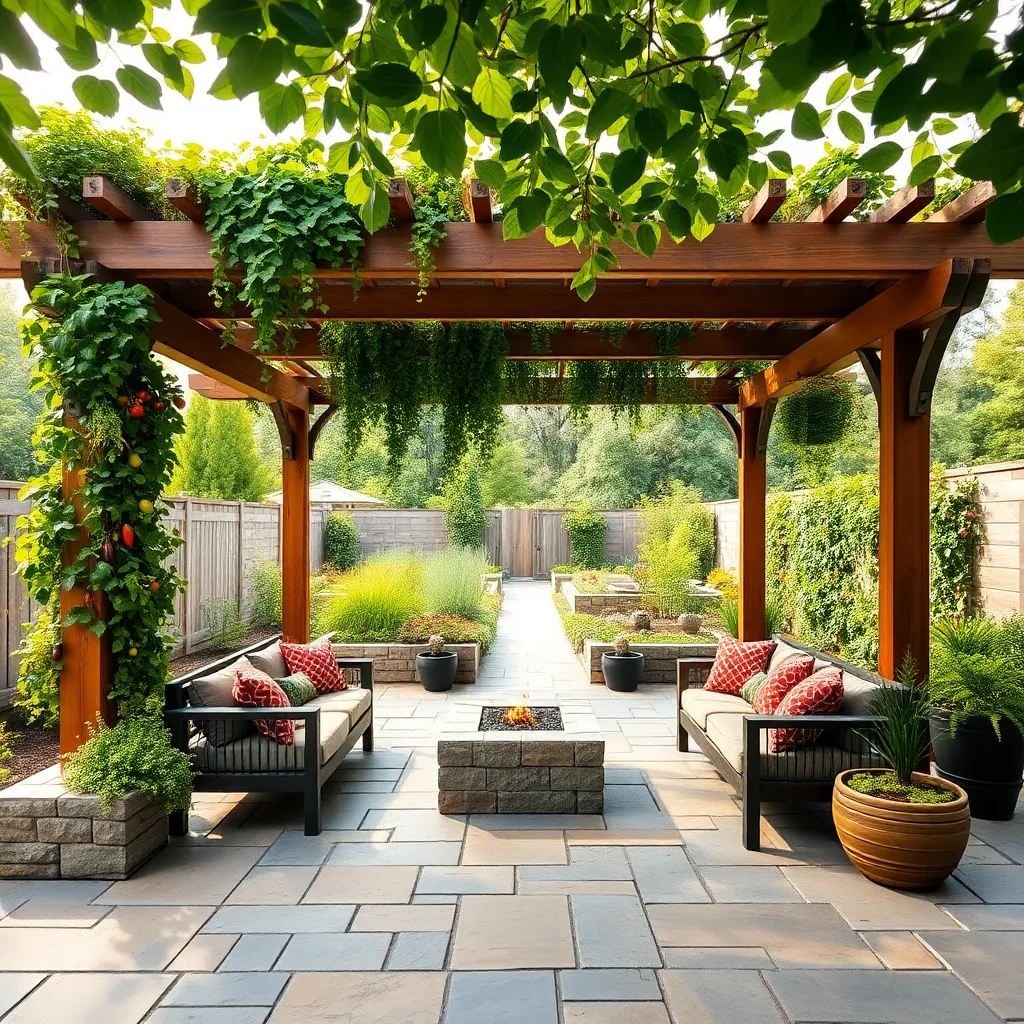
Adapting Pergolas for Vegetable Growth
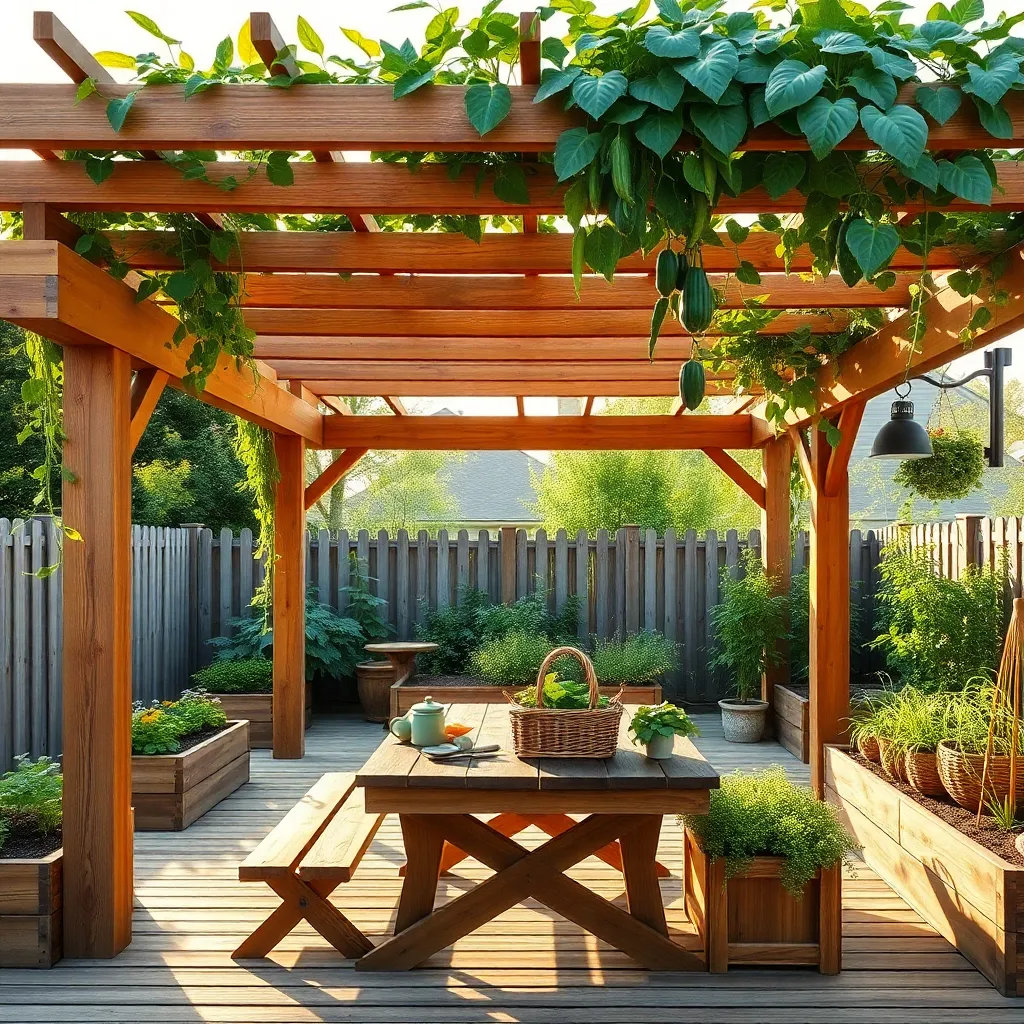
Transforming a pergola into a thriving vegetable space is both rewarding and functional. Start by selecting sturdy materials like cedar or pressure-treated wood, which withstand weather conditions and provide a lasting framework. To support climbing vegetables such as beans or peas, consider adding vertical trellises or wire mesh to the sides. Ensure the pergola height allows enough sunlight while offering partial shade—ideal for vegetables that thrive with a balance of sun and protection.
For those with more experience, integrating raised beds beneath the pergola can optimize growth and soil drainage. Use materials like stone or recycled lumber for these beds, and ensure they are at least 12 inches deep for root development. Incorporate drip irrigation systems to maintain consistent moisture levels without overwatering. By tailoring your pergola to meet the needs of your chosen vegetables, you create a microclimate that enhances growth and simplifies maintenance.
Integrating Windbreaks for Plant Protection

Integrating windbreaks is a practical approach to protect your vegetable garden from harsh winds, allowing plants to thrive. Consider planting dense hedgerows using shrubs like boxwood or native grasses that can endure local climates. Alternatively, erecting a wooden or bamboo fence can serve as a more immediate solution. Ensure the windbreak is tall enough to shield your plants but not too oppressive—typically, a height of 4 to 6 feet is effective without blocking sunlight.
For those looking to optimize their windbreaks, positioning them at an angle to prevailing winds can enhance their effectiveness. Spacing is crucial: aim for a 25-30% gap between individual plants or slats to allow some airflow, which reduces turbulence. Advanced gardeners might explore layered windbreaks, combining natural and constructed elements for added protection and aesthetic appeal. Whichever method you choose, remember that a well-placed windbreak not only shelters your garden but also creates a microclimate conducive to vegetable growth.
Conclusion: Creating Beautiful Outdoor Spaces
In exploring the ’10 Practical Garden Shelters for Growing Vegetables,’ we’ve delved into essential relationship concepts such as communication, teamwork, adaptability, nurturing, patience, respect for boundaries, time investment, mutual goals, resilience, and creativity. Each of these principles mirrors the care and attention required to cultivate both healthy relationships and thriving gardens. As you consider these insights, an actionable next step is to have an open conversation with your partner about which area you both would like to nurture more. Whether it’s improving communication or setting shared goals, this dialogue can serve as the fertile ground where deeper understanding and growth can take root.
Remember, just as a garden needs time and commitment, so do relationships. Bookmark this article now as a handy guide to revisit these concepts whenever you feel the need for inspiration or guidance. As you move forward, envision a future where your relationships flourish with the same vibrancy and resilience as a well-tended garden. Embrace these principles, and watch your connections grow stronger and more rewarding.