Imagine stepping into your backyard and being greeted by the charming allure of a custom pergola, your perfect oasis for relaxation and entertainment. Whether you’re a beginner taking your first steps into the world of outdoor DIY projects or a seasoned homeowner looking to elevate your space, our guide, “10 Tips for Building a Pergola with a DIY Kit,” is here to empower you with the insights and confidence needed to create your dream outdoor retreat.
This carefully curated list is packed with practical advice that simplifies the building process, ensuring that every homeowner can enjoy the beauty and functionality of a pergola. From selecting the right kit to mastering the assembly, you’ll gain the knowledge to transform your outdoor area into a stunning extension of your home. Let’s embark on this exciting journey together, and unlock the joy and rewards of a beautifully enhanced outdoor living space!
Select the Right Pergola Kit
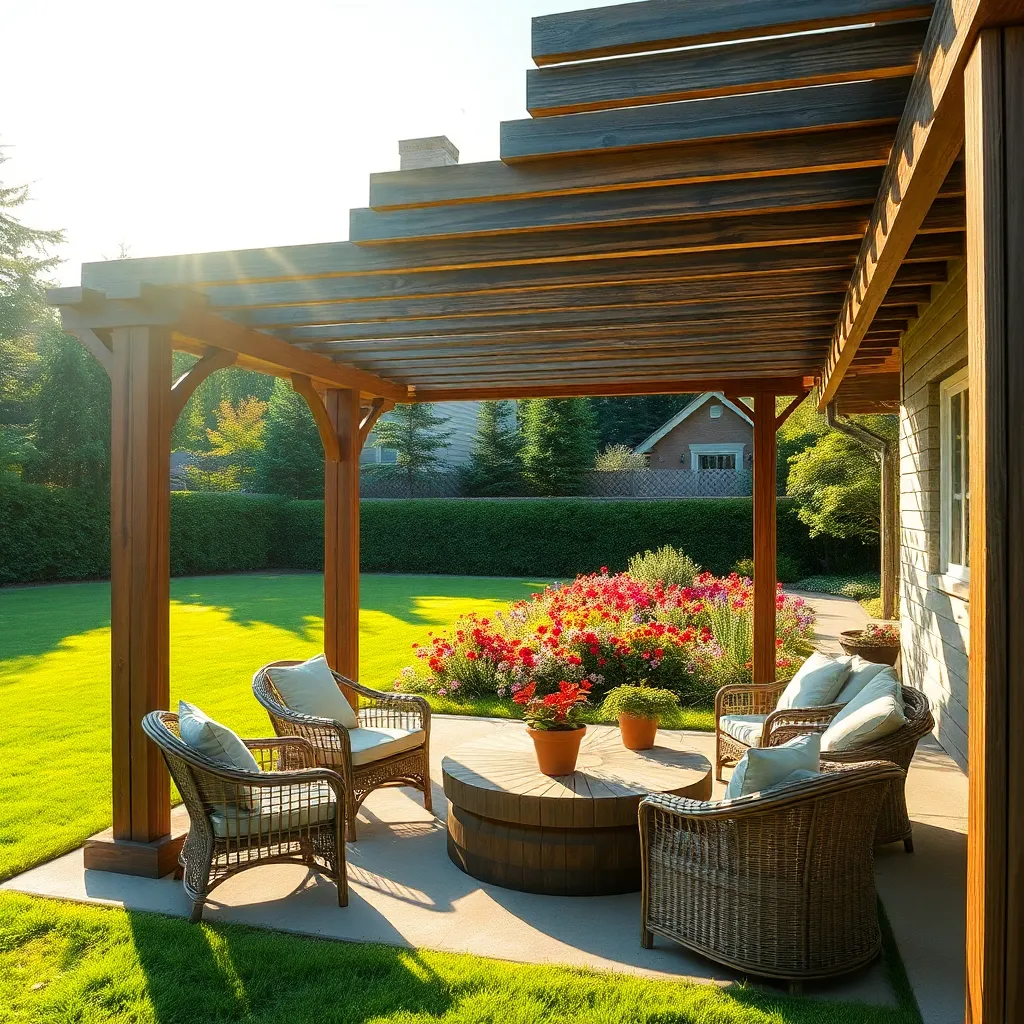
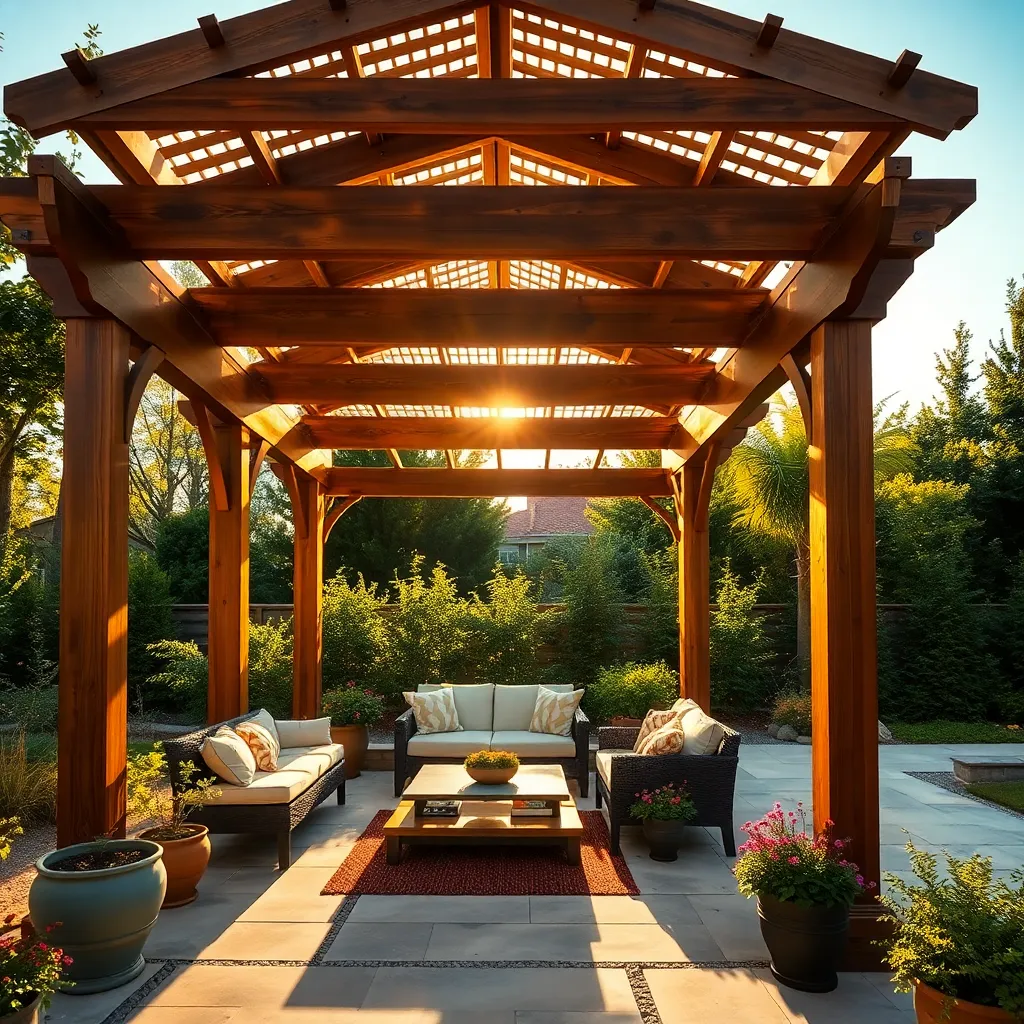
Choosing the right pergola kit is crucial for both aesthetic appeal and functionality. Start by considering the materials: cedar and redwood offer natural resistance to decay, while aluminum and vinyl require minimal maintenance. For a sturdy structure, opt for a kit with pressure-treated wood if you’re in a region prone to harsh weather. Ensure the kit includes clear, step-by-step instructions and all necessary hardware to make assembly seamless even for beginners.
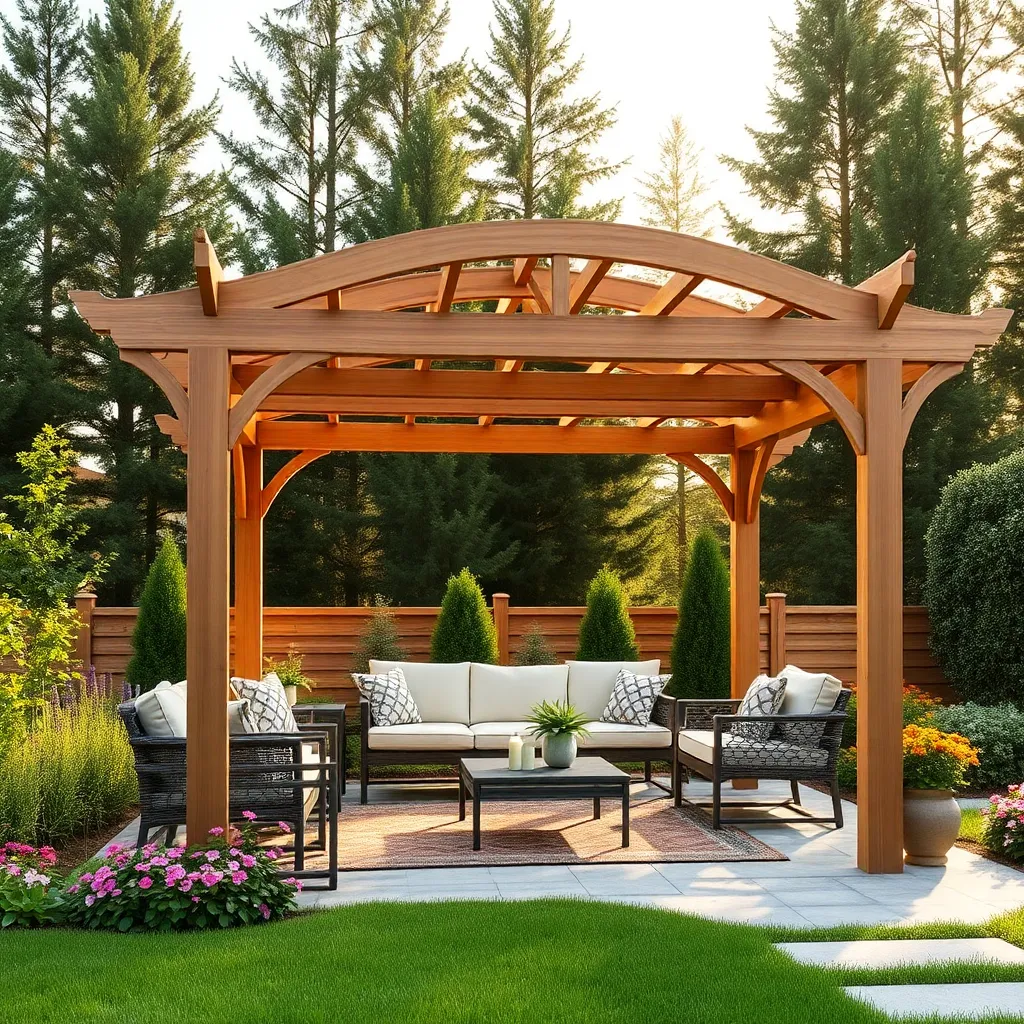
Design elements are equally important to make your pergola an inviting outdoor space. Look for kits that offer adjustable lattice tops to control sunlight exposure, and choose dimensions that complement your garden’s scale—common sizes are 10×10 or 12×12 feet. For a custom touch, consider kits with decorative end caps or arched beams. Advanced DIY enthusiasts might explore kits offering modular extensions to expand the pergola as needed—perfect for growing families or evolving garden designs.
Choose a Suitable Location
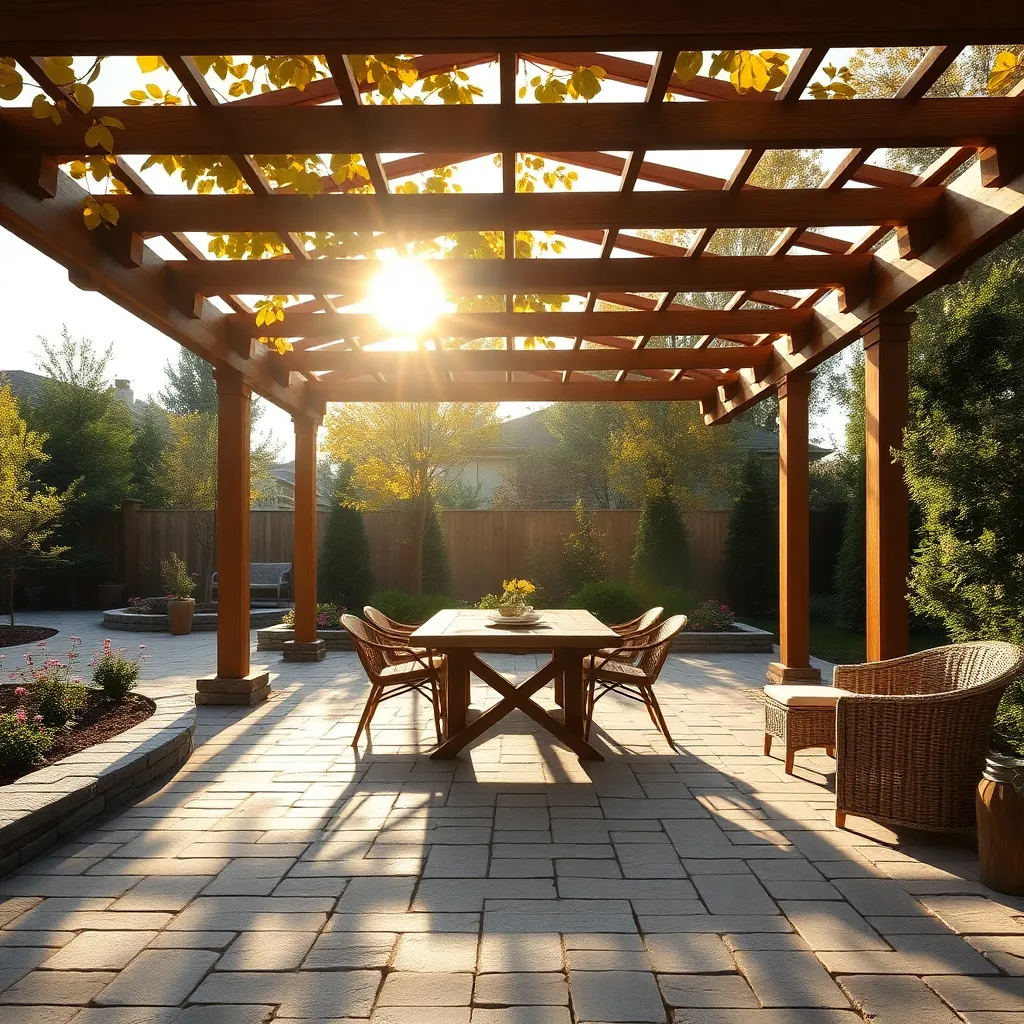
Choosing the right location for your pergola is crucial for both aesthetics and functionality. Begin by assessing the sun’s path in your yard to determine where shade is most needed. This can affect your pergola’s orientation, especially if you plan to add climbing plants or retractable canopies for additional shade. Consider proximity to your home if you want easy access for outdoor dining or entertaining.
Think about practical factors, such as the ground’s surface and drainage. A level, stable surface is ideal, and if the area is prone to water pooling, consider installing a drainage system or opting for permeable paving. Ensure your pergola doesn’t obstruct views or access to other garden features. Advanced tip: use string and stakes to outline the pergola’s footprint, giving you a visual aid to adjust placement before construction begins.
Measure Space Accurately Before Purchase
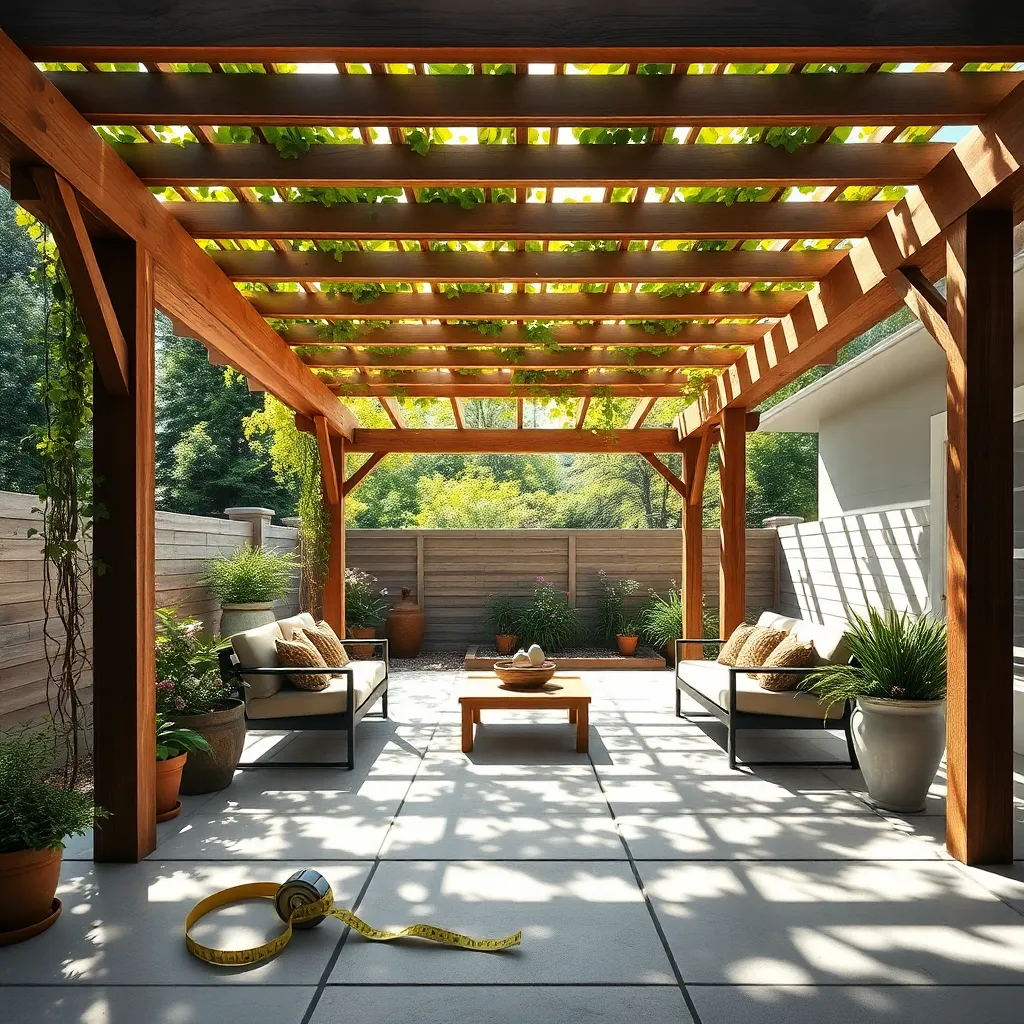
Before purchasing your pergola kit, it’s crucial to measure the available space accurately in your chosen location. Start by using a tape measure to determine the length, width, and height of the area, ensuring you account for any existing structures like trees or fences that might interfere with your pergola. Remember, leaving enough clearance around your pergola is essential for both aesthetics and accessibility. A good rule of thumb is to allow at least 3 feet of space on all sides to ensure a comfortable fit and easy maintenance.
For those looking to maximize functionality, consider the pergola’s orientation and how it will interact with the sun’s path. This is especially important if you plan to add features like climbing plants or retractable canopies. Materials play a significant role in the structure and longevity of your pergola; opt for weather-resistant woods like cedar or pressure-treated lumber for a durable build. Seasoned DIYers might also explore composite materials for a low-maintenance, modern look. By planning meticulously, you’ll set the stage for a successful and satisfying project.
Prepare a Solid Foundation
To ensure your pergola stands strong, it’s crucial to prepare a solid foundation. Start by selecting a level area in your yard that’s free of underground utilities. Use concrete footings, which provide a stable base, especially in areas with fluctuating weather conditions. For beginners, pre-mixed concrete is a convenient choice, while more experienced DIYers might opt to mix their own to better control consistency. Regardless of your choice, ensure each footing aligns precisely with your pergola’s layout for optimal stability.
Beyond just the foundation, consider using pressure-treated wood or galvanized metal brackets to secure the pergola posts, as these materials resist decay and corrosion. For added durability, advanced builders can incorporate rebar into the concrete footings to enhance strength. Always double-check that your foundation is square by measuring diagonals; they should be equal. This step is essential for a seamless assembly of your pergola kit and will save headaches later on. A well-prepared foundation not only supports your structure but also enhances the overall safety and longevity of your outdoor retreat.
Follow Manufacturer Instructions Closely
When building a pergola with a DIY kit, it’s crucial to follow the manufacturer’s instructions closely. These instructions are tailored to ensure optimal safety and stability, so every detail matters. Start by carefully reviewing all provided materials and guidelines, noting any specific tools or techniques recommended for assembly. This is especially important if you’re a beginner, as even seemingly minor deviations can impact the pergola’s durability and safety.
For experienced DIYers, remember that even small improvements or alterations must align with the kit’s structural design to maintain integrity. Consider the recommended dimensions for posts and beams as these are calculated to support the specified load. Additionally, check if your kit suggests any specific weatherproof treatments for the materials to enhance longevity. By adhering to these detailed instructions, you’ll create a pergola that not only stands strong but also enhances your outdoor space beautifully.
Use Quality Fasteners for Stability
Investing in quality fasteners is crucial for the stability and longevity of your pergola. Opt for stainless steel or galvanized screws and bolts, as these materials resist rust and corrosion, especially in outdoor settings. For beginners, a basic kit will typically include the necessary fasteners, but it’s wise to double-check their quality before starting. Advanced builders might consider upgrading to heavy-duty fasteners to enhance the structure’s robustness, ensuring it withstands harsh weather conditions.
Consider using bolted connections rather than nails for crucial joint areas, as they provide stronger and more secure hold. Use a torque wrench to tighten bolts evenly, avoiding overtightening, which can compromise the wood. For added stability, include diagonal bracing or cross beams in your design, which can be particularly beneficial in regions prone to high winds. Whether you’re a novice or experienced DIYer, prioritizing the right fasteners will significantly improve your pergola’s durability and performance.
Incorporate Weatherproofing Techniques
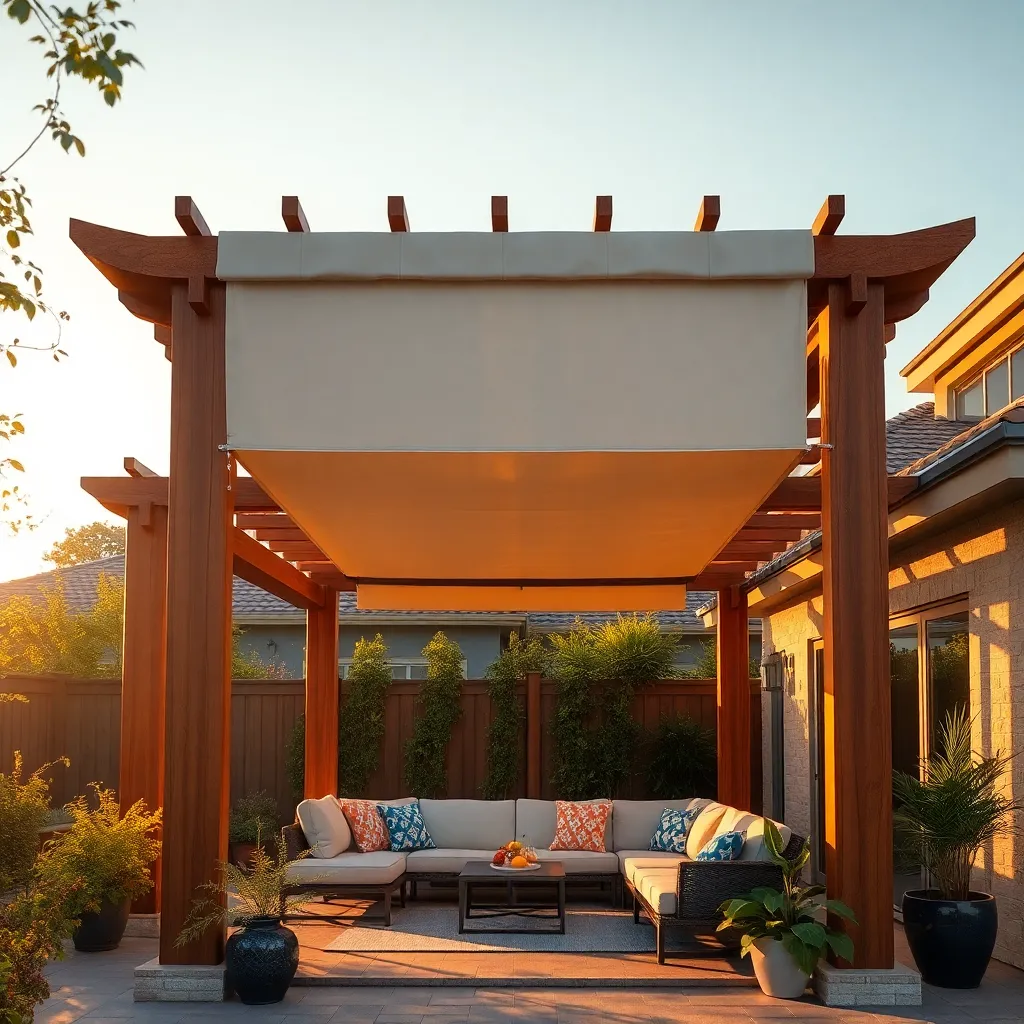
To ensure your pergola stands up to the elements, consider using weather-resistant materials like pressure-treated lumber, cedar, or aluminum. These materials are not only durable but also require minimal maintenance, making them excellent choices for long-term outdoor use. For additional protection, apply a high-quality outdoor sealant or weatherproof paint, which will help guard against moisture and UV damage, extending the life of your structure.
Advanced builders might explore incorporating a retractable canopy or side curtains to provide flexible protection against rain and harsh sunlight. For a more permanent solution, consider installing a polycarbonate roof panel, which offers both UV protection and durability. Also, ensure all fasteners and connectors are made from rust-resistant materials like galvanized steel or stainless steel to prevent corrosion. By integrating these weatherproofing techniques, you’ll enhance your pergola’s resilience and functionality, allowing you to enjoy your outdoor space year-round.
Add Custom Decorative Elements
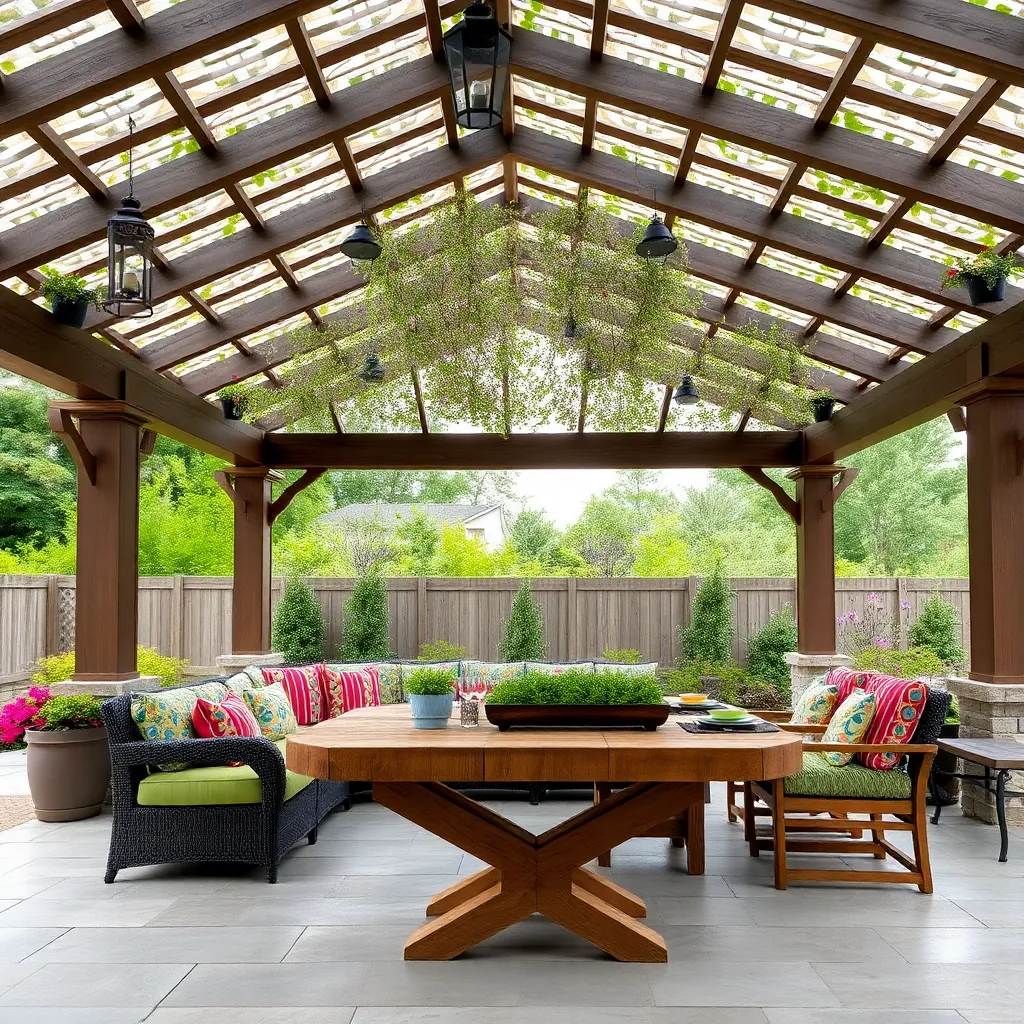
To infuse your pergola with a personal touch, consider adding custom decorative elements that reflect your style. Start with simple add-ons like hanging planters or fairy lights, which can create a cozy atmosphere. Choose materials that complement your pergola’s structure—wooden planters for wooden frames, for example—ensuring a cohesive look. For a more advanced touch, consider incorporating decorative brackets or lattice panels, which can also offer extra support and a delightful aesthetic.
For those looking to go a step further, think about integrating unique materials like wrought iron inserts or stained glass panels to add an artistic flair. These elements not only enhance the visual appeal but also increase the pergola’s functionality by providing additional shade or privacy. Measure your space accurately and choose pieces that fit well within the dimensions of your pergola to maintain balance and symmetry. Whether you’re a beginner or a seasoned DIY enthusiast, these enhancements can transform your pergola from a simple structure into a stunning garden centerpiece.
Include Shade Accessories for Comfort
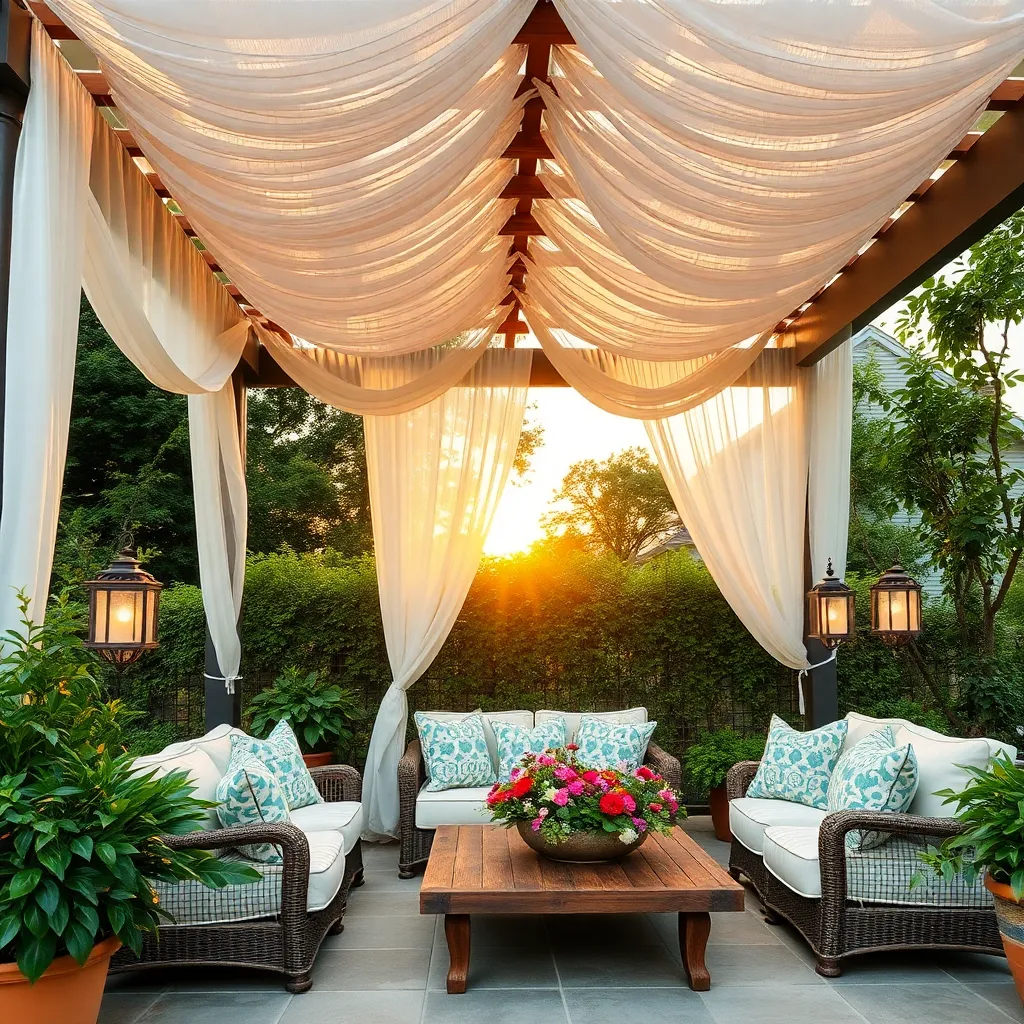
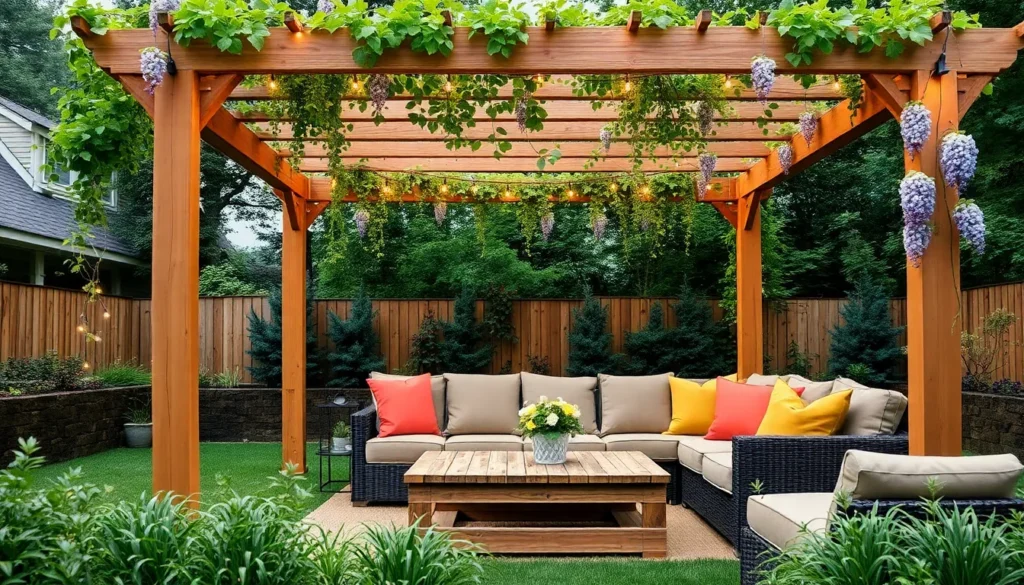
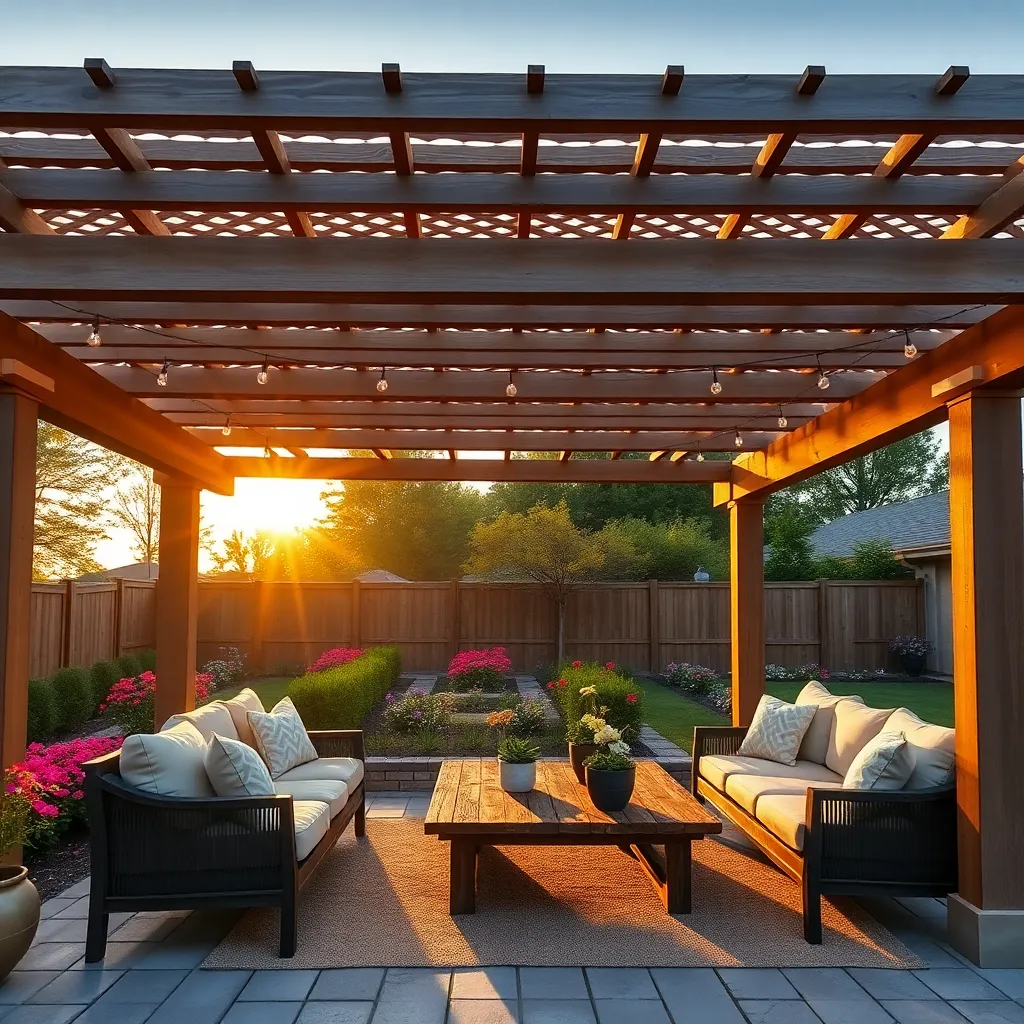
To enhance comfort under your pergola, consider incorporating shade accessories that are both functional and stylish. Start with simple options like retractable canopies or shade sails, which can be easily adjusted according to the sun’s position. These are typically made from durable fabrics like polyester or acrylic, offering UV protection while adding a touch of color and texture to your outdoor space. For a more natural feel, train climbing plants, such as wisteria or grapevines, over the structure to create a living canopy that provides dappled shade and enhances the ambiance.
For those looking to add a personalized touch, integrating decorative curtains or bamboo screens can also offer additional shade and privacy. Choose weather-resistant materials that can withstand outdoor elements and opt for neutral tones or patterns that complement your garden’s aesthetic. Advanced gardeners might explore installing adjustable slats or louvered panels, allowing you to control light and airflow with precision. These options offer both flexibility and a sophisticated look, ensuring your pergola remains a comfortable retreat throughout the seasons.
Maintain Pergola with Regular Inspections
Regular inspections are vital to maintaining your pergola’s durability and appearance. Begin by checking for any signs of damage or wear, such as cracks in the wood, rust on metal components, or loose screws and bolts. Wooden pergolas benefit from an annual application of a weather-resistant sealant to protect against moisture and UV damage. For metal pergolas, applying a rust-inhibiting paint can help preserve their structural integrity and appearance.
In addition to structural checks, ensure your pergola’s design elements remain intact and aligned. Inspect the beams and rafters to confirm they are securely fastened, and replace any that show signs of warping or splitting. If your pergola includes a retractable canopy or shade sails, verify that the fabric is free from tears and that the mechanisms operate smoothly. Regular maintenance not only extends the life of your pergola but also enhances the overall aesthetic and functionality of your outdoor space.
Conclusion: Creating Beautiful Outdoor Spaces
As you embark on the rewarding journey of building a pergola with a DIY kit, remember that the process is much like nurturing a relationship. We’ve explored 10 key concepts: setting a strong foundation, planning with clear communication, gathering the right tools, embracing teamwork, being patient, adapting to challenges, celebrating small victories, maintaining enthusiasm, seeking expert advice when necessary, and cherishing the end result.
Now, take the first step by choosing one concept to focus on today—perhaps it’s enhancing communication or celebrating small victories. Implement it in your project and your relationship to experience growth in both areas.
As you move forward, bookmark this article as your trusted guide for future projects and relationship endeavors. It’s a resource you’ll want to revisit, ensuring that each build—be it a pergola or a relationship—is stronger and more resilient.
Remember, the effort you invest today lays the groundwork for tomorrow’s success. With each step, you’re not just constructing a structure; you’re building a lasting connection. Embrace the journey, and let it inspire a thriving relationship that stands the test of time.