Imagine stepping into your backyard and being greeted by a custom outdoor shelter that perfectly suits your style and needs. Whether you’re just starting your journey into outdoor living or you’re a seasoned pro, “15 Custom Outdoor Shelter Ideas for Your Yard” is your gateway to creating a personal haven. With options ranging from cozy pergolas to stylish gazebos, this guide promises to spark your creativity and cater to any level of expertise.
Here, you’ll discover practical benefits such as enhanced comfort, increased home value, and a newfound joy in outdoor gatherings. Each idea is designed to inspire confidence and empower you to transform your outdoor space into a stunning, functional retreat. Get ready to explore a world where the beauty and functionality of your yard come together to enhance your everyday life.
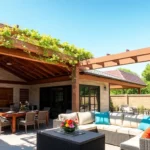
Incorporate Multi-Level Pergolas

Incorporating multi-level pergolas into your yard offers both aesthetic appeal and functional versatility. Start by choosing durable materials such as cedar or pressure-treated wood for longevity, and consider a design that includes varying heights and dimensions for each level. Beginners might opt for a simple two-tier structure, where the lower level functions as a cozy dining area, while more advanced DIYers can add a third level with built-in seating or planters to enhance the design.
To maximize the benefits, ensure that each pergola level serves a distinct purpose, such as creating zones for lounging, dining, or entertaining. Use climbing plants like wisteria or jasmine to add a lush, natural canopy that provides shade and privacy. For a modern touch, integrate lighting fixtures—such as string lights or solar-powered lanterns—across different levels to create an inviting ambiance at night. This multi-level approach not only increases the functionality of your outdoor space but also adds a unique architectural element to your garden.
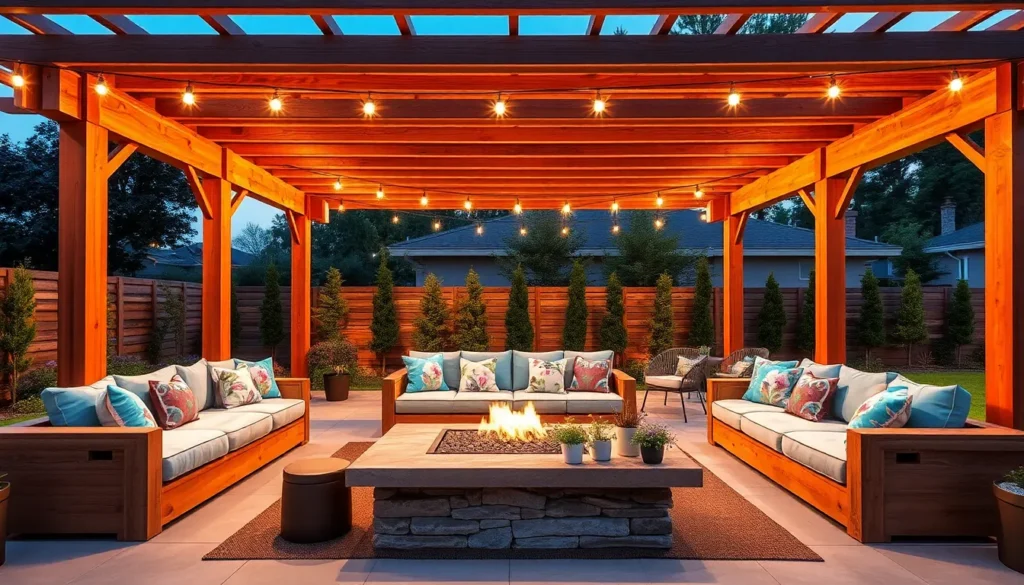
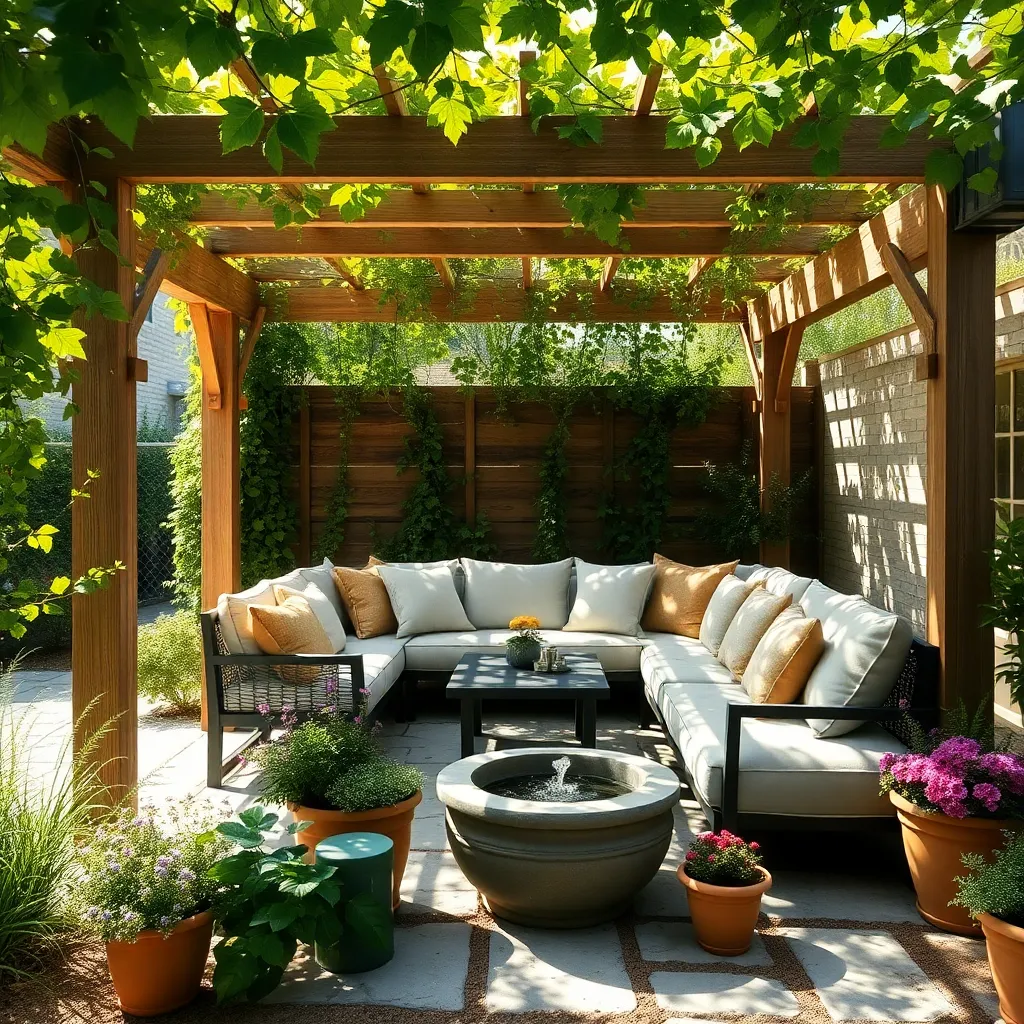
Utilize Natural Materials for Shade
Transform your yard into a natural oasis by utilizing materials such as bamboo, willow branches, or even reclaimed wood to create shade. These materials not only blend seamlessly with the environment, but they also offer a sustainable option for your outdoor shelter. For a simple yet effective design, consider weaving willow branches into a dense lattice over a basic wooden frame, ensuring the structure is sturdy and provides ample shade.
For those ready to take on a more advanced project, consider crafting a living canopy with climbing plants like wisteria or grapevines. This approach not only offers shade but also adds lush greenery and seasonal blooms to your space. Start by constructing a supportive trellis or pergola, ensuring it can bear the weight of mature plants. Regular maintenance, like pruning and training the vines, will be necessary to keep your natural shade structure both beautiful and functional.
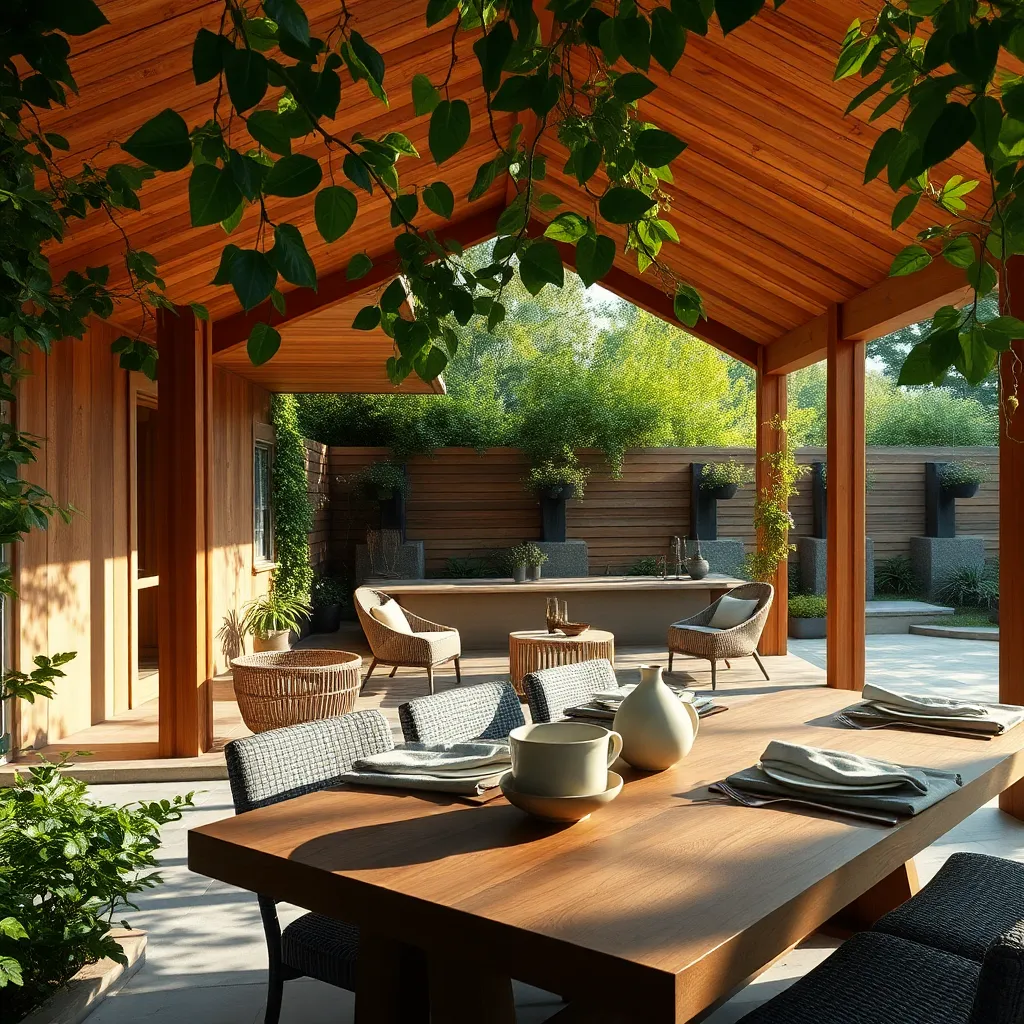
Design a Convertible Canopy System
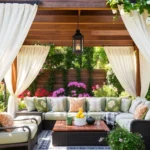
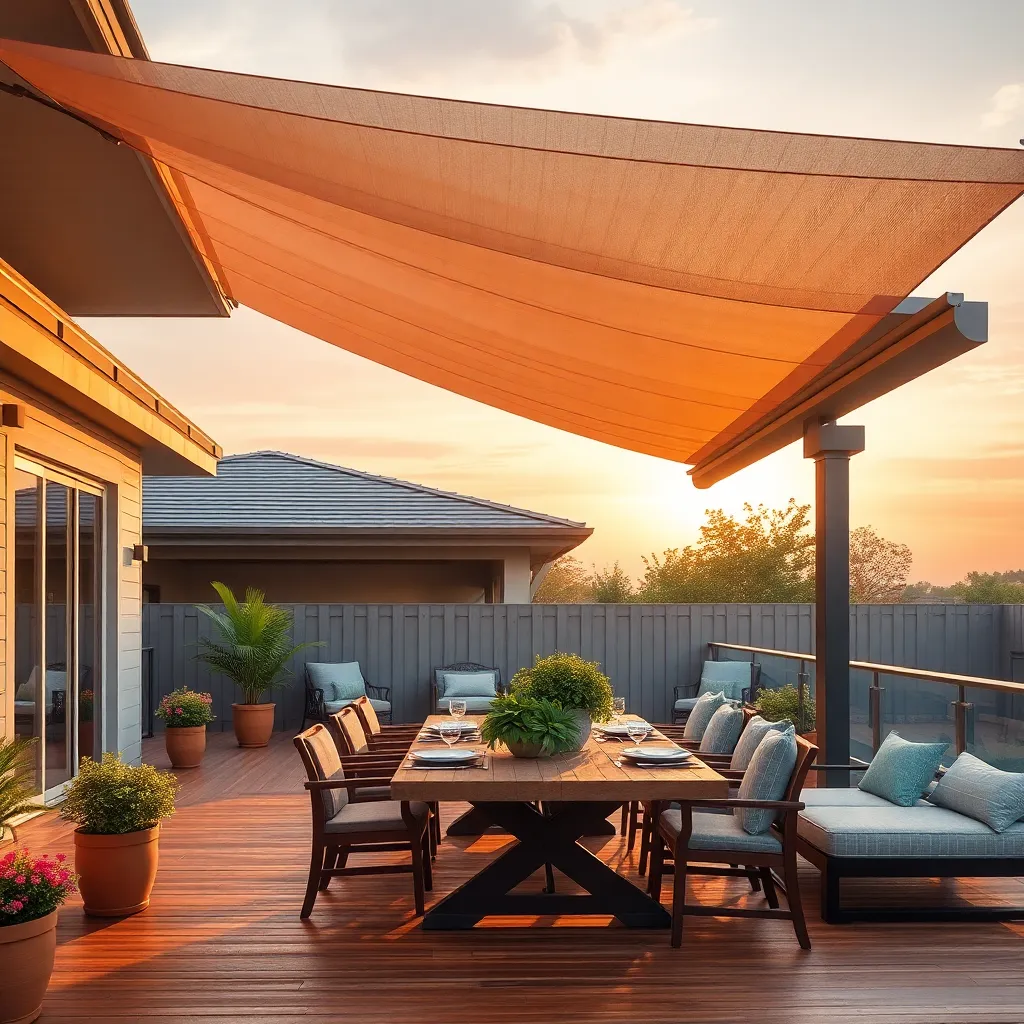
Transform your outdoor space with a convertible canopy system that offers both flexibility and style. Start by selecting a durable frame made from materials like aluminum or treated wood to withstand various weather conditions. For the canopy itself, opt for a UV-resistant fabric such as acrylic or polyester that can be easily retracted or extended. Consider installing a pulley system or a manual crank for easy adjustment, allowing you to control the amount of sunlight or shade depending on the time of day.
For those looking to add a touch of sophistication, consider incorporating motorized options that can be operated with a remote control. These systems often include integrated rain and wind sensors that automatically retract the canopy, providing protection and extending its lifespan. Ensure your design includes proper drainage solutions to prevent water pooling when the canopy is extended. For an extra layer of comfort, you can add side curtains or mosquito netting, making your outdoor area usable even in the evenings. With these thoughtful features, your convertible canopy can become a versatile and stylish focal point in your yard.
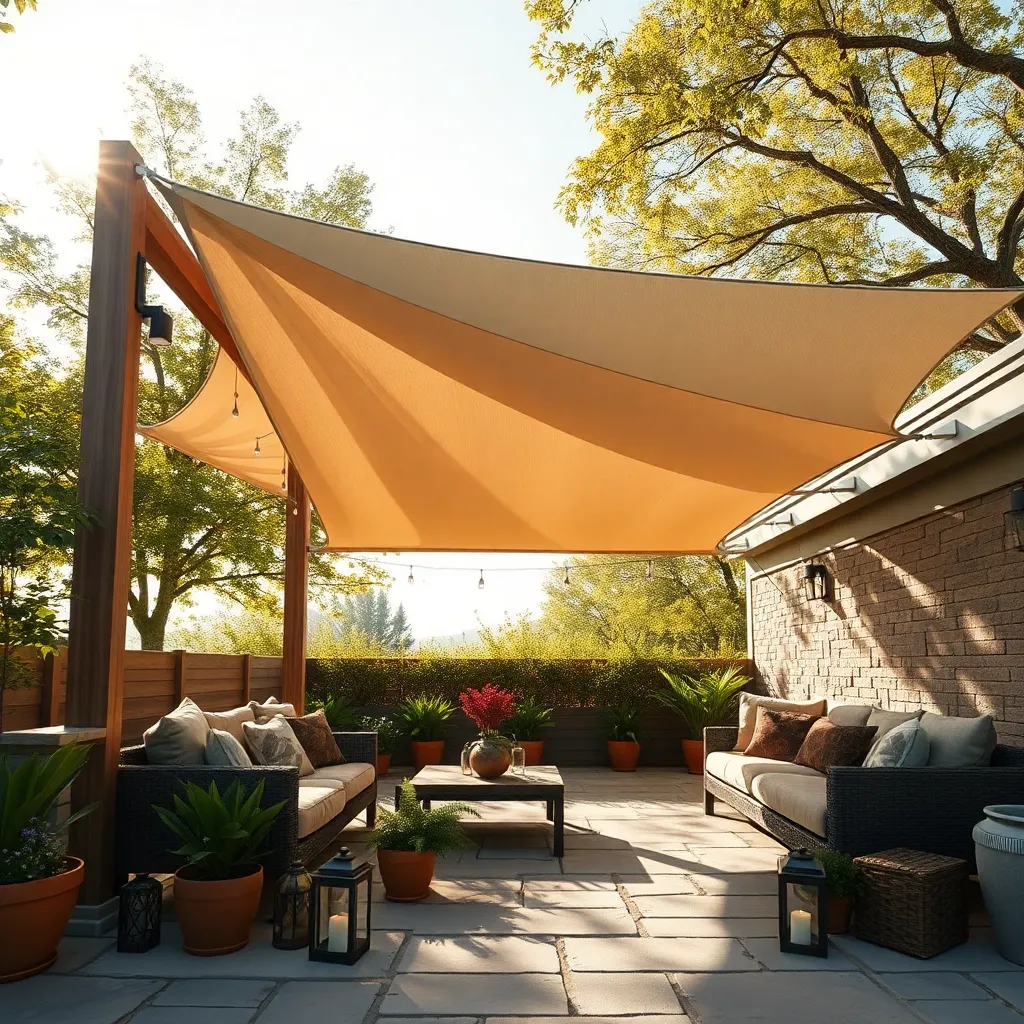
Add Retractable Awning Features
Adding a retractable awning to your outdoor space can significantly enhance both functionality and style. For beginners, consider using durable materials like acrylic fabric or aluminum, which offer excellent weather resistance. Ensure the awning is installed with a slight pitch to allow water runoff, and select a size that provides adequate shade, generally extending at least 10 feet from the house for optimal coverage.
For those looking to elevate their design, motorized awnings with remote control or smart home integration offer convenience and a touch of luxury. Incorporating wind or sun sensors can automate the awning’s deployment, protecting it from damage during inclement weather. Advanced users might explore custom color options to match the home’s exterior or add LED lighting strips for ambiance, transforming the outdoor area into a perfect retreat.
Create a Cozy Hammock Nook
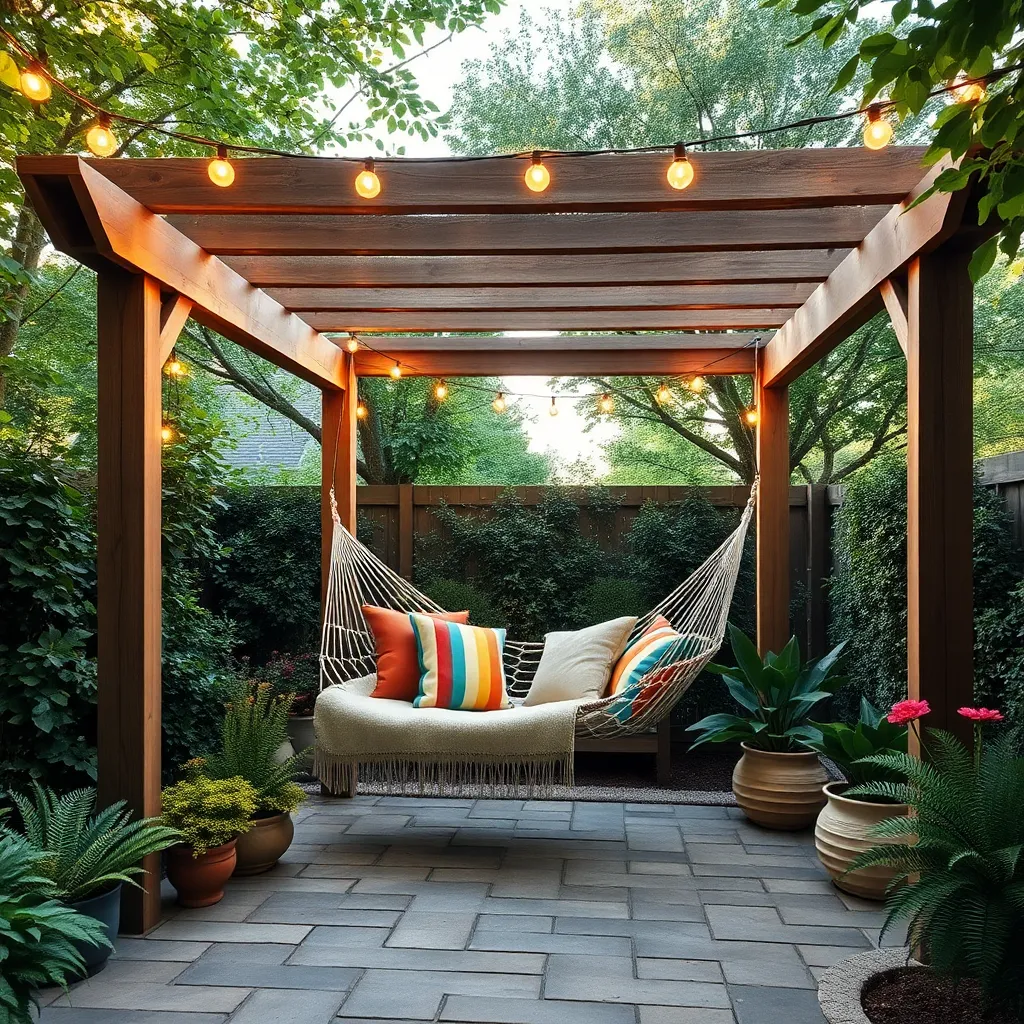
Transform a quiet corner of your yard into a serene retreat by creating a cozy hammock nook. Start by selecting a sturdy hammock made from weather-resistant materials like polyester or cotton blend, ensuring it withstands various outdoor conditions. For installation, use trees or install posts if needed, keeping them roughly 10-15 feet apart, depending on your hammock’s length. For a touch of privacy and added comfort, consider adding a shade sail overhead or plant tall shrubs around the area.
To enhance the ambiance, incorporate elements like soft lighting and personal touches. String solar-powered fairy lights or lanterns above the hammock for a warm glow in the evenings. Lay down an outdoor rug to define the space and add a small side table for convenience. For a more advanced touch, integrate built-in speakers for a relaxing soundscape. By combining these elements, you create an inviting haven that’s both functional and aesthetically pleasing for casual lounging or peaceful meditation.
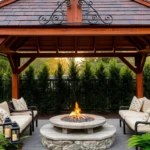
Build a Versatile Gazebo Space
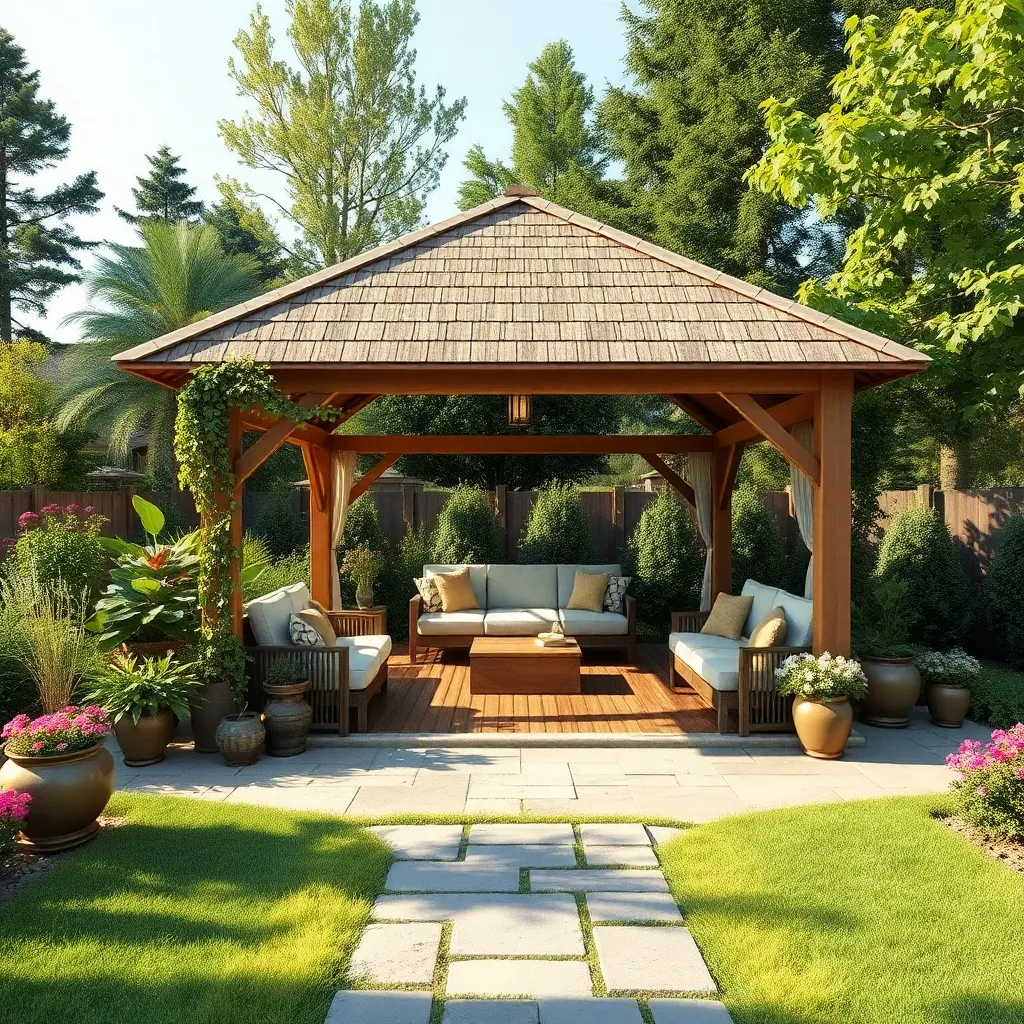
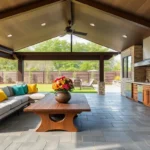
Transform your yard with a versatile gazebo that serves as both a retreat and a stylish focal point. Start by choosing durable materials like cedar or treated lumber for a robust structure; these are naturally resistant to rot and insects. Opt for a square or octagonal design to maximize space and add visual interest. For beginner builders, a simple square gazebo with a gabled roof can be a manageable project, while more experienced DIYers might experiment with intricate latticework or built-in seating.
Consider incorporating functional elements such as a built-in bench or a hanging swing to enhance usability. To weatherproof your gazebo, install polycarbonate roofing panels that let in light while offering protection from rain. Surround the space with weather-resistant outdoor curtains for privacy and shade on sunny days. For those seeking an advanced upgrade, integrate solar-powered lights or a small ceiling fan to extend your gazebo’s usability into the evening and warmer months. This blend of basic and advanced features ensures your gazebo remains a cherished outdoor haven year-round.
Implement a Green Roof Shelter
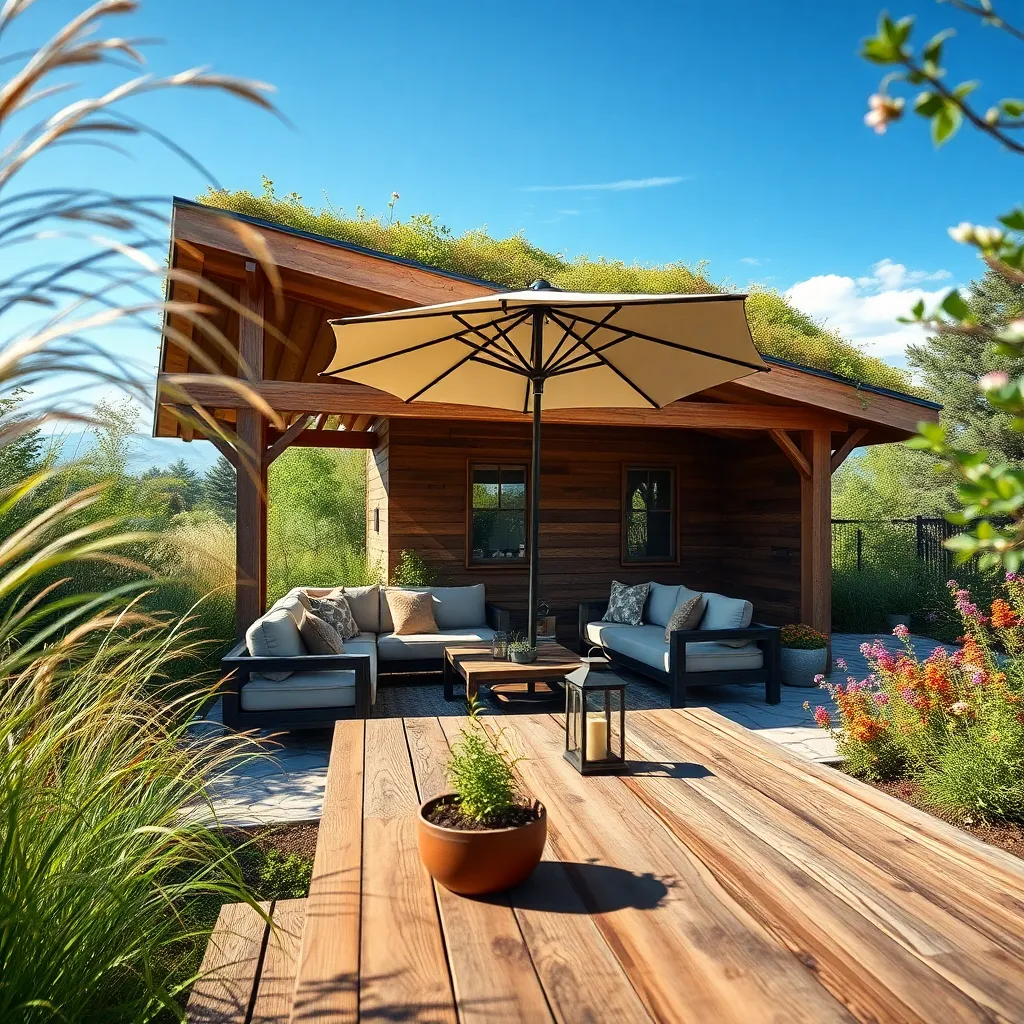
Transforming your outdoor shelter into a green roof structure not only enhances its aesthetic appeal but also contributes to environmental sustainability. Start by selecting a sturdy structure, such as a pergola or flat-roofed gazebo, capable of supporting the additional weight of soil and plants. Use a waterproof membrane as the base layer to protect the roof, followed by drainage mats to manage excess water. For beginners, choose hardy, low-maintenance plants like sedums and succulents, which thrive in shallow soil. Advanced gardeners can experiment with a variety of perennials and grasses to create a more diverse ecosystem.
Consider the climate and available sunlight when planning your plant selection, as this will dictate the types of plants that will flourish. Ensure your green roof has adequate irrigation, especially during dry spells, to keep your plants healthy. Use lightweight growing mediums to avoid overloading the structure and opt for modular green roof systems for easier installation and maintenance. These systems often come with pre-grown plant trays, making it simpler for beginners to implement a thriving green roof. With these practical steps, you can create a shelter that is not only functional but also environmentally conscious and visually striking.
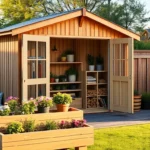
Craft a Rustic Log Cabin Hut
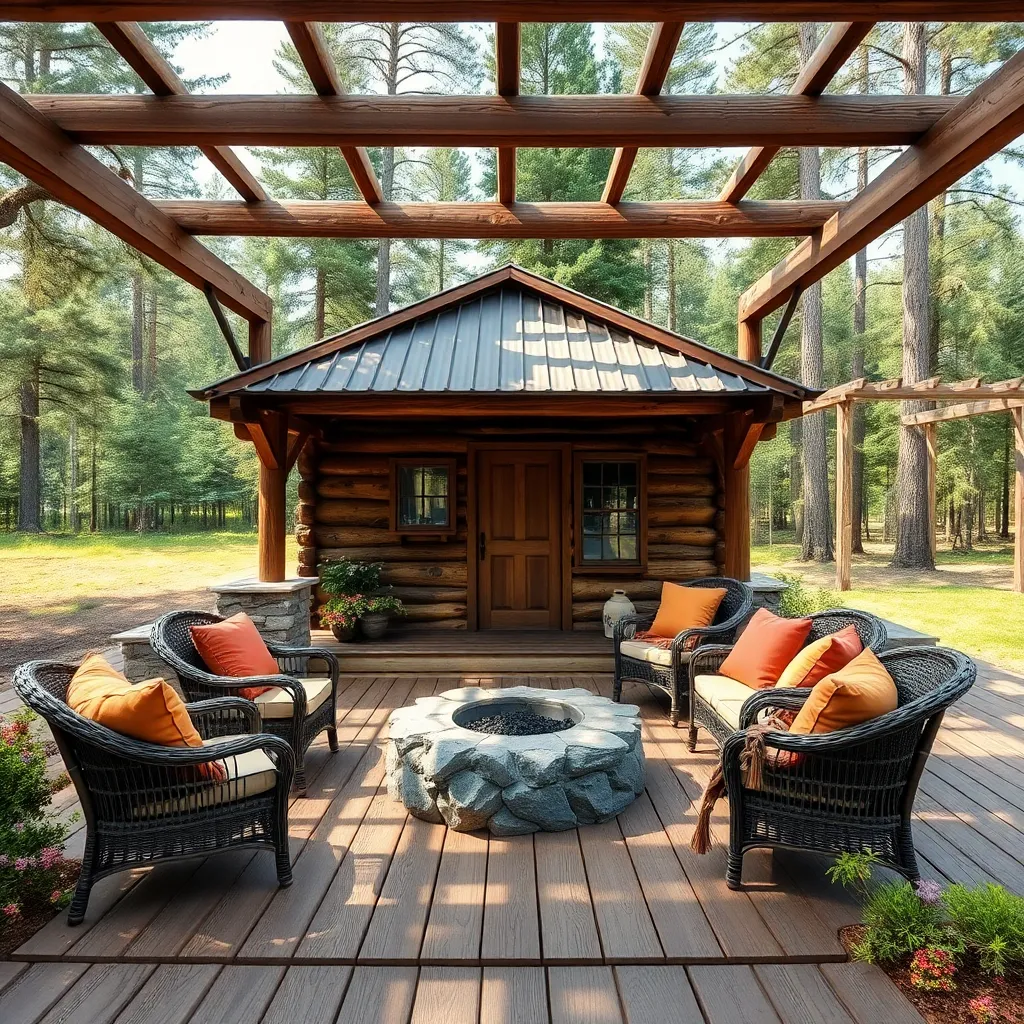
Crafting a rustic log cabin hut can transform your yard into a cozy retreat. Begin by sourcing locally available logs, as they not only cut costs but also blend seamlessly with the natural surroundings. For beginners, consider using logs around 8-10 inches in diameter for ease of handling. Ensure the logs are properly dried to prevent future warping. A simple design can start with a 10×10 foot dimension, providing ample space while keeping construction manageable. To achieve a sturdy structure, use the traditional notching technique to interlock logs securely.
Incorporating design elements like a small porch or overhanging roof will enhance both functionality and charm. Use a mixture of clay and straw to fill in gaps between logs, providing natural insulation and sealing against elements. For those with advanced skills, adding a stone fireplace can elevate the rustic feel. Consider a metal roof to ensure durability and weather resistance, with a slight overhang to protect the log ends. Remember to check local building codes and acquire necessary permits to ensure your project complies with regional regulations.
Integrate Solar-Powered Roof Panels
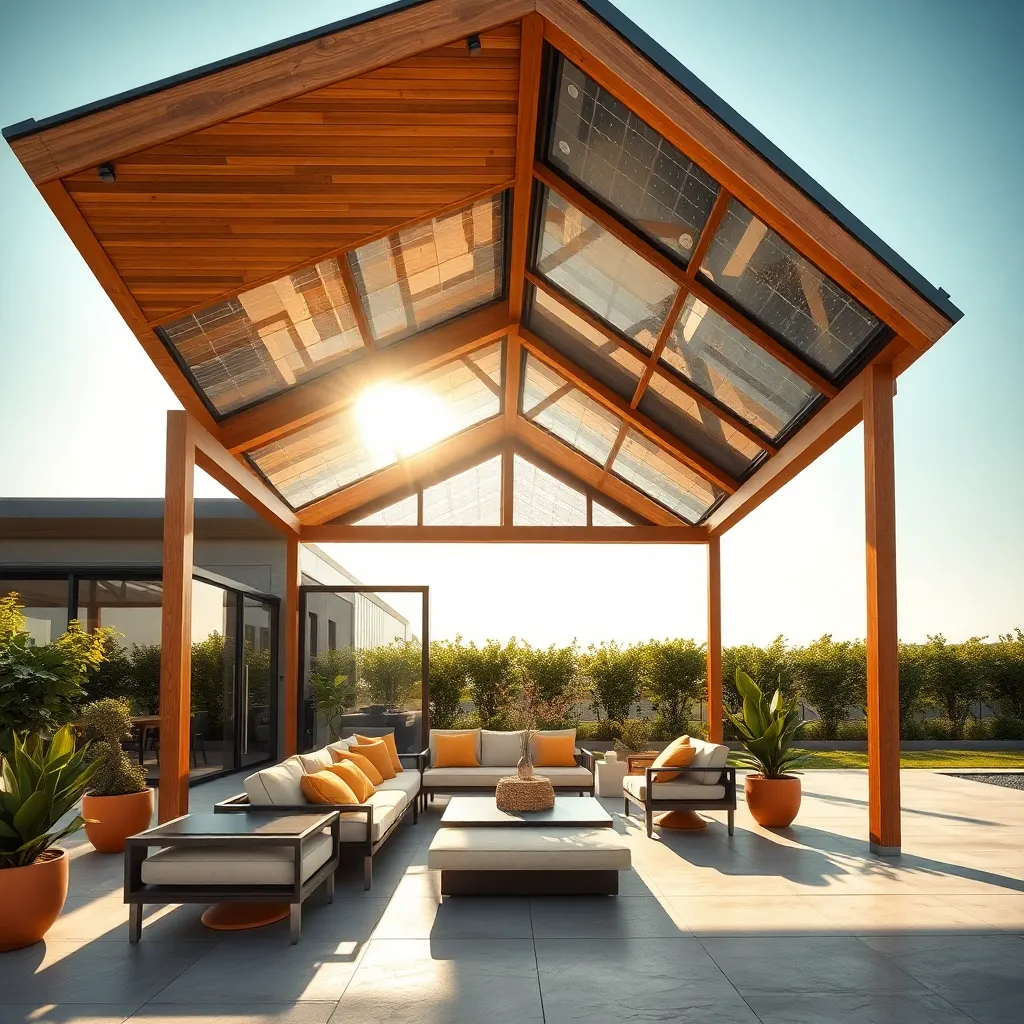
Solar-powered roof panels are an excellent addition to your outdoor shelter, offering both sustainability and energy efficiency. Begin by selecting high-quality, weather-resistant panels that can withstand various climates. Opt for monocrystalline panels for their efficiency and sleek appearance. Ensure the roof structure is sturdy enough to support the panels, using treated lumber or metal brackets for added strength. This setup not only reduces your carbon footprint but also provides a reliable power source for lighting or small appliances in your shelter.
For those ready to take their project to the next level, consider integrating a battery storage system to maximize the use of generated solar energy. This advanced setup allows you to store excess power, ensuring your shelter remains functional even on cloudy days. Install an inverter to convert stored energy into usable electricity, and position your panels at an angle between 15-30 degrees for optimal sun exposure. With these elements in place, your solar-powered shelter becomes a self-sufficient oasis, perfect for evening gatherings or a quiet retreat.
Construct a Transparent Dome Retreat
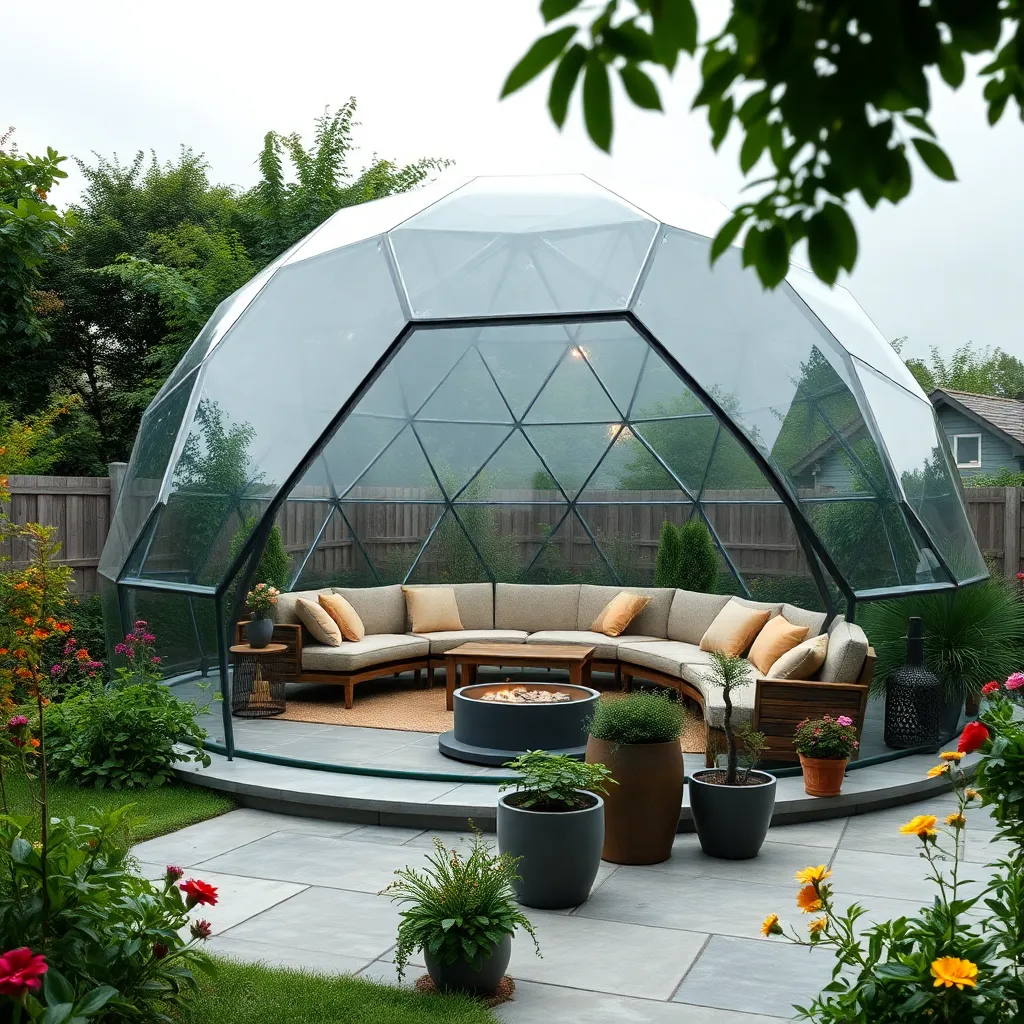
Transform your yard into a serene escape by constructing a transparent dome retreat. Start with a sturdy base using pressure-treated wood or concrete to ensure stability. For the dome itself, consider using polycarbonate panels, which are both lightweight and durable, allowing natural light to flood the space while protecting against weather elements. Measure the diameter and height to fit your space and vision, typically ranging from 8 to 12 feet in diameter for a comfortable retreat. Assemble the panels using a geodesic design, which provides structural integrity and a unique aesthetic.
To personalize your dome, incorporate elements that enhance comfort and style. Add a circular wooden deck for a natural touch and install weather-resistant flooring like outdoor rugs or tiles to create a cozy atmosphere. Enhance privacy by planting tall grasses or shrubs around the perimeter. For a touch of luxury, include solar-powered LED lighting to illuminate the dome at night, creating a magical ambiance. Advanced builders might integrate a ventilation system to maintain airflow, ensuring the space remains comfortable year-round.
Design a Swinging Bench Pavilion
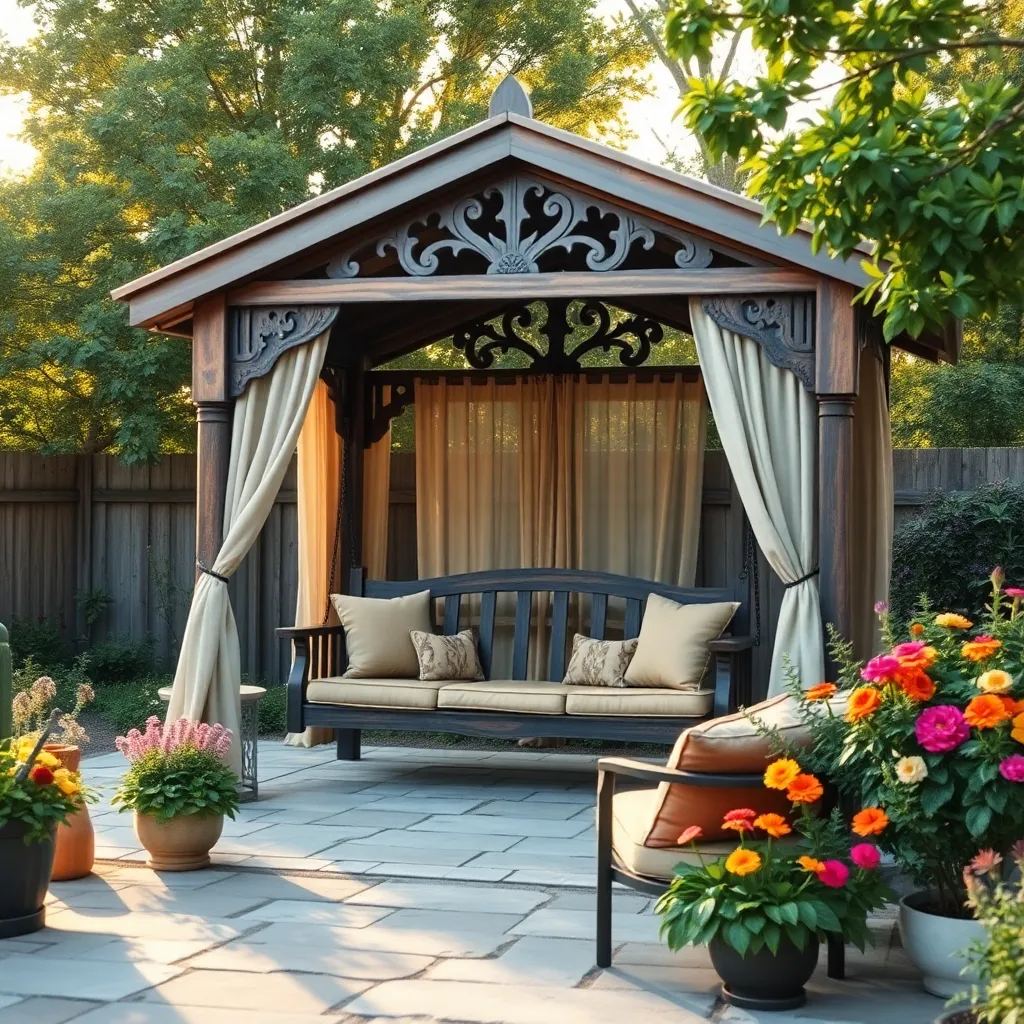
Creating a swinging bench pavilion in your yard can be a delightful addition that combines relaxation with style. Start by choosing a sturdy frame material like cedar or treated pine, which are both durable and weather-resistant. Opt for a design that incorporates an A-frame or pergola-style structure to provide support and an elegant look. For the bench itself, ensure it’s made of a comfortable and robust material, such as teak or eucalyptus, and consider adding weatherproof cushions for added comfort.
For a more personalized touch, consider adding decorative elements such as climbing plants or hanging lanterns to enhance the ambiance. Beginners should focus on simple, prefabricated kits that provide all the necessary components and instructions, while more experienced builders might enjoy customizing their own design.
- Ensure the pavilion is anchored securely to prevent tipping.
- Consider adding a canopy or retractable cover for shade.
These practical steps will ensure your swinging bench pavilion remains a cherished feature of your outdoor space for years to come.
Install a Rustic Timber Frame
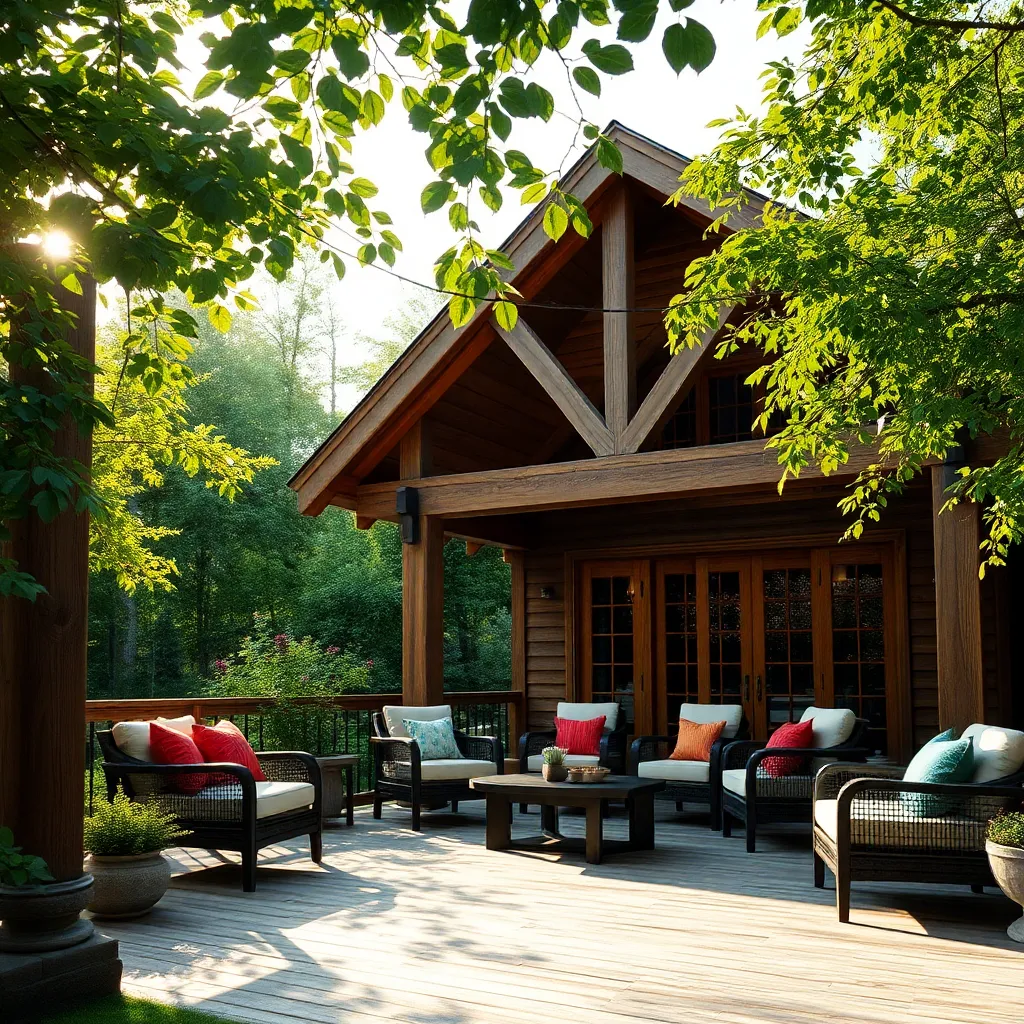
Consider installing a rustic timber frame to add timeless charm and robust durability to your outdoor space. This type of shelter can be crafted from reclaimed wood or new timber, providing a natural aesthetic that blends seamlessly with the outdoors. Begin by selecting durable woods like cedar or oak, which are both resistant to weather conditions and insects. Measure your space carefully to determine the appropriate size for your timber frame—common dimensions include a 10×12 ft or 12×16 ft footprint, depending on your yard size and intended use.
For construction, joinery techniques such as mortise and tenon can enhance the rustic appeal while ensuring structural integrity. If you’re new to woodworking, consider hiring a professional or using pre-cut kits to simplify the process. Advanced builders might explore custom trusses or decorative beams for an added touch of elegance. Enhance your shelter with details like hanging lanterns or climbing vines to create a cozy, inviting atmosphere. Regular maintenance, such as applying a weatherproof sealant annually, will help preserve the wood’s beauty and longevity, making your rustic timber frame both a functional and beautiful addition to your yard.
Develop a Modular Shelter Layout
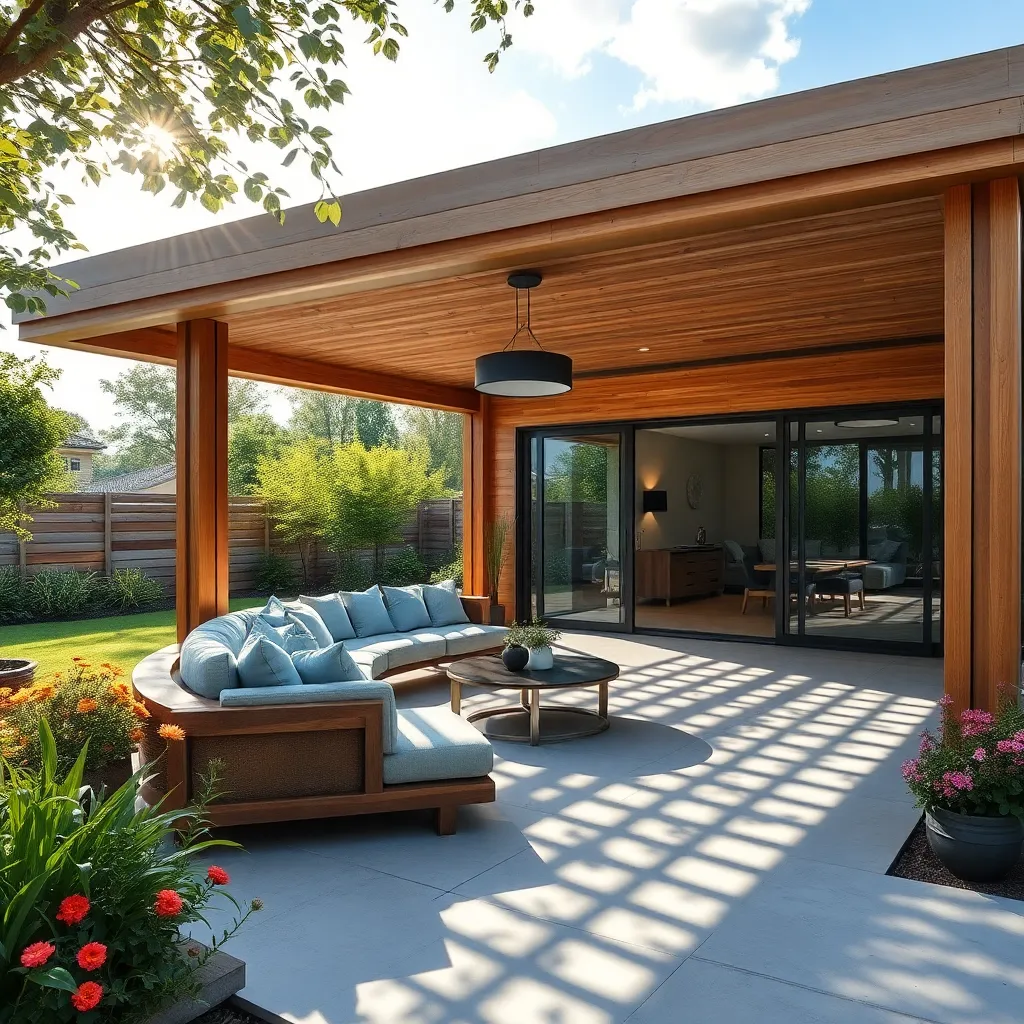
To develop a modular shelter layout, start by envisioning your outdoor space as a series of interconnected zones. Modular shelters allow flexibility and can be tailored to suit various functions, such as lounging, dining, or storage. Consider using durable materials like weather-resistant wood or metal for framing, and think about incorporating adjustable panels or retractable awnings to adapt to changing weather. For beginners, begin with basic modules like a simple square or rectangle, and expand as needed. More advanced gardeners might explore hexagonal or L-shaped designs for a unique and functional space.
Next, focus on the arrangement and connectivity of your modular units. Ensure each module serves a purpose and is easily accessible, considering pathways and flow between spaces. Use elements like pergolas or trellises to define boundaries without closing off the space. Include multi-functional furniture to maximize utility, such as benches with storage or tables that can be folded away. For a polished look, integrate natural elements like climbing plants or potted greenery to blend the structure with your garden. This approach not only enhances visual appeal but also creates a harmonious outdoor retreat.
Fashion a Tent-Style Lounge Area
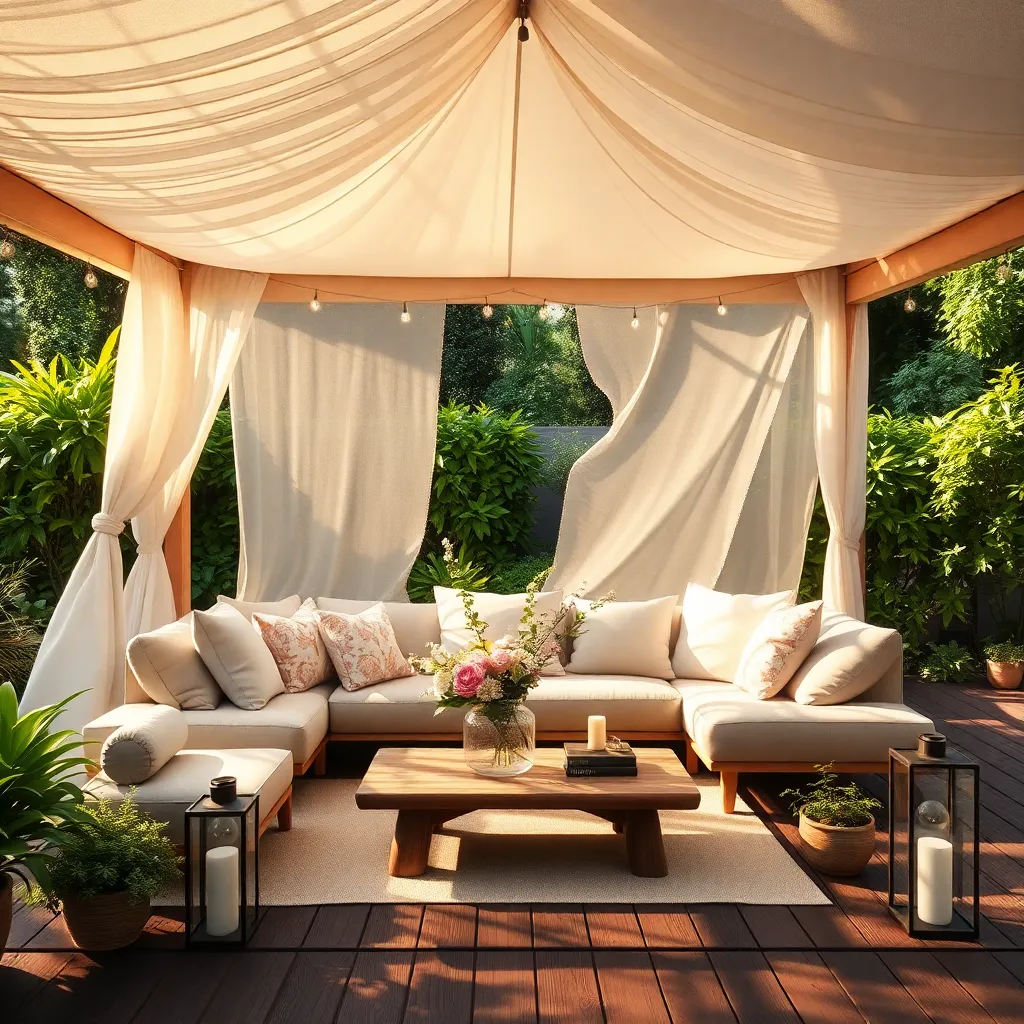
Creating a tent-style lounge area in your yard is an inviting way to maximize outdoor comfort and style. Start by selecting a sturdy and weather-resistant fabric, such as canvas or polyester, which will ensure durability against the elements. Choose a neutral color that complements your existing outdoor decor. Anchor your tent structure using poles made from treated wood or metal for added stability. For a basic setup, consider a rectangular layout measuring approximately 10×10 feet, providing ample space for seating and relaxation.
For a cozy atmosphere, incorporate soft furnishings like weather-resistant cushions and throws. Enhance functionality by adding a low coffee table or outdoor rug to define the space and make it feel more like an extension of your home. To personalize your tent-style lounge, consider string lights or lanterns for evening ambiance, and add potted plants or hanging planters for a touch of greenery.
- Advanced Tip: Incorporate adjustable side flaps or curtains on your tent for additional privacy and sun protection.
- Beginner Tip: Use pre-made tent kits available at many outdoor retailers for a hassle-free installation.
Establish a Hidden Garden Hideaway
Creating a hidden garden hideaway can transform your yard into a serene retreat. Start by choosing a secluded spot in your garden, shielded by tall hedges or a natural tree canopy. Use a simple wooden frame to construct a small, open-air pavilion, ensuring it blends naturally with the surroundings. Select weather-resistant materials like cedar or teak, and consider adding a climbing plant, such as clematis or jasmine, to weave through the structure for a lush, green cover.
Integrating comfortable seating and soft lighting will make your hideaway inviting and functional. Opt for all-weather cushions and durable fabrics to ensure longevity and comfort. For an advanced touch, install solar-powered lanterns or string lights to create a cozy ambiance without requiring electrical wiring. Add personal touches, such as a small water feature or bird feeder, to enhance the sense of tranquility. This harmonious blend of nature and shelter will make your garden hideaway a cherished escape.
Conclusion: Creating Beautiful Outdoor Spaces
As we wrap up our exploration of ’15 Custom Outdoor Shelter Ideas for Your Yard,’ we’ve journeyed through concepts that extend beyond mere structures, delving into the heart of creating spaces that nurture and enhance your relationships. From cozy pergolas that invite intimate conversations to expansive gazebos perfect for gatherings, each idea underscores the importance of fostering connection, embracing creativity, and celebrating individuality in your relationships. We’ve discussed the value of shared experiences, the joy of personalized touches, and the importance of environments that reflect mutual growth and understanding.
As a next step, consider identifying which outdoor space resonates most with your relationship goals and take the first step in bringing it to life—perhaps by sketching a plan or setting a date to visit a local garden center.
Remember, every nurturing space you create is a stepping stone toward deeper connection and lasting memories. Don’t let these insights slip away—bookmark this article to revisit as you embark on your journey toward relational success. With each thoughtful addition to your environment, you’re not just building a shelter but fortifying the bonds that hold your relationship together. Here’s to a future rich with love, laughter, and enduring companionship.