Imagine transforming your backyard into a serene retreat, a place where you can unwind under the stars or host a lively gathering with friends. Outdoor gazebos offer just that—a charming blend of functionality and style that enhances any outdoor space. Whether you’re a novice taking baby steps into the world of DIY or a seasoned homeowner eager to tackle a new project, crafting your own gazebo is an achievable goal that brings immense satisfaction.
In this article, we’ll explore nine DIY gazebo kits that cater to a range of skills and tastes, empowering you to create a personalized haven right in your backyard. You’ll discover the essentials of each kit, from ease of assembly to design features, ensuring you find the perfect match for your outdoor oasis. Let’s embark on this exciting journey to elevate your outdoor living experience, one beam and bolt at a time.
Understanding Gazebo Kit Components
When embarking on a DIY gazebo kit project, understanding the components is crucial for a smooth assembly process. Most kits include pre-cut lumber, hardware, and roofing materials, minimizing the need for special tools or skills. For beginners, it’s essential to ensure the kit comes with detailed instructions and all necessary parts; missing components can cause delays and frustration. Consider the material composition—cedar and pressure-treated wood are popular for their durability and resistance to weather conditions.
Advanced builders might appreciate the chance to customize their gazebo with additional features. Look for kits that offer options like built-in benches or decorative trim for a personalized touch. Ensure the kit’s dimensions fit your outdoor space, typically ranging from 8×8 to 12×12 feet, allowing for adequate room for furniture or gatherings. For a more robust structure, opt for kits with metal reinforcements or thicker beams, which increase stability and longevity. With the right components and thoughtful design choices, your gazebo can transform your backyard into a relaxing oasis.
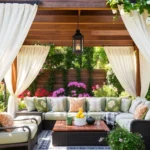
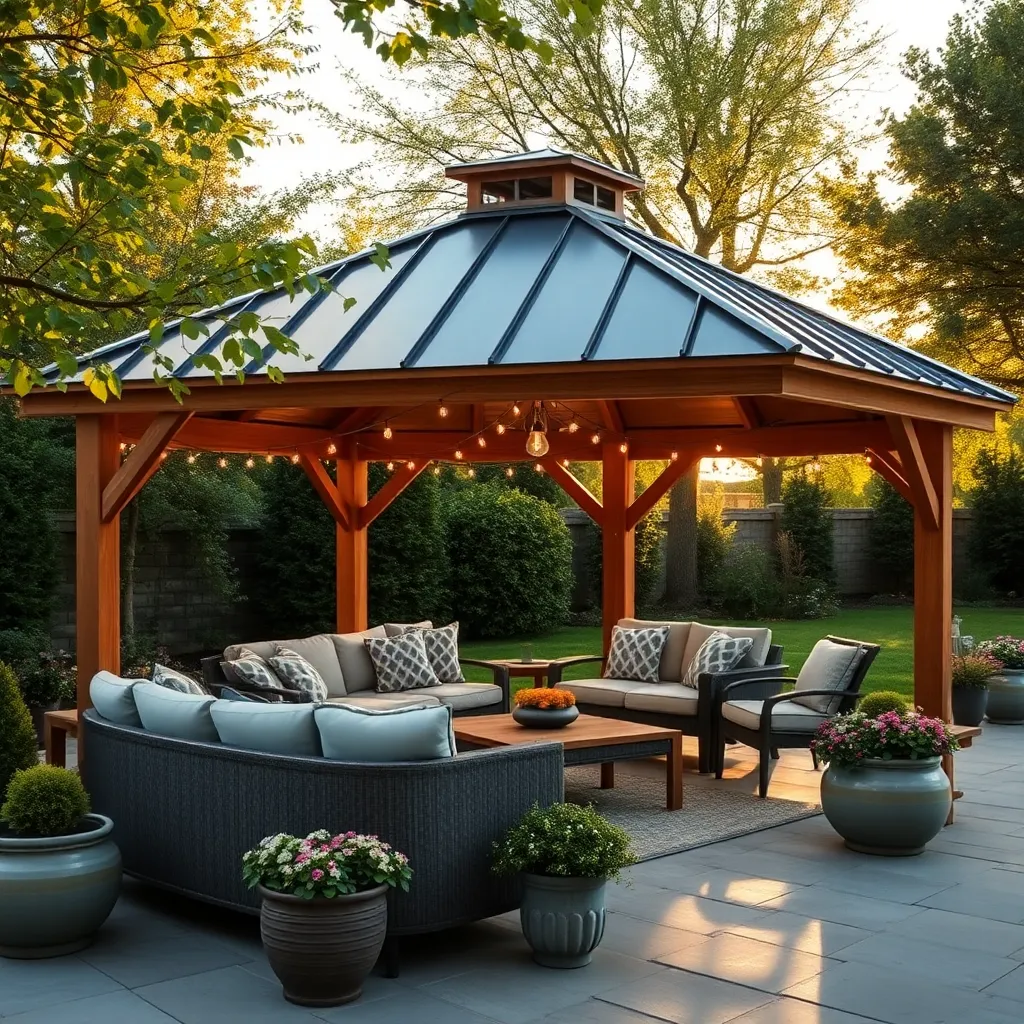
Choosing the Right Gazebo Style
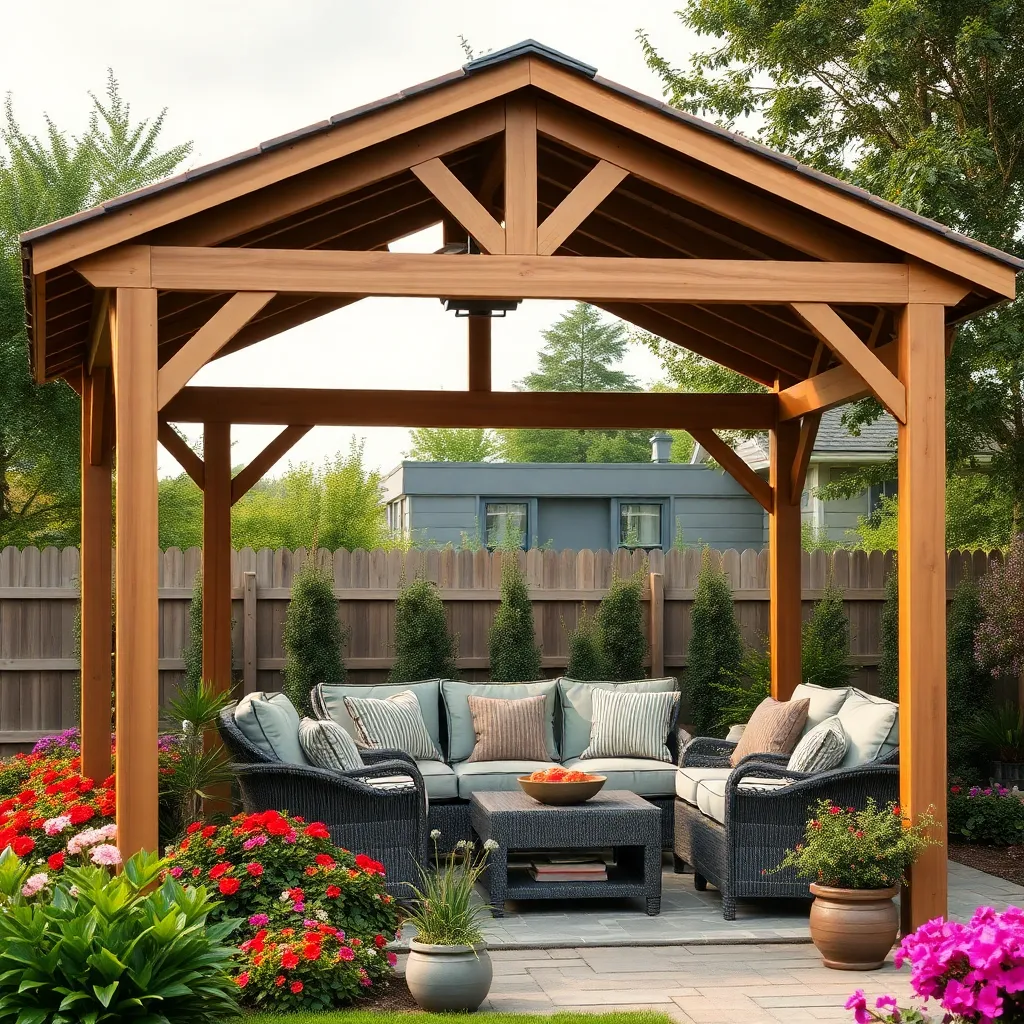
When choosing the right gazebo style, consider the purpose and setting of your outdoor space. For a classic look, opt for a wooden gazebo with a gabled roof, which provides a timeless feel and sturdy structure. If you prefer a modern design, a metal-framed gazebo with a flat or sloped roof offers a sleek aesthetic that complements contemporary landscapes. Materials like cedar or pressure-treated lumber are excellent for traditional styles, while powder-coated steel or aluminum suits modern designs, ensuring durability and low maintenance.
Additionally, think about the size and features that best fit your needs. Measure your space to determine the appropriate dimensions, ensuring enough room for furniture and movement. For added functionality, consider gazebos that include features like built-in benches or mosquito netting. Advanced builders might integrate lighting or custom flooring for a more personalized touch. Remember, your gazebo should not only enhance the beauty of your garden but also serve as a practical, enjoyable retreat.
Tools Needed for Assembly
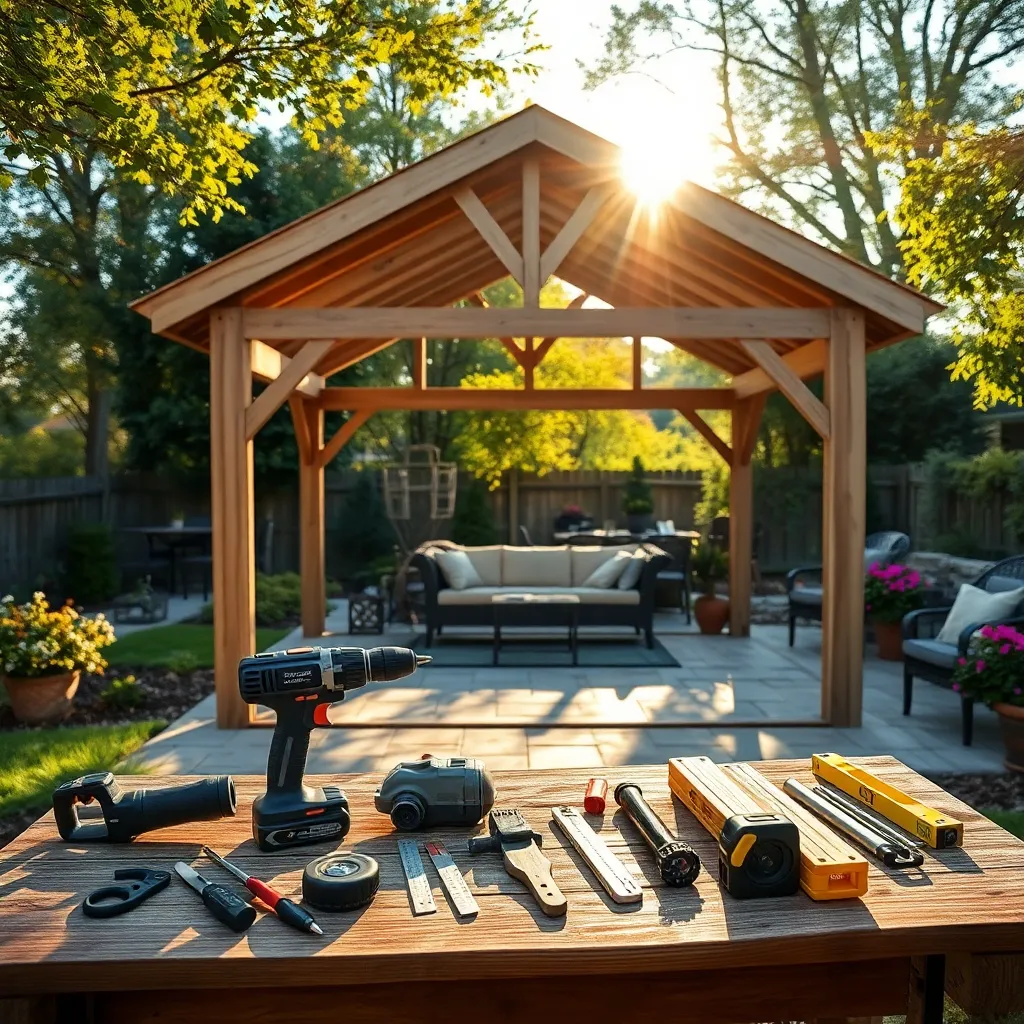
Before diving into the assembly of your DIY gazebo kit, having the right tools on hand is crucial for a smooth construction process. Essential tools include a power drill with a set of bits, a tape measure to ensure precision, and a level to keep everything straight and sturdy. For more advanced assembly, consider having a circular saw available if any adjustments or customizations are needed. These tools will not only make the job easier but also help ensure that your gazebo is both safe and visually appealing.
Additionally, organizing your materials before starting can save time and reduce frustration. Create a checklist of all the components included in your kit and align them with your tools. It’s also recommended to have a rubber mallet for gently maneuvering parts into place without causing damage, and a set of safety gloves to protect your hands during assembly. Remember, a successful build starts with thorough preparation, so taking the time to gather everything you need will enhance your experience and the final outcome.
Step-by-Step Assembly Instructions
Start by laying out all the components of your DIY gazebo kit to ensure nothing is missing. Organizing your materials will streamline the assembly process and minimize errors. For beginners, it’s crucial to follow the manufacturer’s instructions closely, beginning with the foundation. Using a level ground or a pre-made wooden or concrete base will provide stability. Always ensure the base dimensions match the gazebo dimensions for a snug fit.
Once the foundation is ready, focus on assembling the frame. Secure the posts first, using a cordless drill for speed and precision, and make sure each corner is perfectly aligned. Check for vertical plumb with a spirit level. For advanced builders, consider reinforcing joints with metal brackets for added durability. When attaching the roof, work with a partner for safety and efficiency—installing trusses evenly will prevent future sagging. Complete the setup by adding design elements like mosquito netting or curtains for a personalized touch.
Ensuring Structural Stability and Safety
To ensure the structural stability of your DIY gazebo, start by selecting the right materials. Pressure-treated wood or rust-resistant metal are excellent choices for durability against weather conditions. When setting the foundation, use a concrete base or anchor your posts with ground screws or concrete footings for maximum stability. These foundational elements are crucial in preventing your gazebo from shifting or collapsing.
Pay close attention to the assembly process to enhance safety and longevity. Use galvanized screws and bolts to secure the frame tightly, minimizing rust and corrosion over time. For added strength, consider installing cross-bracing on the sides and roof supports. Beginners should ensure all joints are tightly fitted, while experienced builders might opt for additional reinforcements in high-wind areas. Following these guidelines guarantees a safe and stable outdoor shelter for years to come.
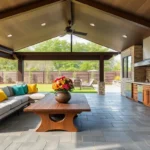
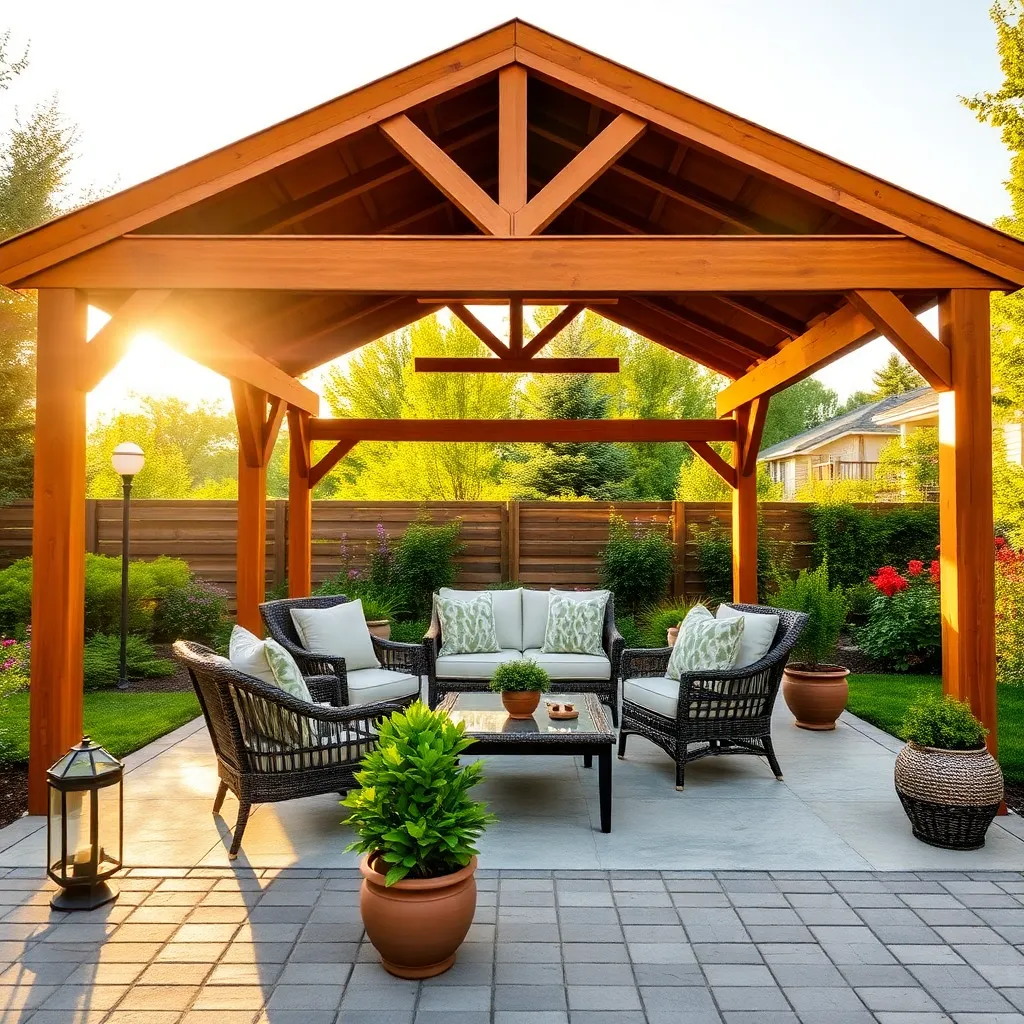
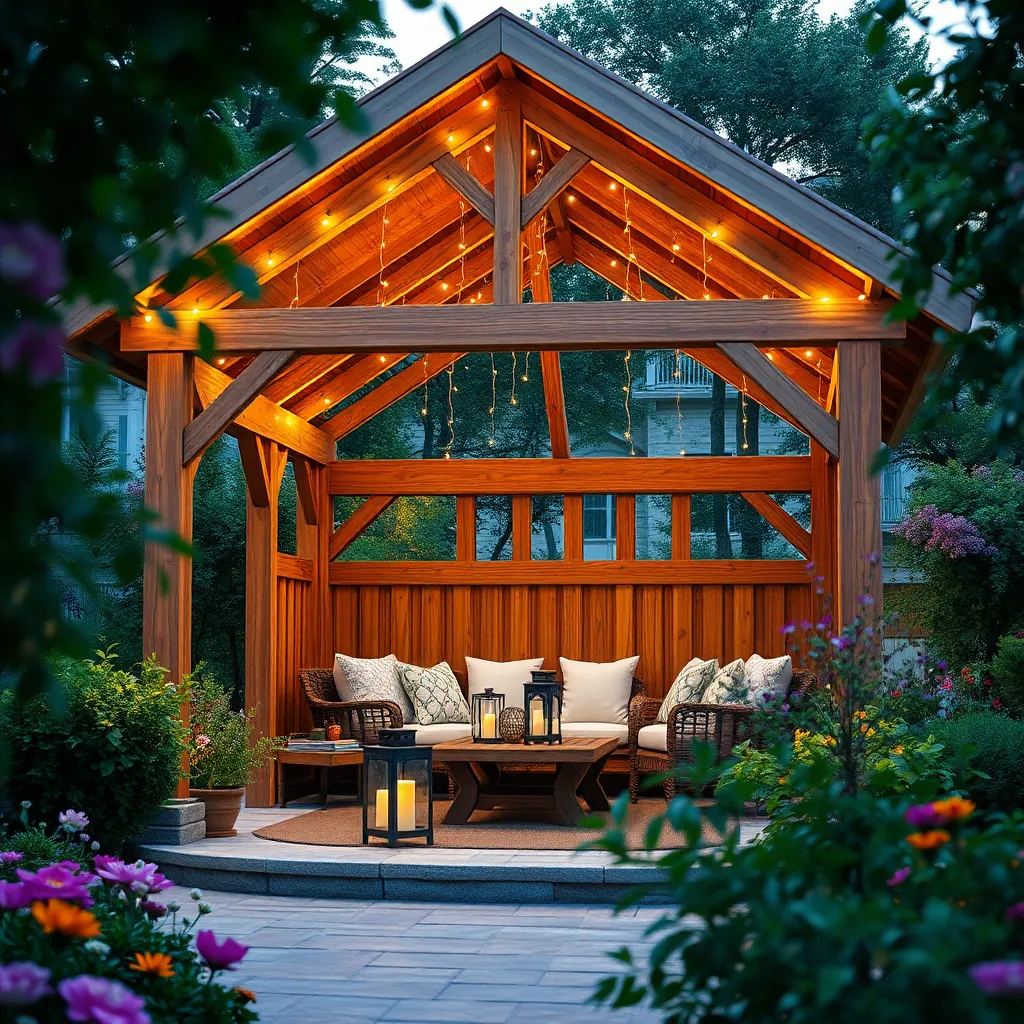
Customizing Your Gazebo Design
Customizing your gazebo design is an exciting opportunity to personalize your outdoor space. Start by choosing materials that match your home’s aesthetic and climate needs, such as using cedar for its durability and natural resistance to decay. Consider adding decorative elements like latticework or a cupola for a touch of elegance. For a beginner-friendly approach, keep the design simple with a standard hexagonal or square shape, which allows for straightforward assembly and maintenance.
For those looking to add unique features, explore options like integrated lighting or built-in seating. These features can transform your gazebo into a cozy retreat for evening relaxation or entertaining guests. Advanced DIY enthusiasts might incorporate a metal roof for added longevity and a chic, modern look. Remember to ensure that any customizations do not compromise the structural integrity. Use quality fixtures and fittings to maintain safety and durability, ensuring your gazebo remains a cherished part of your landscape for years to come.
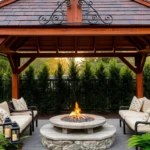
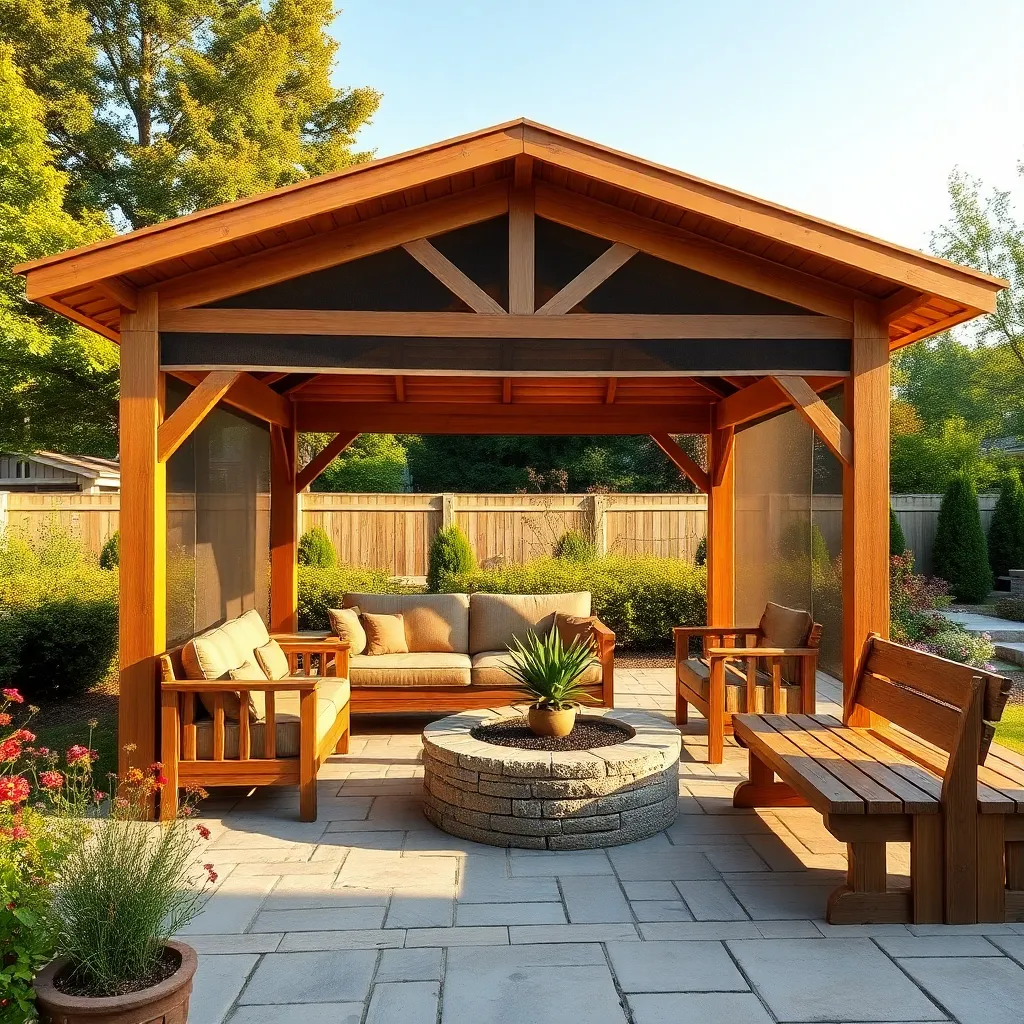
Adding Weather-Resistant Features
When enhancing your gazebo with weather-resistant features, start by selecting materials that can withstand the elements. Opt for treated wood, which is resistant to rot and insects, or consider using metal components like galvanized steel that resist rust. For roofing, choose polycarbonate panels or weatherproof shingles that offer both durability and UV protection. These materials not only extend the lifespan of your gazebo but also reduce maintenance efforts.
Incorporating additional design elements can further enhance weather resistance. Install curtains or roll-up shades made from outdoor fabric to provide shade and wind protection. For added comfort during rainy months, consider installing a sloped roof to ensure proper water drainage and avoid pooling. Advanced builders might add gutters and downspouts to efficiently manage runoff. By integrating these thoughtful design choices, you’ll create a more resilient and enjoyable outdoor space.
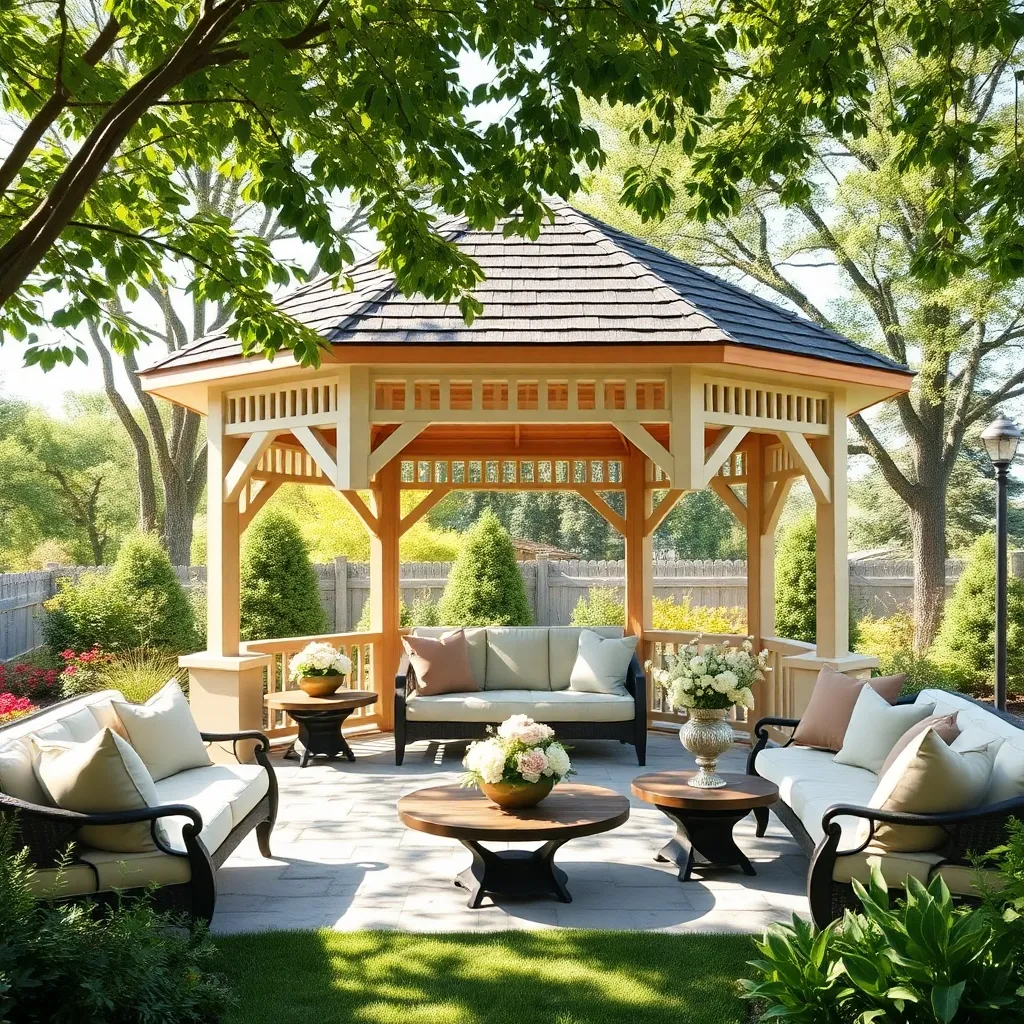
Incorporating Lighting and Accessories
When incorporating lighting into your gazebo, consider using a mix of fixtures to create a versatile and inviting atmosphere. Solar-powered string lights are an excellent choice for beginners, offering an easy installation process and energy efficiency. For those looking to enhance their space further, adding recessed LED lights can provide a more sophisticated, permanent solution. Ensure your lighting choices are weatherproof to withstand various outdoor conditions, and consider placing lights strategically to highlight architectural features of your gazebo.
Accessorizing your gazebo with thoughtful touches can transform it into a comfortable and stylish outdoor retreat. Add weather-resistant cushions and throws to seating areas for comfort and a pop of color. Consider installing outdoor curtains for privacy and protection from the sun. For a more advanced project, integrate a built-in sound system or a portable speaker to enjoy music while relaxing in your gazebo. These accessories not only enhance functionality but also personalize your space, making it a cherished part of your home.
Maintaining Your Gazebo Year-Round
Maintaining your gazebo year-round ensures it remains a beautiful and functional part of your outdoor space. Begin with regular cleaning using a mild detergent and soft brush to remove dirt and debris, especially after heavy weather. For wooden gazebos, apply a weather-resistant sealant annually to protect against moisture and UV damage. Metal structures benefit from rust-resistant paint, which should be reapplied every two to three years to prevent corrosion and keep your gazebo looking fresh.
To safeguard your gazebo during harsh weather, consider removable side panels or curtains that can be drawn during storms. Additionally, routinely check the structure for any loose screws or damage that could worsen over time. Invest in quality, all-weather cover if your area experiences extreme winter conditions, as this will prolong the lifespan of both the frame and any fabric components. For those with advanced DIY skills, adding a sloped roof can enhance water runoff, reducing potential water damage and maintaining the integrity of your gazebo.
Conclusion: Creating Beautiful Outdoor Spaces
In exploring the ‘9 DIY Outdoor Gazebo Kits You Can Build Yourself,’ we’ve uncovered key relationship concepts: fostering teamwork, embracing creativity, enhancing communication, cultivating patience, building trust, sharing responsibilities, celebrating achievements, nurturing flexibility, and creating shared memories. These insights illuminate how a joint project like building a gazebo can strengthen bonds and deepen connections in meaningful ways.
To put these concepts into action, why not choose a weekend to start planning your gazebo project together? This will not only ignite excitement but also offer a practical way to apply these relationship principles. As you embark on this journey, remember that the process is just as valuable as the outcome.
Bookmark this article as your go-to guide for building both a stunning outdoor space and a resilient relationship. This endeavor promises not just a beautiful gazebo but also a foundation for lasting relationship success. By taking these steps, you’re investing in a future filled with shared victories and cherished moments, ensuring your relationship thrives well beyond the completion of your project.