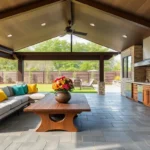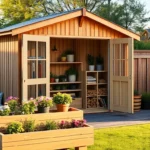
Discovering the perfect outdoor shelter kit can transform your backyard into a personal oasis, offering a cozy retreat from the daily hustle. Whether you’re a novice embarking on your first backyard project or a seasoned homeowner looking to elevate your outdoor space, assembling your own shelter is an empowering and rewarding experience. With a myriad of options available, you’ll find that the right kit not only enhances your home’s aesthetic but also creates a functional extension of your living space.
In this article, we’ll guide you through eight exceptional outdoor shelter kits that cater to a variety of tastes and skill levels. From simple pergolas to intricate gazebos, you’ll learn about the unique features, materials, and assembly tips for each option. Our goal is to provide you with practical insights and inspire you to create a backyard haven that’s both beautiful and uniquely yours.
Choosing the Perfect Shelter Kit
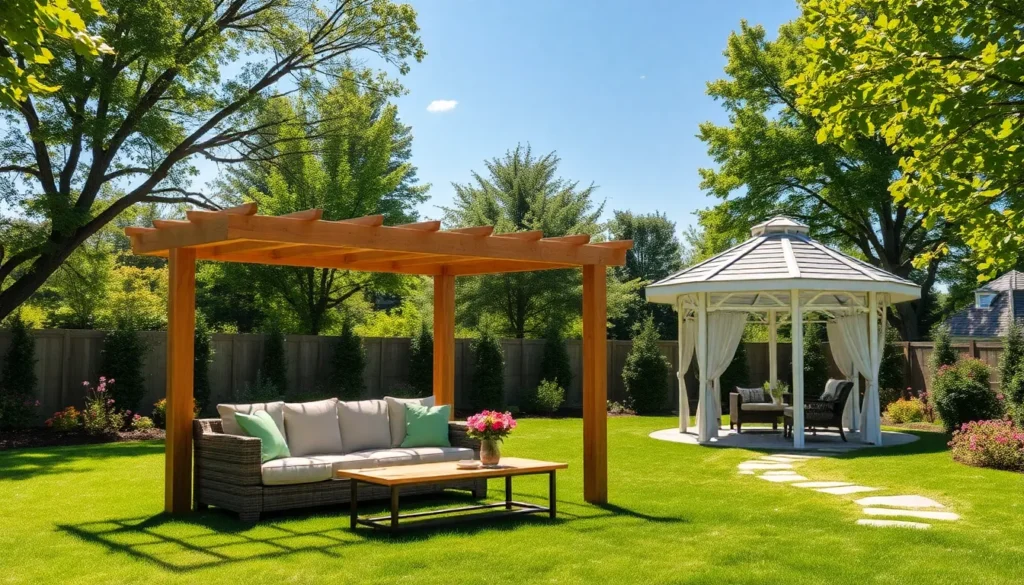
When choosing the perfect outdoor shelter kit, consider the primary purpose of your space, whether it’s for relaxation, dining, or entertaining guests. Materials play a crucial role in the longevity and aesthetics of your shelter—opt for weather-resistant woods like cedar or pressure-treated lumber for durability, or look for metal frames with a powder-coated finish to prevent rust. If you’re a beginner, start with a kit that includes pre-drilled holes and clear instructions, which can make assembly a breeze.
For those ready to tackle advanced projects, explore kits that offer customizable features, such as adjustable roof panels or modular designs. Consider the dimensions carefully—a standard size of 10×10 feet often provides ample space for a small dining set or lounge area, but ensure it fits your yard layout without overwhelming the space. Investing in quality hardware, like stainless steel screws and brackets, can add strength and stability, ensuring your shelter withstands various weather conditions.
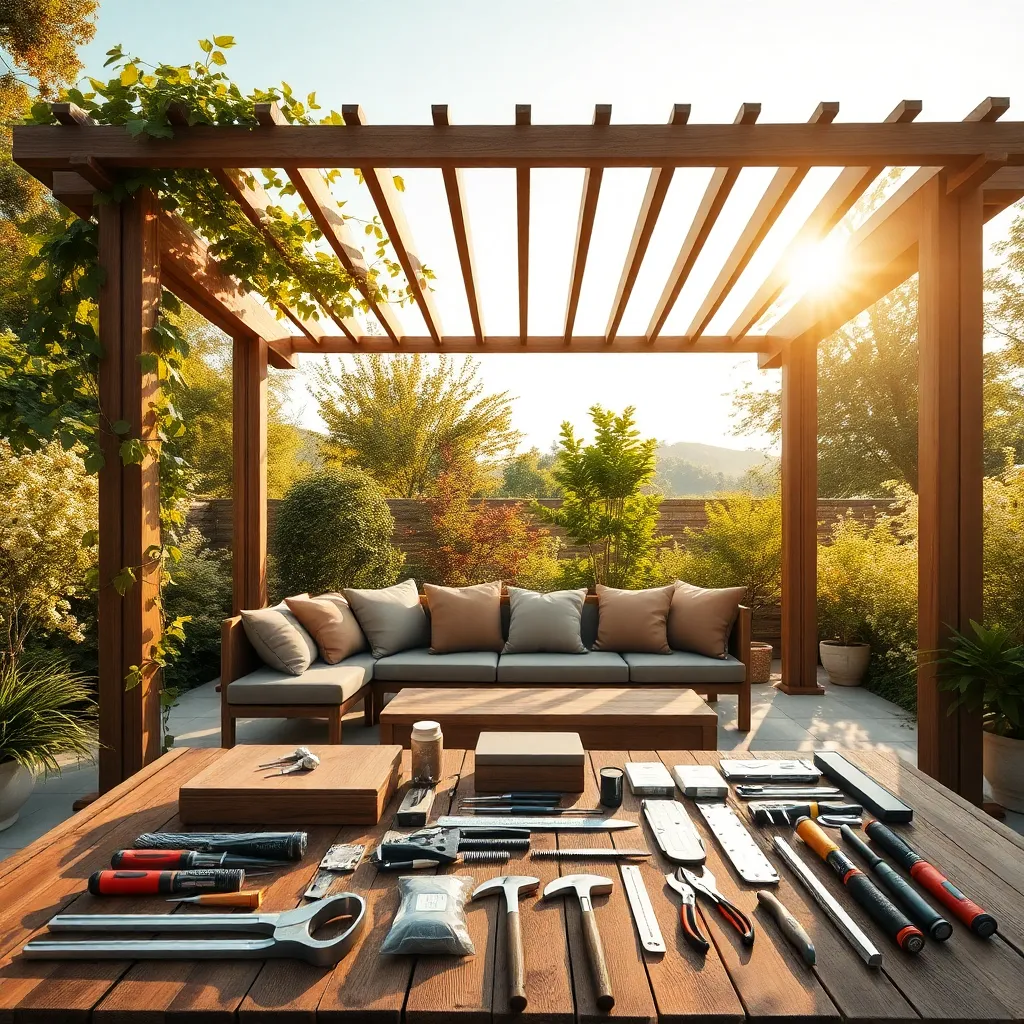
Essential Tools for Assembly Success

To ensure the assembly of your outdoor shelter kit is a smooth process, it’s crucial to have the right tools on hand. Basic tools like a sturdy hammer, screwdrivers, and a tape measure are essential for almost any kit. For more advanced structures, consider investing in a power drill to speed up the process. Having a level will help you maintain straight lines and ensure stability, especially if your kit includes complex designs or multiple layers.
Equally important is selecting the right materials and design elements to match your environment and personal style. Opt for weather-resistant woods like cedar or pressure-treated lumber to enhance durability. For a touch of elegance, consider incorporating decorative brackets or unique roof designs, such as a gabled or hip roof, which not only add aesthetic appeal but also provide better water runoff. By combining the right tools and materials, even beginners can achieve professional-looking results.
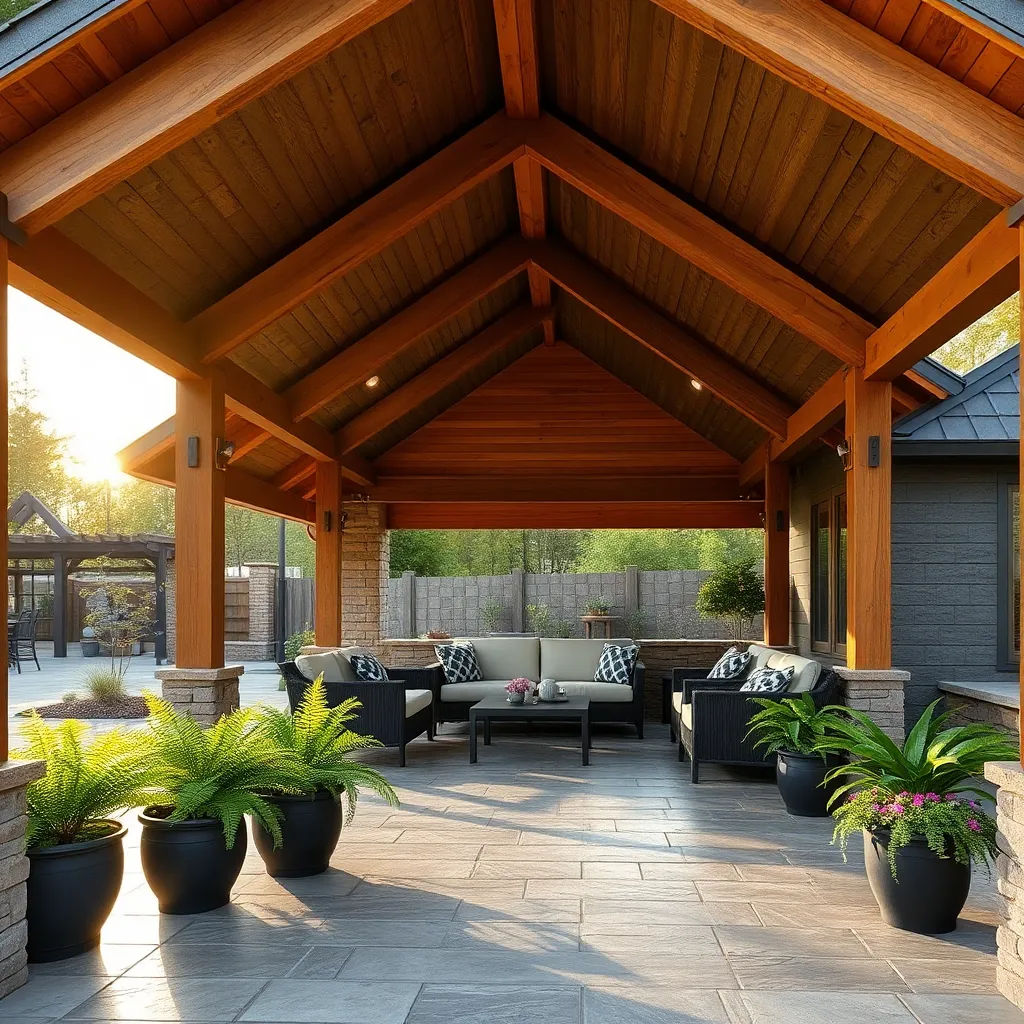
Step-by-Step Assembly Instructions
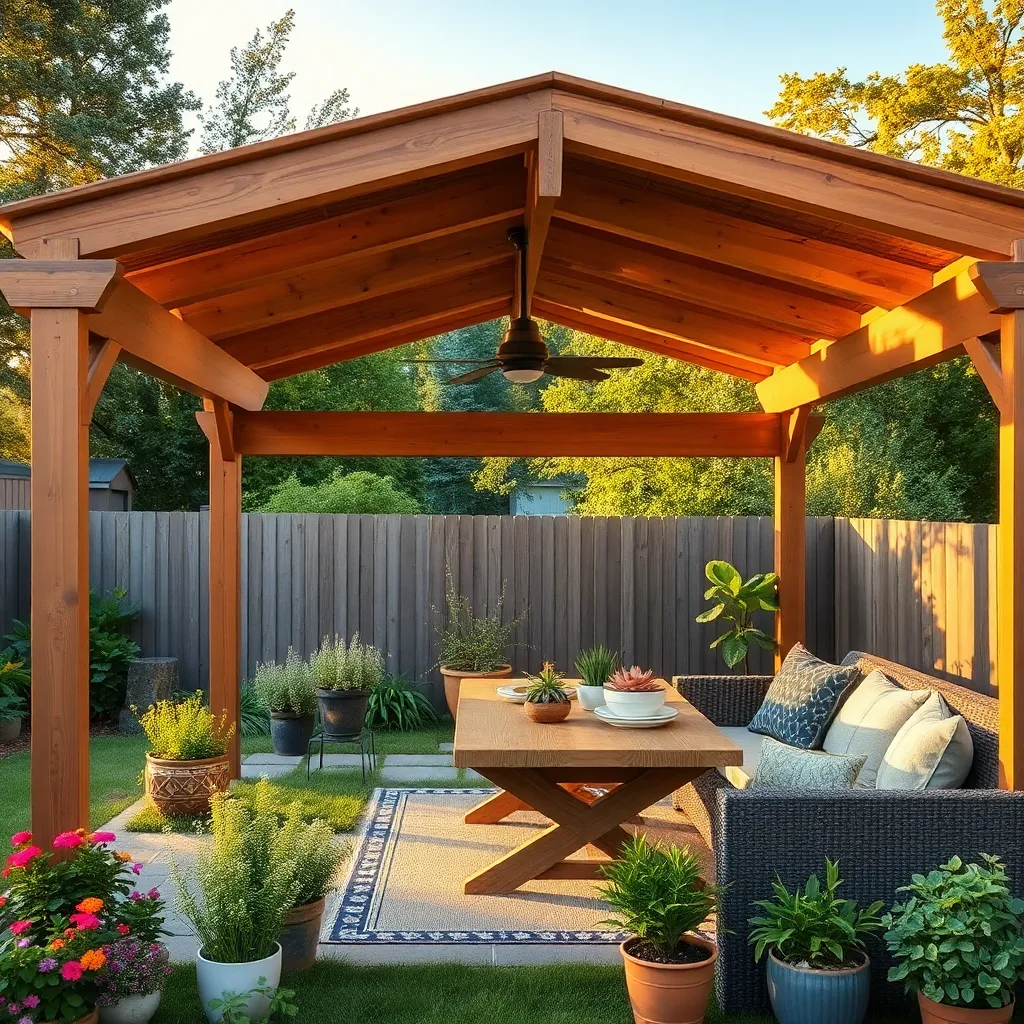
Before you begin assembling your outdoor shelter, review the instruction manual thoroughly to ensure all components and tools are ready. Familiarize yourself with each part, focusing on the key structural elements like support beams and roofing panels. For a typical 10×12 foot gazebo, you’ll need a level surface and a basic toolkit, including a drill, screwdriver, and wrench. If you’re new to DIY projects, consider labeling parts with masking tape for easy identification. This approach minimizes errors and keeps your project on track.
As you start the assembly, follow a step-by-step approach to maintain structure and safety. Begin by anchoring the base securely—use concrete anchors for stability if your shelter is on a patio or deck. When installing the roof, enlist a friend for assistance to ensure alignment and safety. For a polished finish, consider adding decorative elements like trellis sides or integrated lighting. Advanced users might experiment with custom paint or stain for a personalized touch. Remember, patience and precision are your best tools for a successful build.
Understanding Material Durability
When selecting materials for your outdoor shelter, it’s crucial to consider durability and weather resistance. Popular materials like treated wood, aluminum, and polycarbonate are excellent choices due to their ability to withstand various weather conditions. Treated wood offers a natural aesthetic and can resist decay and insects if properly maintained. Aluminum is lightweight yet sturdy, making it ideal for sleek, modern designs, while polycarbonate panels allow natural light in and are highly impact-resistant.
For those in extreme climates, opting for materials with enhanced durability is essential. Steel frames provide exceptional strength and are perfect for areas prone to heavy snow or strong winds. Consider using powder-coated finishes to protect metal components from rust and corrosion. Additionally, ensure that all connections and fasteners are made from rust-resistant materials like stainless steel or galvanized metal to extend the lifespan of your structure. By choosing the right materials, you can build an outdoor shelter that not only looks great but also stands the test of time.
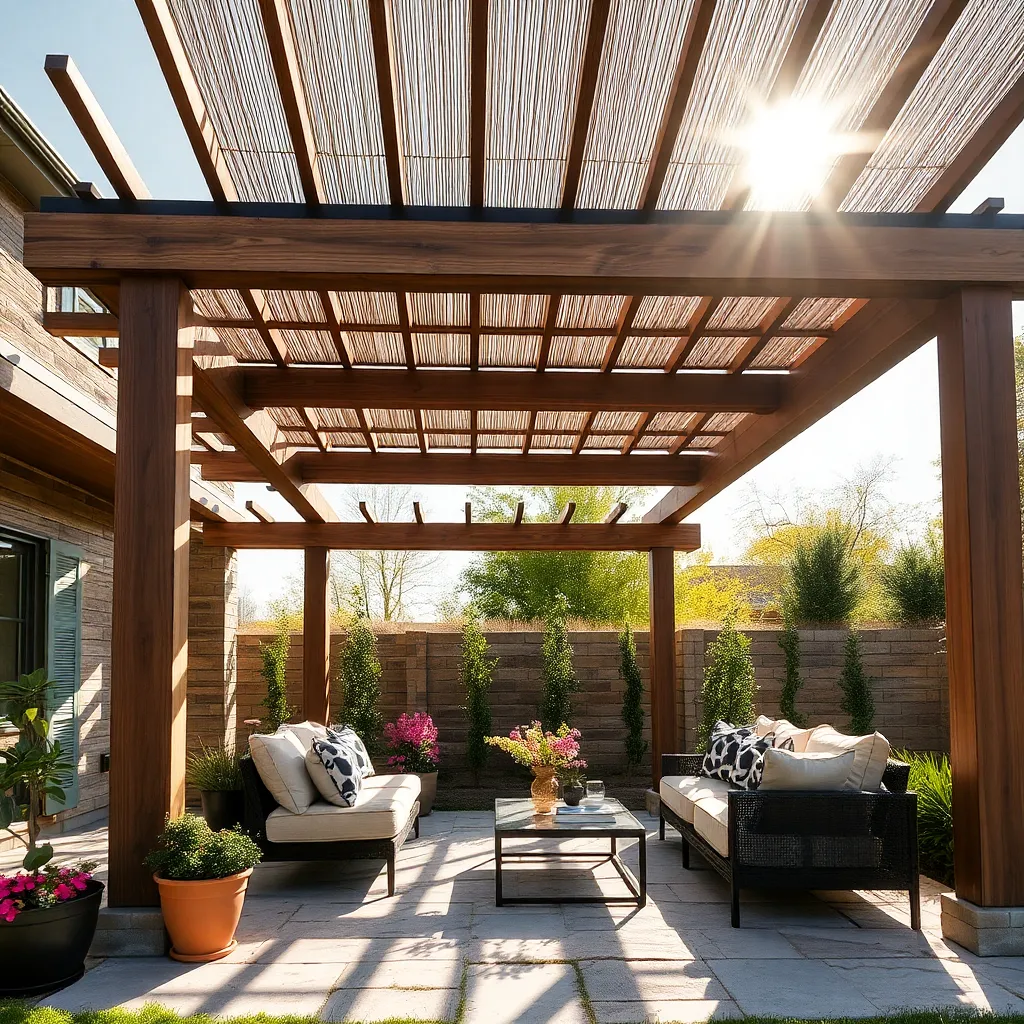
Customizing Your Shelter Design
Customizing your outdoor shelter design offers a fantastic opportunity to personalize your space while maximizing functionality. Begin by selecting materials that not only match your aesthetic preferences but also suit your local climate. For instance, pressure-treated wood provides excellent durability in wetter climates, while aluminum frames are ideal for areas prone to high winds due to their strength and lightweight nature. Consider incorporating design elements such as adjustable louvers or sliding panels to control light and airflow, enhancing both comfort and energy efficiency.
Incorporate advanced features to elevate your shelter’s utility and style. If you’re an experienced DIYer, consider adding a built-in gutter system to manage rainwater effectively, reducing pooling and potential damage. For a touch of luxury, integrate solar-powered lighting or a retractable awning. Ensure dimensions are planned meticulously, with a recommended height of at least 8 feet to maintain openness and airflow. By blending basic design principles with creative enhancements, you can craft a shelter that’s both uniquely yours and perfectly suited to your outdoor lifestyle.
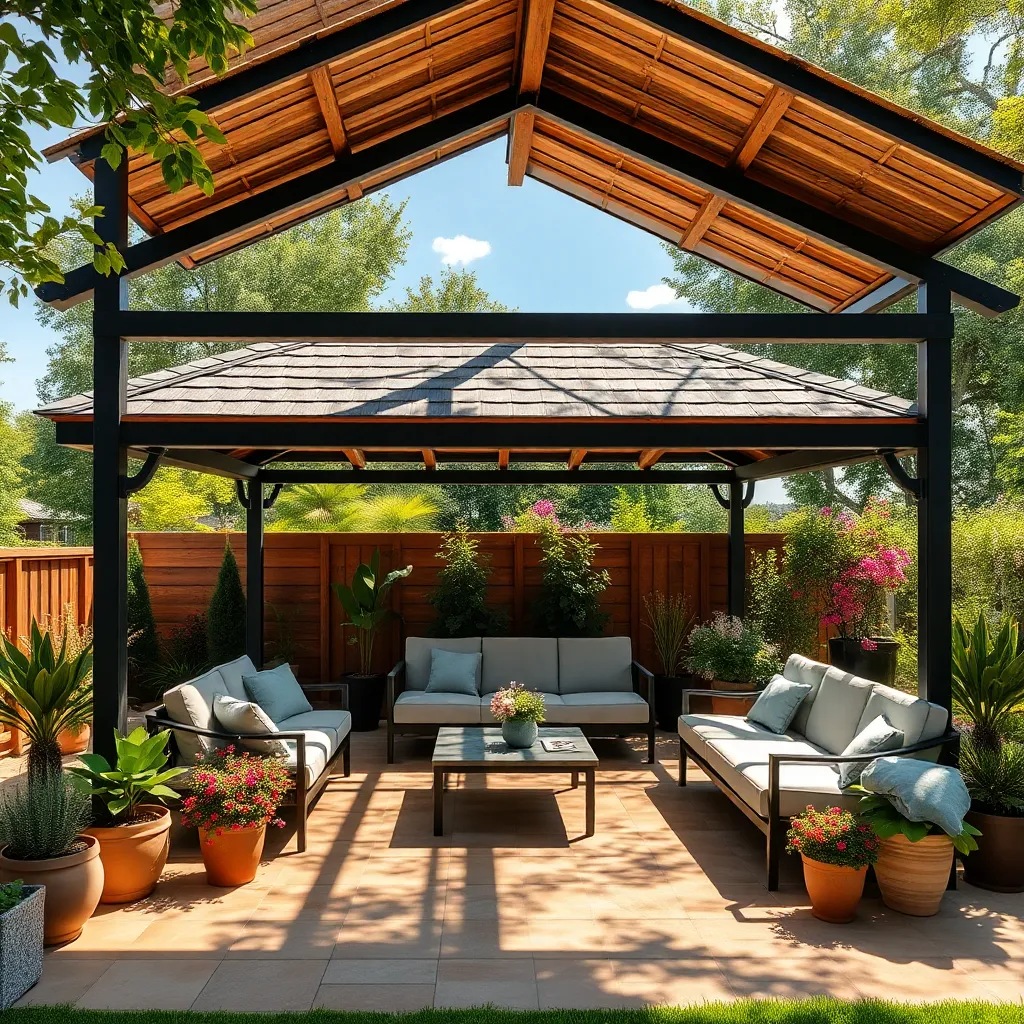
Enhancing Shelter Stability Features
Ensuring your outdoor shelter stands firm against the elements starts with choosing the right materials. Opt for pressure-treated wood or galvanized steel for the frame, as these materials are durable and resistant to rot and corrosion. For additional stability, consider using anchor kits to securely fasten the shelter to the ground; these typically include metal stakes or screw anchors that work well in various soil types.
Another way to enhance stability is by incorporating smart design features that distribute weight evenly. Adding cross-bracing in the form of diagonal beams can significantly strengthen the structure, especially in areas prone to high winds. For a more advanced approach, install adjustable tensioning cables that allow you to tighten the structure as needed. This combination of materials and design techniques ensures your shelter remains sturdy and reliable year-round.
Maintenance Tips for Longevity
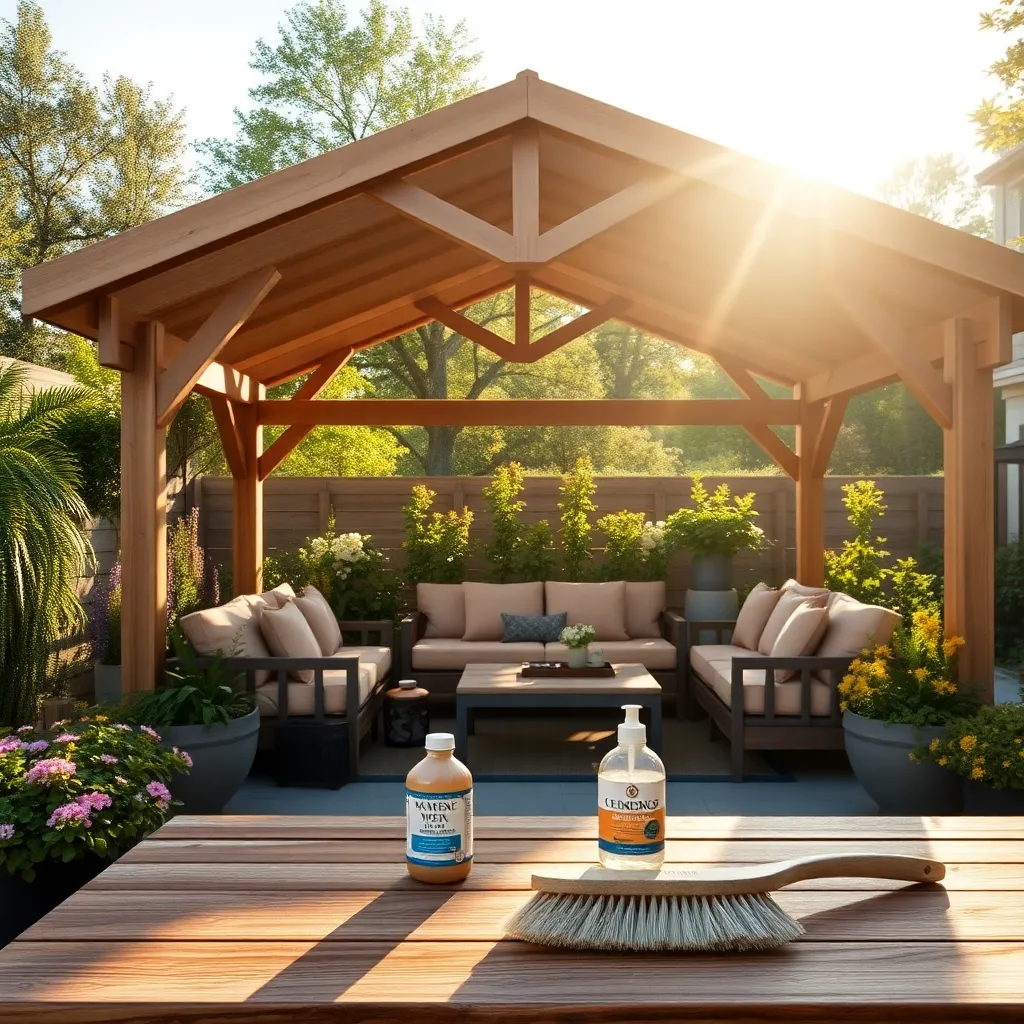
Regular maintenance is crucial for ensuring the longevity of your outdoor shelter kit. Begin by conducting a visual inspection every season to check for any signs of wear, such as rust, loose screws, or warped materials. For wooden structures, apply a weather-resistant sealant annually to protect against moisture and UV damage. Ensure metal components are treated with a rust-inhibitor to maintain their integrity over time.
Incorporate cleaning into your maintenance routine to prevent buildup of dirt and debris, which can lead to structural issues. Use a soft-bristle brush and mild soap solution to clean surfaces, avoiding harsh chemicals that could degrade materials. For enhanced durability, ensure that all joints and connections are tightened regularly to withstand environmental stresses. Advanced tip: Install gutter systems to manage water runoff effectively, preventing water damage to the structure’s base.
Maximizing Shelter Utility Year-Round
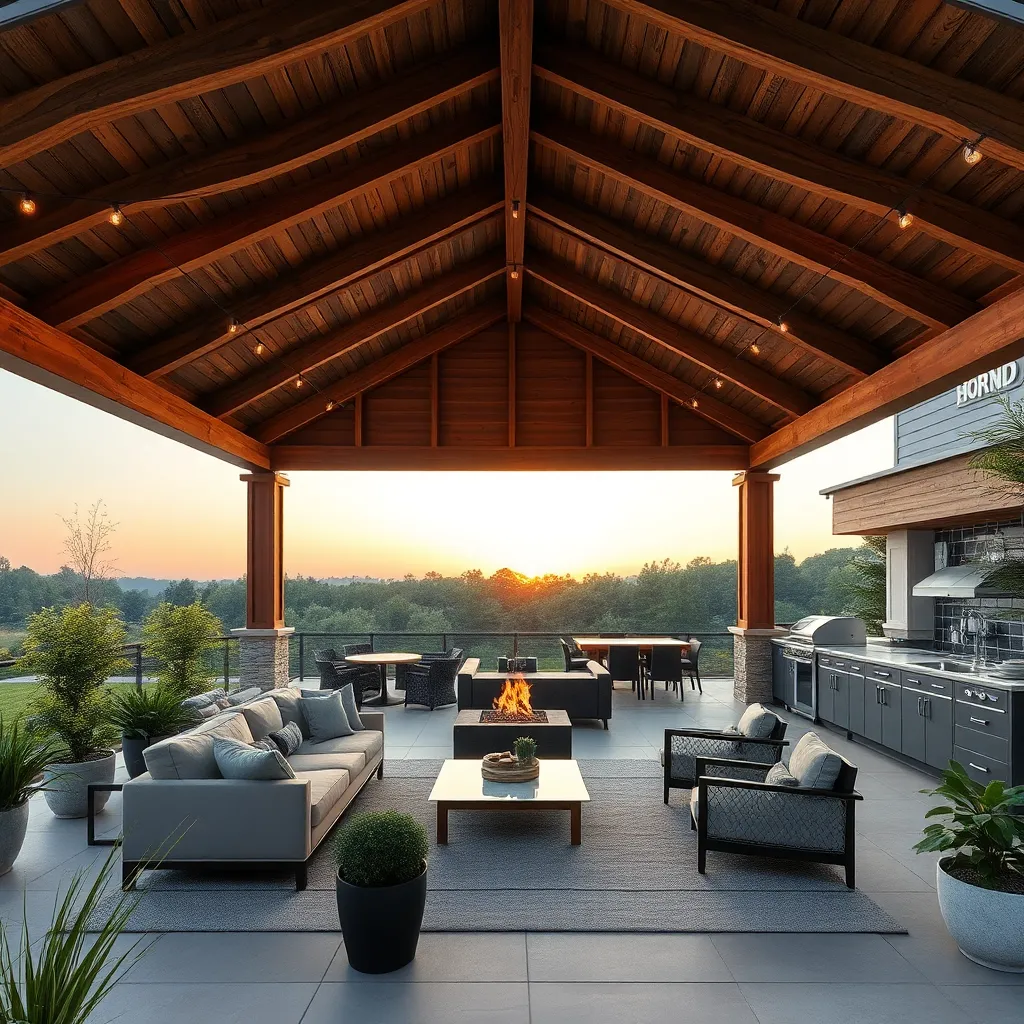
To maximize the utility of your outdoor shelter year-round, consider incorporating versatile design elements such as adjustable side panels or removable walls. Using materials like weather-resistant fabrics or polycarbonate panels can help you adapt the shelter for seasonal changes, providing shade in summer and wind protection in winter. For beginners, start with simple retractable awnings or roll-up curtains that can be easily adjusted based on the weather. These features not only enhance comfort but also extend the use of your outdoor space throughout the year.
For those looking to take their outdoor shelter to the next level, integrating built-in heating elements or solar-powered lighting can significantly enhance usability during cooler months and evenings. Advanced homeowners might explore integrating a modular design that allows for the addition of heating lamps or weatherproof furniture. Consider using durable materials like treated wood or galvanized steel to ensure the structure withstands various weather conditions. By investing in these features, you’ll create a more functional and inviting environment that encourages frequent use, regardless of the season.
Conclusion: Creating Beautiful Outdoor Spaces
In exploring the ‘8 Outdoor Shelter Kits to Assemble Yourself,’ we’ve delved into essential relationship concepts such as the importance of communication, teamwork, patience, adaptability, trust, shared goals, problem-solving, and celebrating achievements. Each kit, much like a thriving relationship, requires dedication, collaboration, and the willingness to adapt and grow together.
As an actionable next step, consider planning a joint project with your partner, whether building a small garden shed or simply rearranging a room. This will not only reinforce these key concepts but also enhance your bond as you work towards a common goal.
Remember to bookmark this article for easy access to these insights whenever you need a reminder or a fresh perspective. Success in relationships is a continuous journey, built on shared experiences and the commitment to learn and grow together. By embracing these principles, you are setting the foundation for a resilient and enduring partnership.
As you move forward, let these insights guide you towards a more connected and fulfilling relationship. Together, you can build a future full of shared dreams and cherished moments. Save this article as your go-to resource for nurturing and strengthening your relationship for years to come.