Transforming your backyard into a haven of relaxation and style doesn’t require a designer’s touch or a contractor’s budget—just a little creativity and a willingness to roll up your sleeves. Outdoor shelters can redefine how you use your space, offering protection from the elements while adding a cozy charm to your home. Whether you’re a novice with a hammer or a seasoned DIY enthusiast, crafting your own outdoor retreat is within reach.
In this article, you’ll discover seven straightforward projects that promise to enhance your outdoor living experience without overwhelming your to-do list or bank account. From simple pergolas to inviting gazebos, these beginner-friendly designs will empower you to create a personal oasis that reflects your unique style and needs. Let’s dive into the world of outdoor shelters and unlock the potential of your backyard paradise.
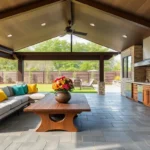
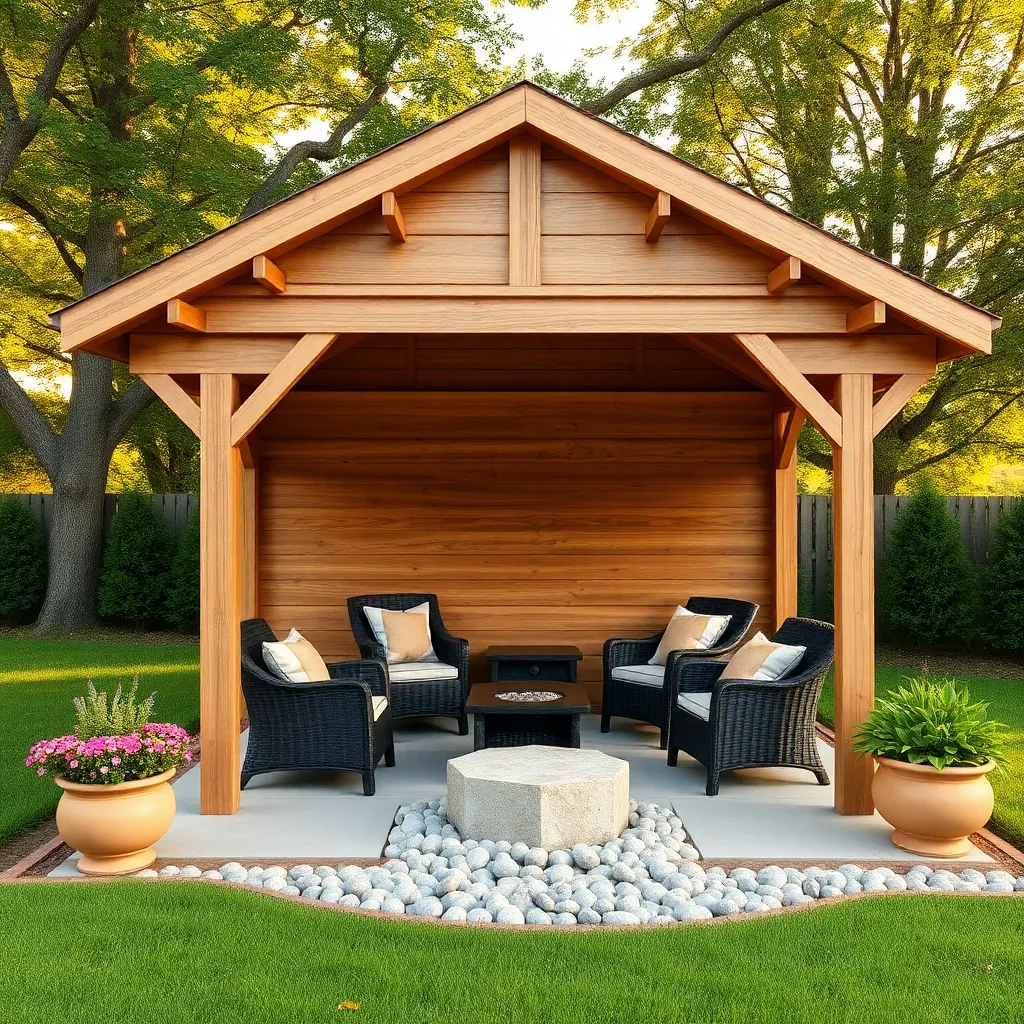
Understanding Basic Shelter Principles
When building an outdoor shelter, it’s essential to start with a solid foundation. Consider using materials like pressure-treated wood or concrete blocks to ensure stability and longevity, especially in areas with fluctuating weather conditions. For beginners, a simple A-frame structure is ideal, as it relies on basic geometry and offers excellent rain and wind resistance.
Choosing the right covering will make your shelter both functional and aesthetically pleasing. Opt for durable materials like polycarbonate panels or weather-resistant canvas, which provide excellent protection against the elements while being easy to install. For a touch of sophistication, experienced builders might incorporate retractable awnings or pergola elements to adjust to different weather conditions effortlessly.
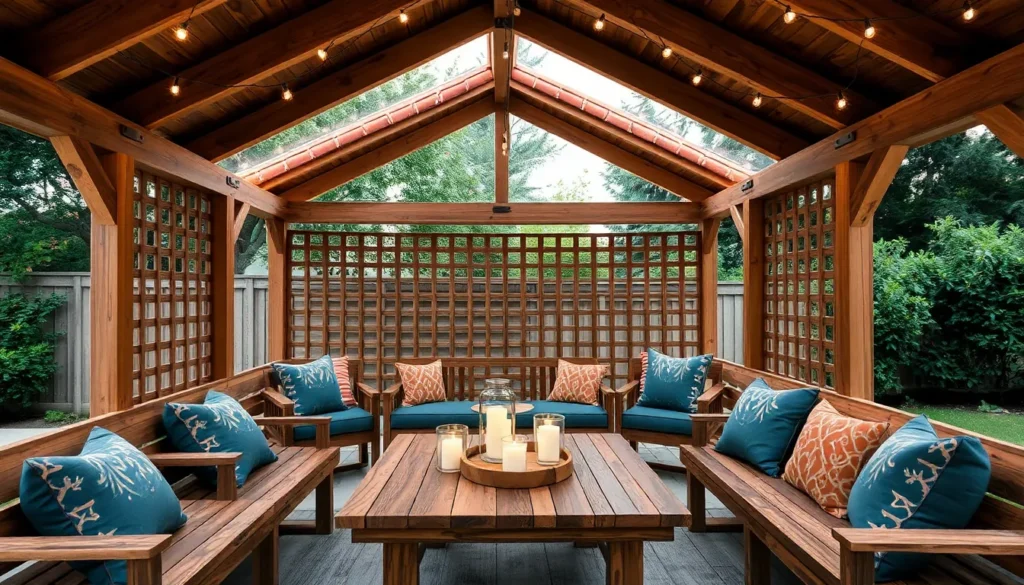
Choosing Simple Design Structures
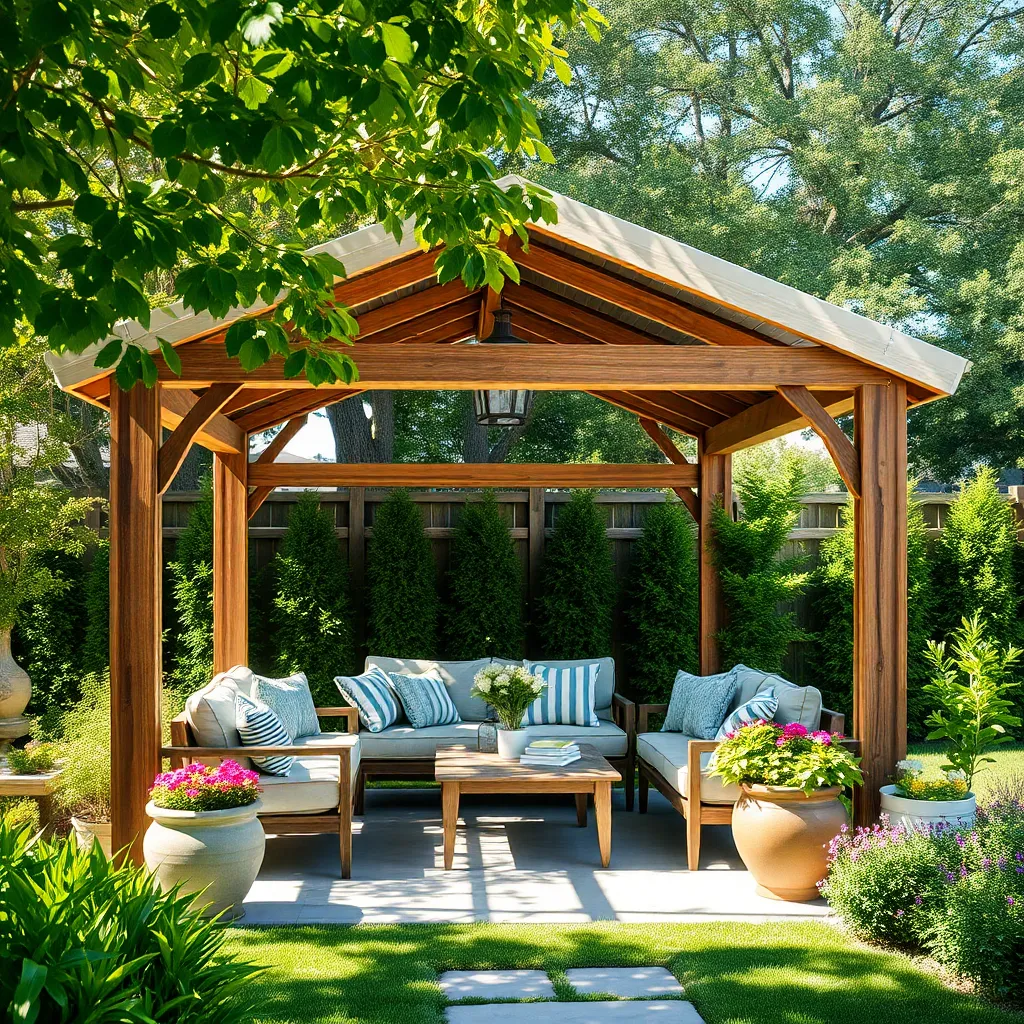
When choosing simple design structures for your outdoor shelter, start with a basic frame using readily available materials like pressure-treated wood or galvanized steel. These materials are durable and easy to work with, making them ideal for beginners. Opt for a straightforward design such as a lean-to or A-frame that requires minimal cutting and fitting. Keep the dimensions modest, such as a height of 7 feet and a width of 10 feet, to ensure stability and ease of construction.
Incorporating a few design elements can elevate your shelter’s functionality and appearance. Consider adding adjustable tarpaulin or polycarbonate sheets for a weather-resistant roof that allows light while protecting against rain. For a touch of sophistication, include decorative lattice panels on the sides to support climbing plants, offering both shade and aesthetic appeal. These additions are simple yet effective, making your outdoor space both practical and inviting.
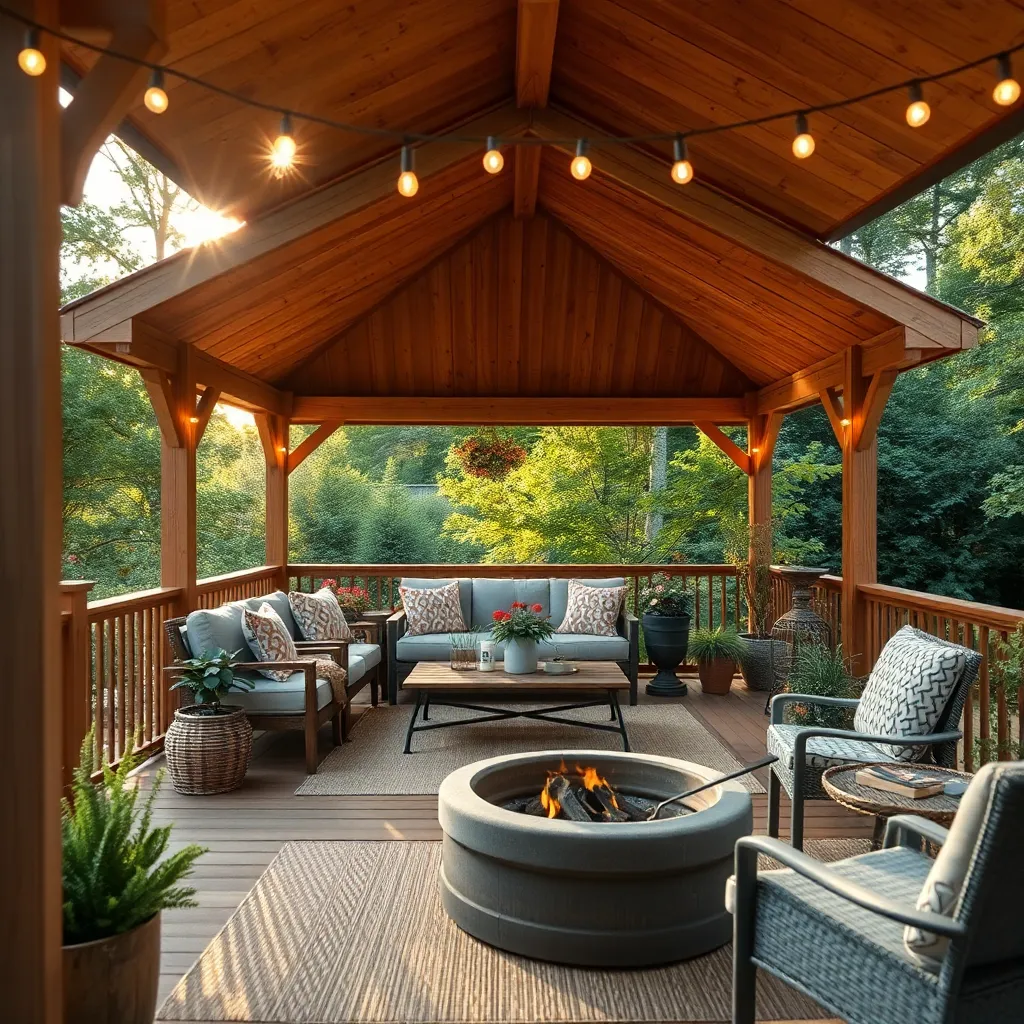
Gathering Essential Building Materials
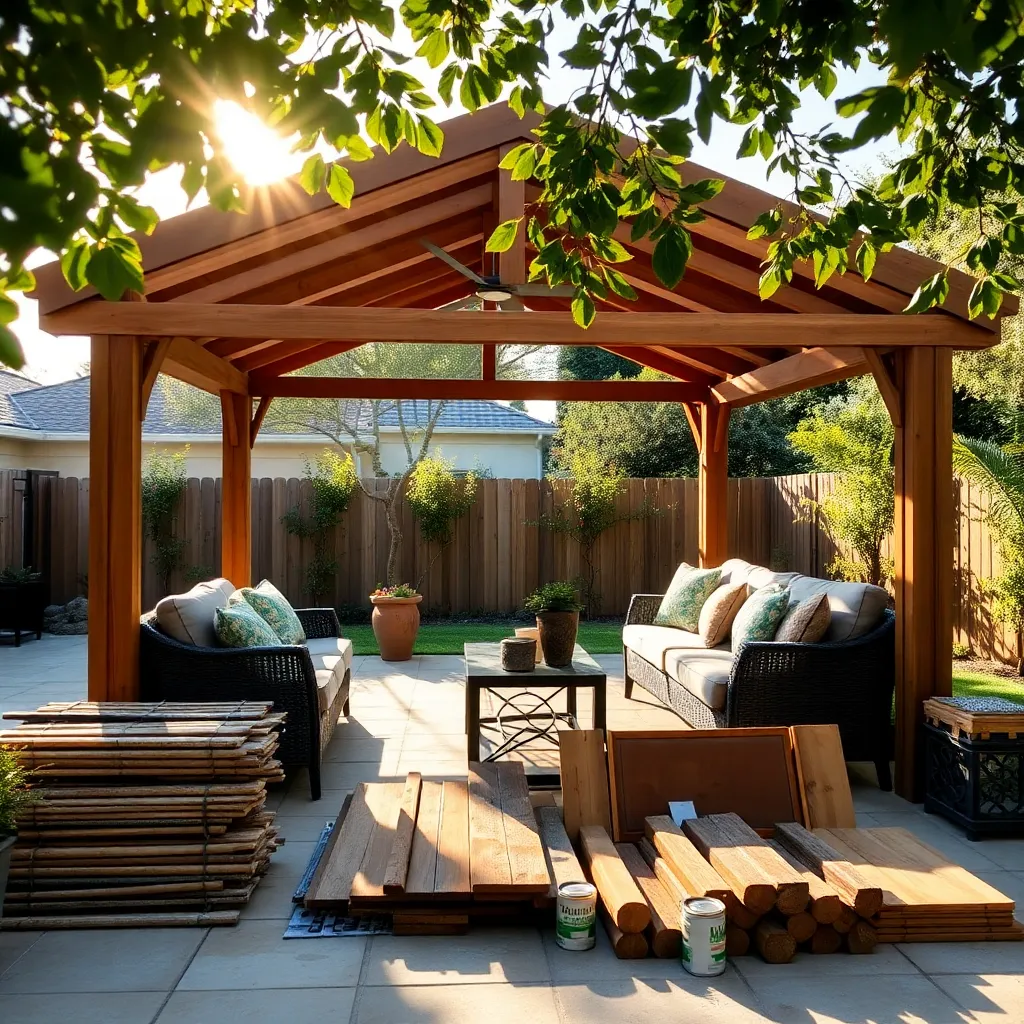
To begin building your outdoor shelter, gather essential materials that match your chosen design. For a basic wooden structure, you’ll need pressure-treated lumber to withstand the elements, galvanized nails or screws for durability, and concrete mix for secure post foundations. If you’re considering a tarp or fabric cover, look for UV-resistant materials and sturdy grommets to ensure longevity and ease of use. Whether your shelter is a simple lean-to or a more elaborate pergola, having the right materials will streamline the construction process.
When selecting materials, consider the shelter’s intended purpose and location. For a more permanent structure, invest in weather-resistant features like stainless steel connectors and waterproof sealant to extend the life of your shelter. Remember, accurate measurements are crucial—ensure your posts are at least 8 feet tall for adequate headroom, and plan for a roof pitch to allow water runoff. With these materials and tips in hand, you’ll be well-equipped to construct a reliable and functional outdoor space.
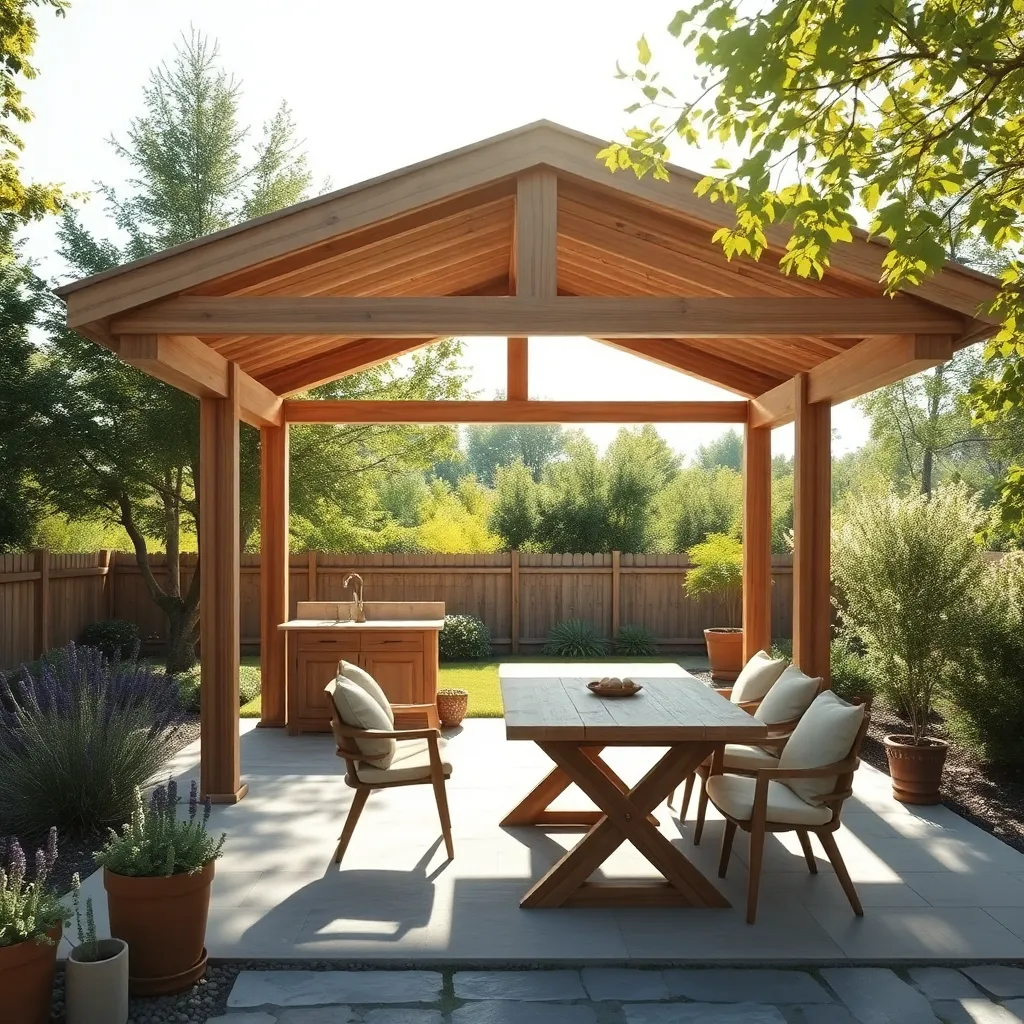
Constructing a Basic A-Frame Shelter
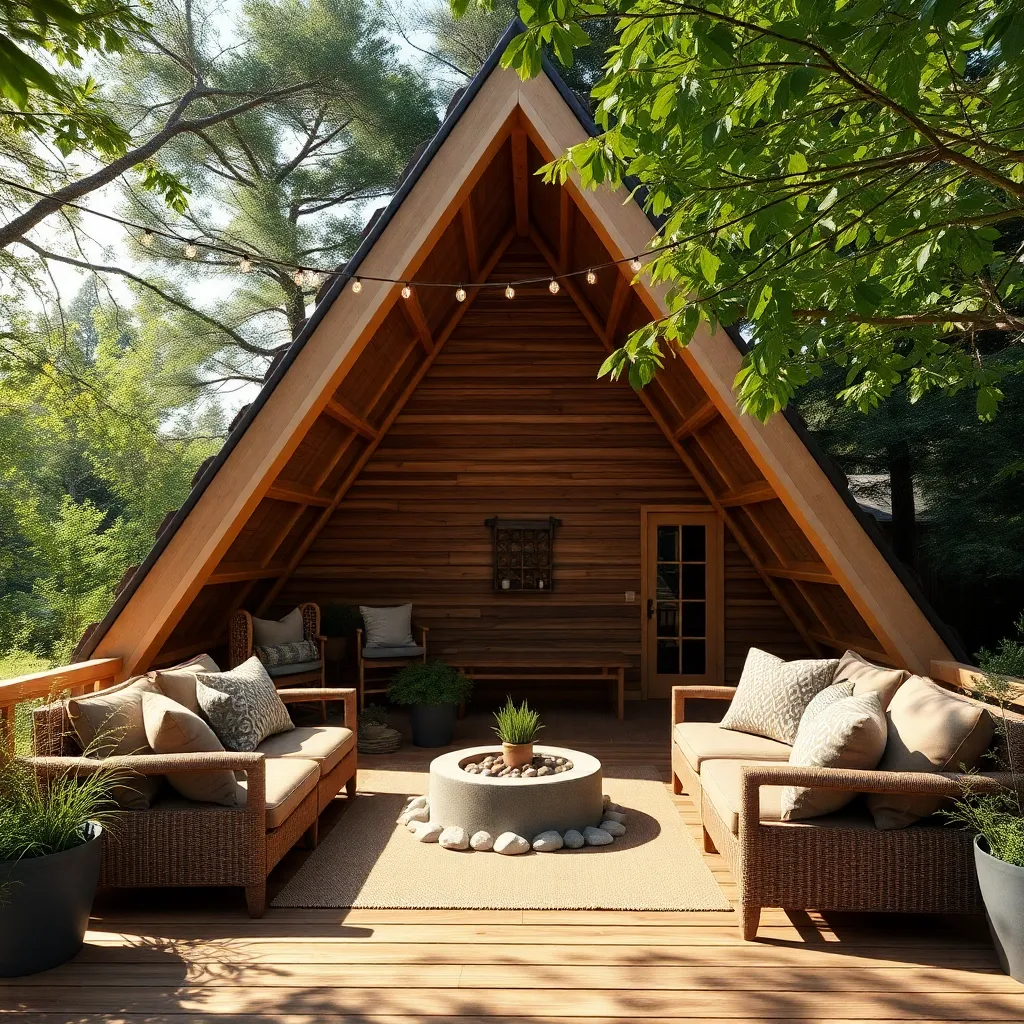
Building a basic A-frame shelter requires only a few materials and can be an excellent weekend project for beginners. To start, gather sturdy materials such as two long wooden poles approximately 8 feet in length for the frame’s sides and a crossbeam of about 6 feet to form the top ridge. You’ll also need a durable covering like heavy-duty tarp or weather-resistant canvas to protect against the elements. For added stability, use rope or paracord to securely tie the frame together at the apex and anchor it to the ground with stakes. This setup creates a simple yet effective shelter that can withstand moderate wind and rain.
Positioning your A-frame shelter is crucial for its effectiveness and longevity. Choose a site that offers natural windbreaks like trees or bushes and avoid low-lying areas prone to water pooling. For construction, start by laying the poles in a triangle shape, securing the top with the crossbeam, and then draping your tarp over the structure. Use rocks or logs to weigh down the edges of the tarp, ensuring a snug fit. For more advanced stability, consider adding a ridge pole along the length of the shelter for extra support, especially if you’re expecting heavy rain. This simple design provides a functional and cozy refuge, making it a practical addition to any backyard or campsite.
Crafting a Lean-To with Ease
Creating a lean-to shelter is an excellent choice for those seeking simplicity and functionality. Start by selecting sturdy materials like treated lumber or bamboo for the frame, ensuring durability against the elements. Positioning the lean-to against an existing structure such as a fence or wall can provide added stability and protection from wind. Use a waterproof tarp or corrugated metal sheets to cover the frame, ensuring the roof slopes downward to direct rain away from the shelter. For beginners, a basic lean-to might measure about 6 feet high and 8 feet wide, but feel free to adjust dimensions based on available space and needs.
Incorporate additional features to enhance comfort and usability. Consider adding a ground cover, such as gravel or wood chips, to keep the area dry and free from mud. For a more advanced setup, install hooks or shelves to store gardening tools or outdoor gear, maximizing the functionality of your shelter. Remember, the key to a successful lean-to is ensuring all connections are secure, so double-check fastenings and use weather-resistant screws or bolts. With these practical tips, even beginners can create a durable and attractive outdoor shelter.
Building a Simple Tarp Shelter
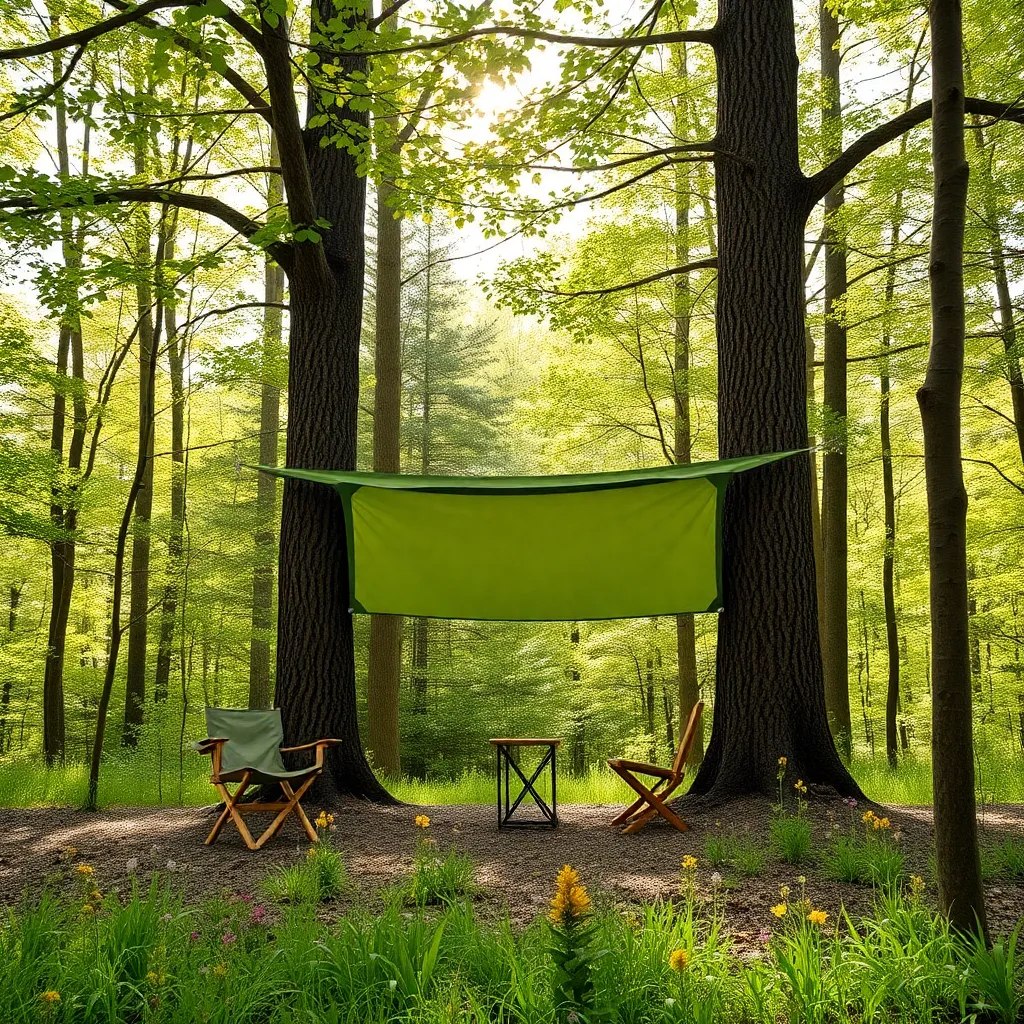
To build a simple tarp shelter, start by selecting a durable, waterproof tarp, ideally 8×10 feet, to provide ample coverage. You’ll need some sturdy cord or rope and a few tent stakes or rocks to secure the tarp. First, identify two trees or poles roughly 10 feet apart, and tie a rope between them at about waist height. Drape the tarp over the rope, ensuring that it is evenly distributed on both sides to form an A-frame structure. Secure the corners of the tarp to the ground using stakes, rocks, or even logs, making sure it’s taut to prevent water pooling.
Avoid placing your shelter in low-lying areas where water might collect, and position the entrance away from the wind for added comfort. For added stability in windy conditions, consider using an extra rope to run through the center of the tarp, anchoring it to the ground at both ends. Beginners will find this setup straightforward, while more experienced builders can enhance their shelter with reflective blankets inside for warmth or additional tarps for an extended living space. This simple yet effective shelter is perfect for a quick setup on hiking trips or as a temporary backyard hangout.
Final Tips for Beginner Builders
When starting your first outdoor shelter project, it’s crucial to plan ahead and gather all necessary materials before beginning construction. Consider using weather-resistant materials like treated wood or sturdy tarps to ensure durability. Measure your space carefully, and aim for a shelter size that provides adequate cover without overwhelming your yard. For a basic tarp shelter, use lightweight poles or even strong trees as anchor points, ensuring they are securely fixed to withstand wind and rain.
As you build, focus on creating a stable and level base, which is essential for ensuring your shelter’s longevity and safety. For beginners, using simple designs like an A-frame or lean-to can be very effective and less intimidating. Pay attention to ventilation and accessibility by leaving some open space or adding a flap. For a touch of sophistication, consider advanced tips like integrating rope tensioners for easy adjustments or using reflective tape to enhance visibility at night. With careful planning and attention to detail, your DIY shelter will be both functional and a proud addition to your outdoor space.
Conclusion: Creating Beautiful Outdoor Spaces
In exploring the ‘7 Easy-to-Build Outdoor Shelters for Beginners,’ we’ve uncovered not just architectural insights but foundational relationship concepts. First, we learned about the importance of a strong foundation, akin to trust. Then, the adaptability seen in flexible structures mirrors the resilience needed in relationships. Simplicity in design speaks to honest communication, while the shelter’s durability reflects commitment and perseverance. Inclusivity in planning invites collaboration, and attention to detail showcases the power of appreciation. Finally, the beauty of finishing touches reminds us to celebrate shared achievements.
As you venture into nurturing your relationships, start by selecting one concept to focus on this week. Perhaps initiate a conversation about trust or plan an activity that fosters teamwork.
Remember, relationships, like shelters, are built over time. Bookmark this article to revisit these principles and reinforce your learning. By integrating these insights, you pave the way for enduring and enriching connections. Empowered with these tools, you’re poised for lasting relationship success—because every step you take today builds a stronger tomorrow. Save this guide as your roadmap to nurturing and growing your relationships, one foundational concept at a time.