Imagine stepping into your backyard and being greeted by a charming oasis that doesn’t break the bank. Whether you’re just starting your outdoor journey or you’re a seasoned pro, “10 Budget-Friendly Outdoor Shelter Ideas” is your gateway to creating beautiful, functional spaces that inspire joy and relaxation. This guide is your ticket to transforming any garden or patio into a welcoming retreat, no matter your skill level.
With our carefully curated list, you’ll uncover practical tips to shield you from the elements while enhancing the beauty of your outdoor living area. Expect to gain insights that not only elevate the aesthetic appeal of your space but also provide comfort and usability throughout the year. Get ready to unleash your creativity and confidently craft the outdoor haven of your dreams, all while keeping your budget intact.
Repurpose Pallets for Instant Walls
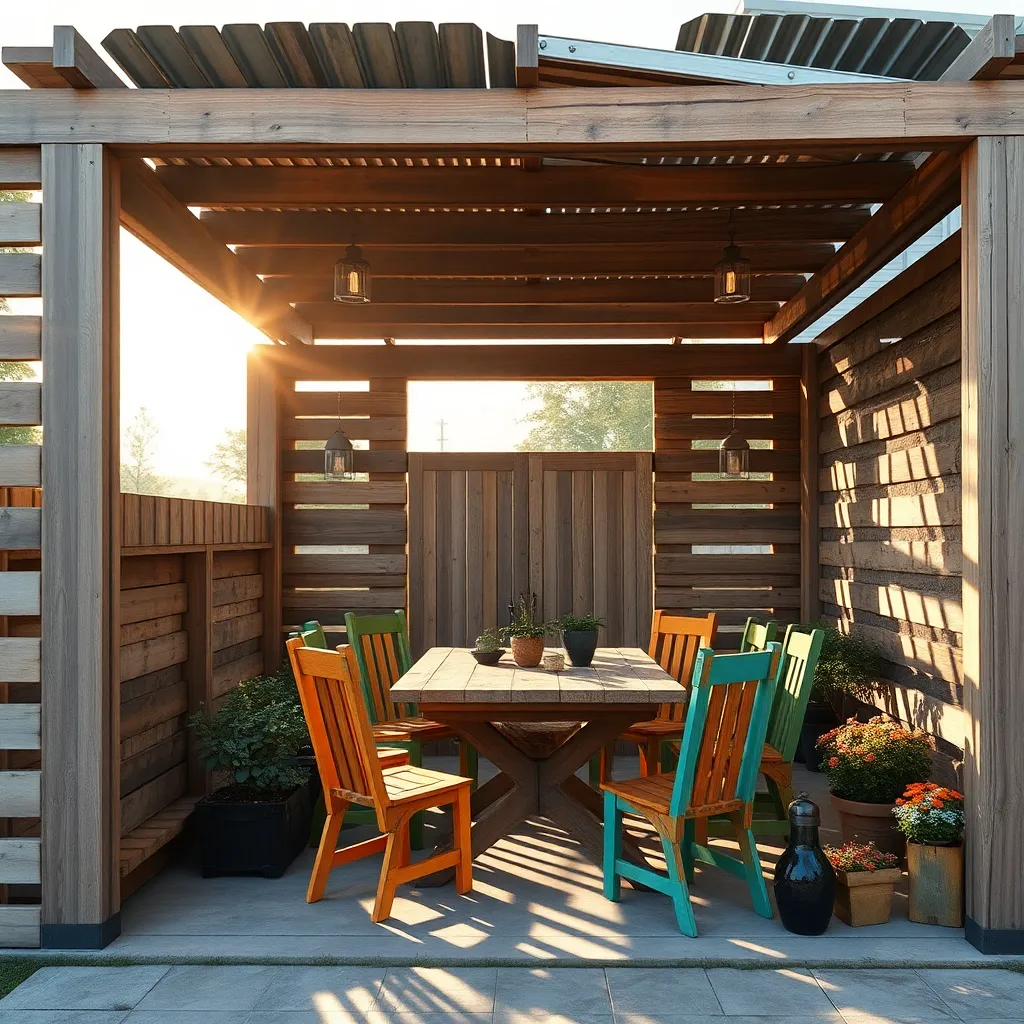
Repurposing pallets for instant walls is an excellent way to create a budget-friendly outdoor shelter with minimal effort. Start by sourcing heat-treated pallets, as these are safe and durable for outdoor use. To construct your walls, position the pallets vertically and secure them with sturdy stakes or posts. For more stability, consider connecting the pallets with metal brackets or wood screws. This setup not only provides privacy but also forms a perfect backdrop for hanging planters or string lights.
For beginners, a simple rectangular layout works well, while experienced DIYers can explore L-shaped or U-shaped designs for more enclosed spaces. Add a coat of weatherproof paint or sealant to enhance durability and aesthetic appeal. Advanced tip: Incorporate a roof by attaching a tarp or corrugated plastic sheets to the top of the pallet walls, providing shelter from rain and sun. This practical and creative approach transforms your outdoor area into a cozy retreat with minimal investment.
Use Tarps for Quick Coverage
Using tarps for quick coverage is a versatile and budget-friendly way to create an outdoor shelter. Select a heavy-duty, waterproof tarp to ensure it withstands the elements, and consider sizes ranging from 10×10 feet to 20×20 feet, depending on your space. Secure the tarp with bungee cords or strong rope, attaching it to nearby trees or poles to form a makeshift canopy that provides instant shade or rain protection.
For a more stable setup, construct a simple A-frame using PVC pipes as supports, which are both lightweight and easy to assemble. Cut the pipes into lengths that suit your desired height and width, typically around 6-8 feet, and connect them with elbow joints for stability. This method offers a quick and efficient way to create a temporary shelter that can be set up in your backyard or taken on camping trips for added convenience.
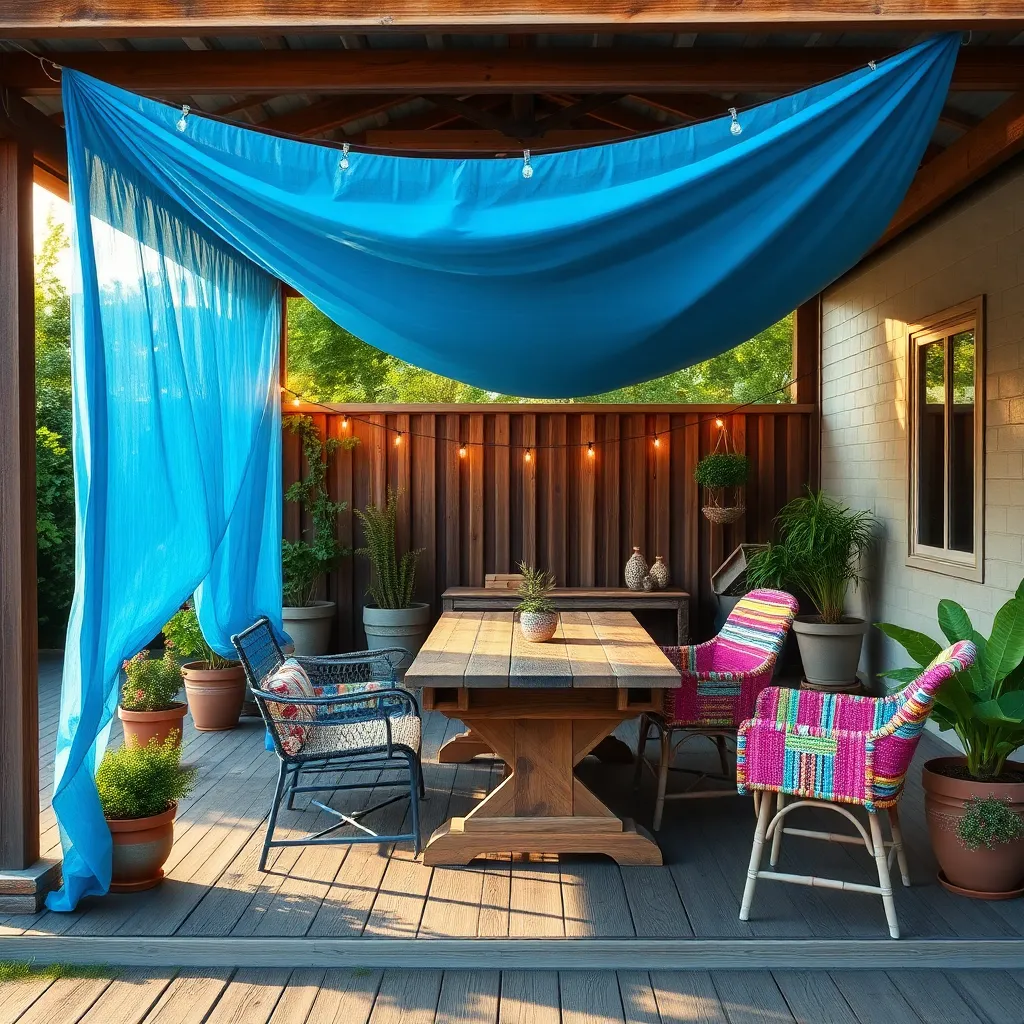
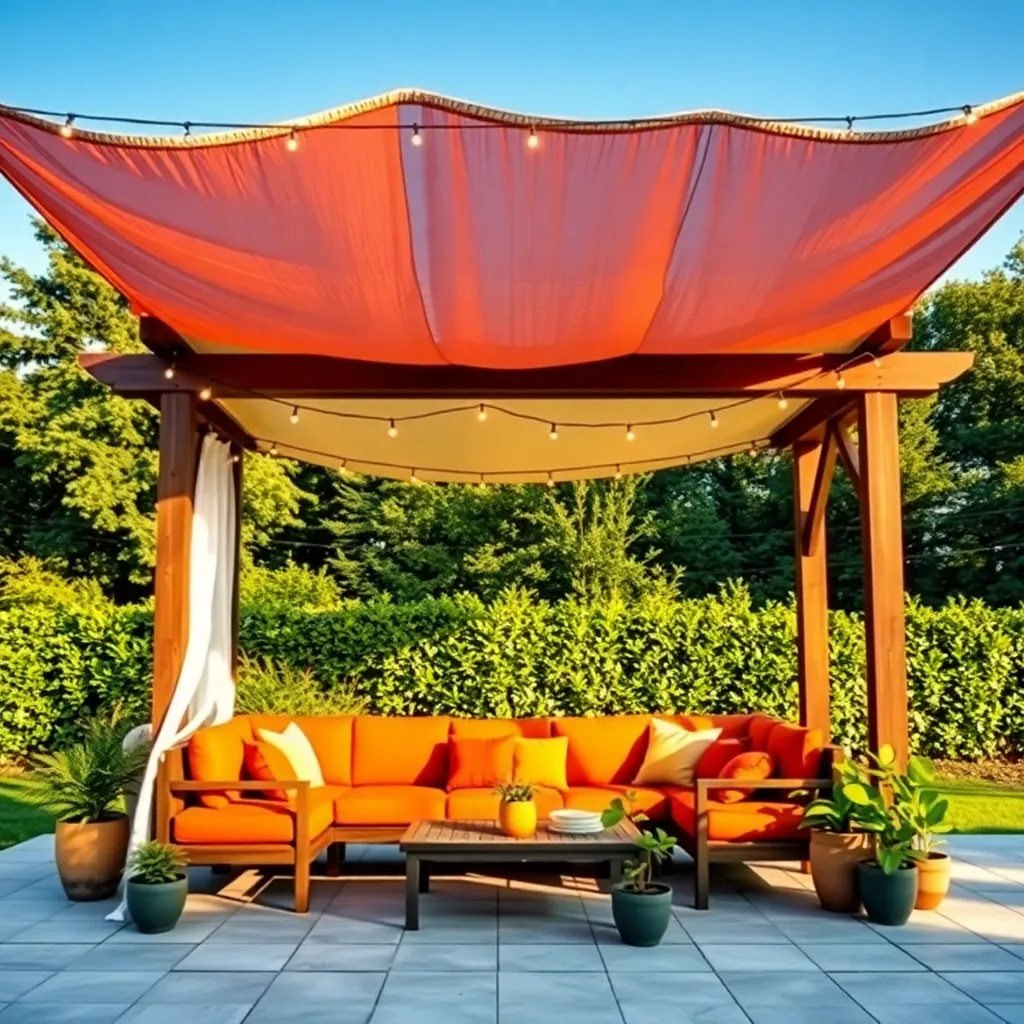
Create Shade with Sail Cloth
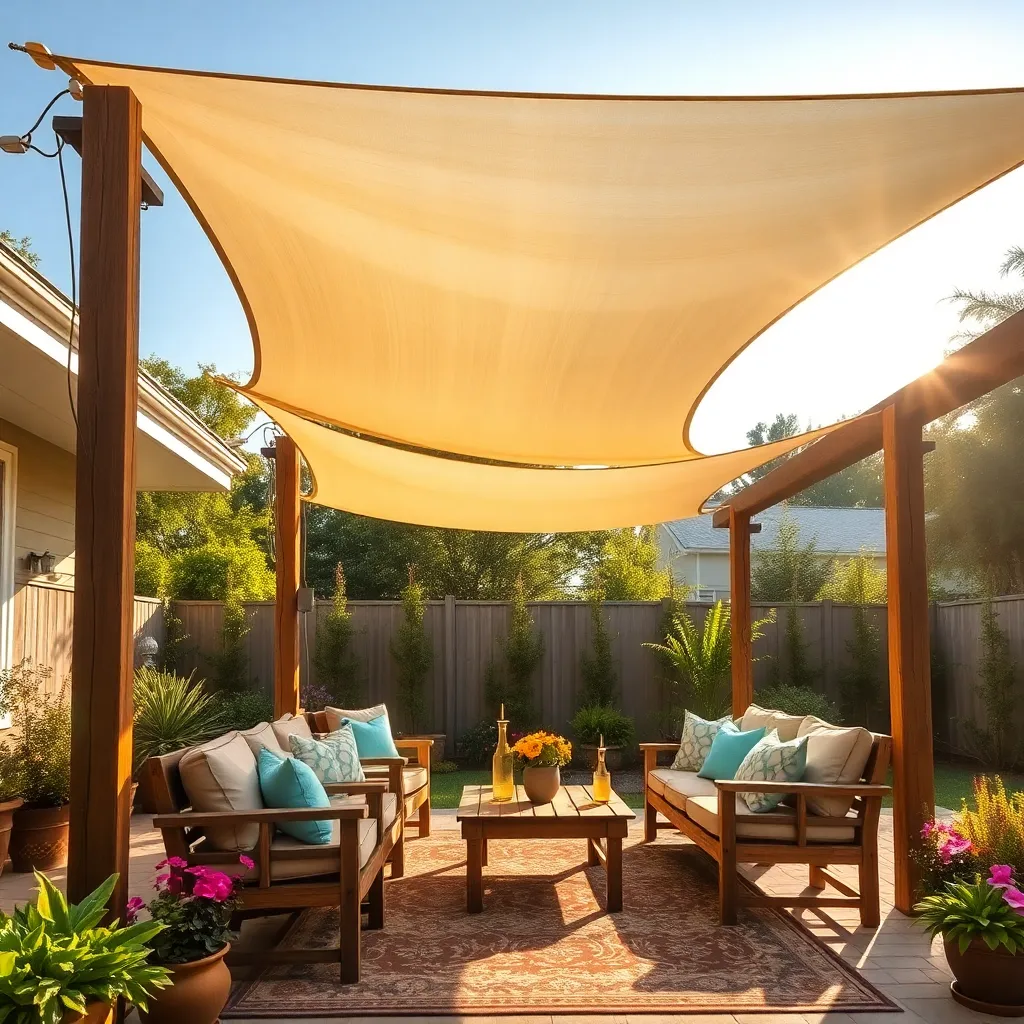
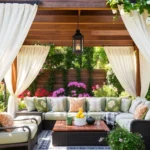
Transform your backyard into a relaxing oasis with the simple addition of a sail cloth for shade. These versatile and affordable fabric pieces are perfect for creating a stylish outdoor shelter. Choose a UV-resistant sail cloth to ensure durability and protection from the sun. To install, secure the sail cloth’s corners to fixed points like trees, poles, or your home’s exterior using sturdy ropes or metal brackets. Ensure the sail is taut to prevent sagging and water pooling during rain.
For a more advanced setup, consider layering multiple sail cloths in different sizes or colors to add visual interest and increased coverage. Mixing triangular and square sails can create dynamic shapes and patterns. When planning your design, measure your space carefully and consider the sun’s path to maximize shade throughout the day. Invest in quality hardware such as turnbuckles and snap hooks for easy adjustments and a professional finish. This project offers a budget-friendly way to enhance your outdoor space with both form and function.
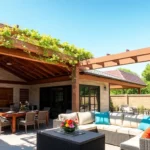
Build a Pergola from Reclaimed Wood
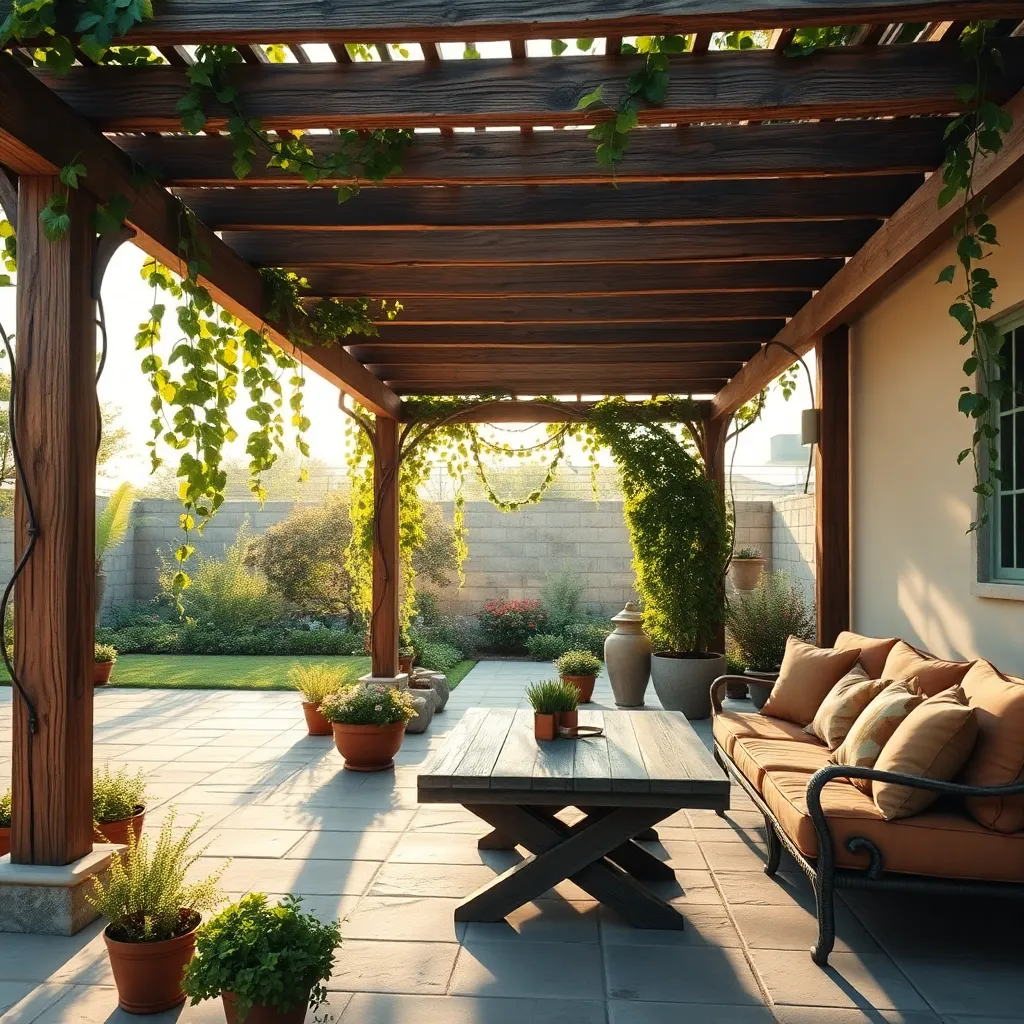
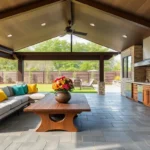
Using reclaimed wood to build a pergola is an eco-friendly and budget-conscious way to add charm to your outdoor space. Start by sourcing sturdy, weather-resistant wood from old barns, pallets, or shipping crates. Ensure each piece is free from rot and insects, and sand it down for a smooth finish. Aim for a basic structure with four posts and a simple grid roof, which not only provides shade but also allows climbing plants to add natural beauty over time.
When planning your pergola, consider the dimensions that suit your space, typically a height of 8 feet and a width of 10 feet works well for most yards. Secure the posts in concrete footings for stability. Use galvanized screws and brackets for durability and to withstand weather conditions. For an added touch of elegance, incorporate decorative end cuts on the beams. This project invites both beginners and those with DIY experience to create a personalized, inviting retreat.
Fashion Teepees Using Bamboo Poles
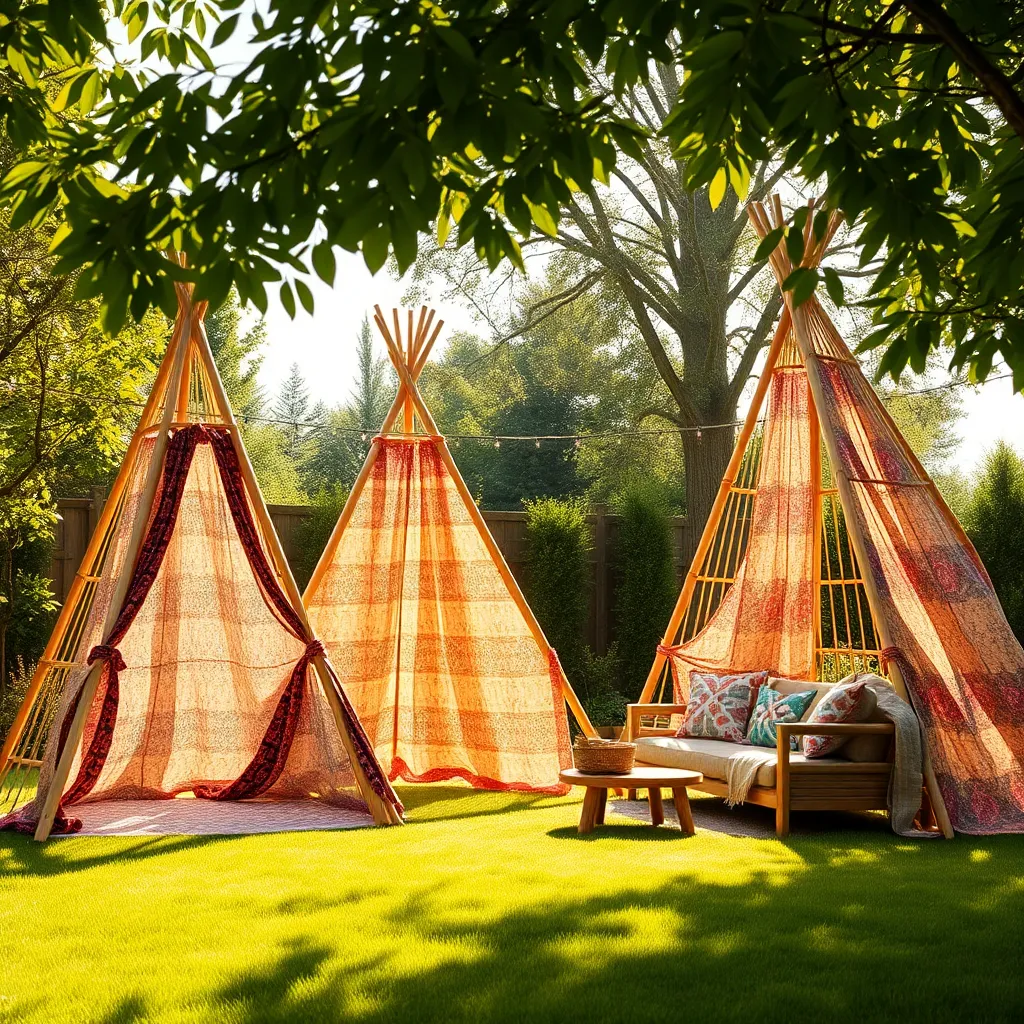
Creating a teepee using bamboo poles is an affordable and stylish way to add a unique outdoor shelter to your garden. Start by gathering at least six sturdy bamboo poles, each about 10 feet long, to form the structure’s frame. Begin the assembly by tying the tops of the poles together with strong, weather-resistant rope, ensuring they are securely fastened to withstand wind and rain. Spread the bottoms of the poles out evenly to create a stable base, forming a circular footprint that’s approximately 8 feet in diameter.
For a more personalized touch, cover your bamboo frame with outdoor fabric or weatherproof canvas. Secure the fabric by wrapping it tightly around the poles and using clips or twine to hold it in place. Beginners can opt for a simple drape effect, while more experienced DIYers might try weaving patterns or adding embellishments like fairy lights for evening ambiance. Consider adding a waterproof groundsheet inside the teepee to keep the interior dry and comfortable, making it a cozy retreat for relaxation or play.
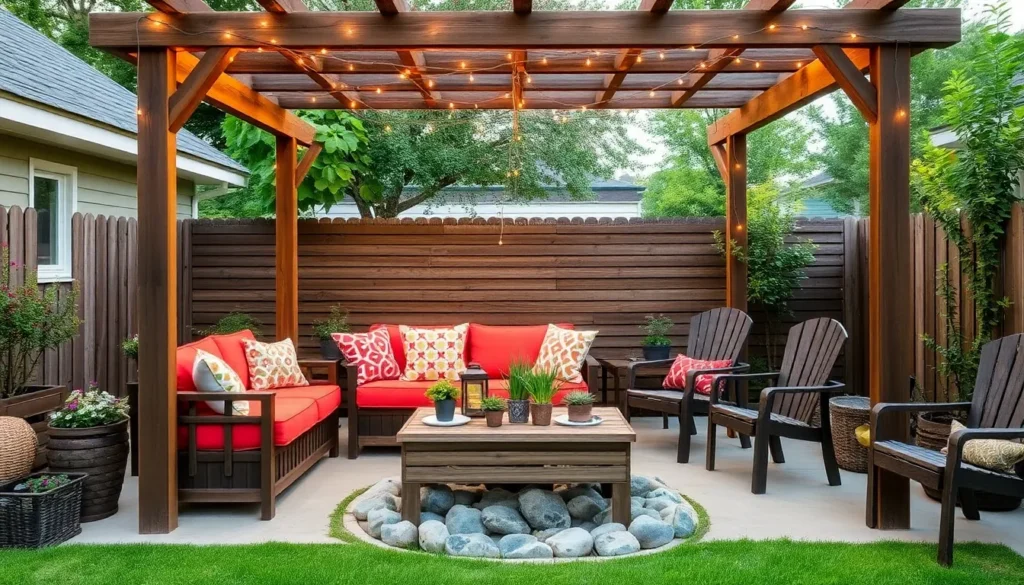
Install Rope Lighting for Ambiance
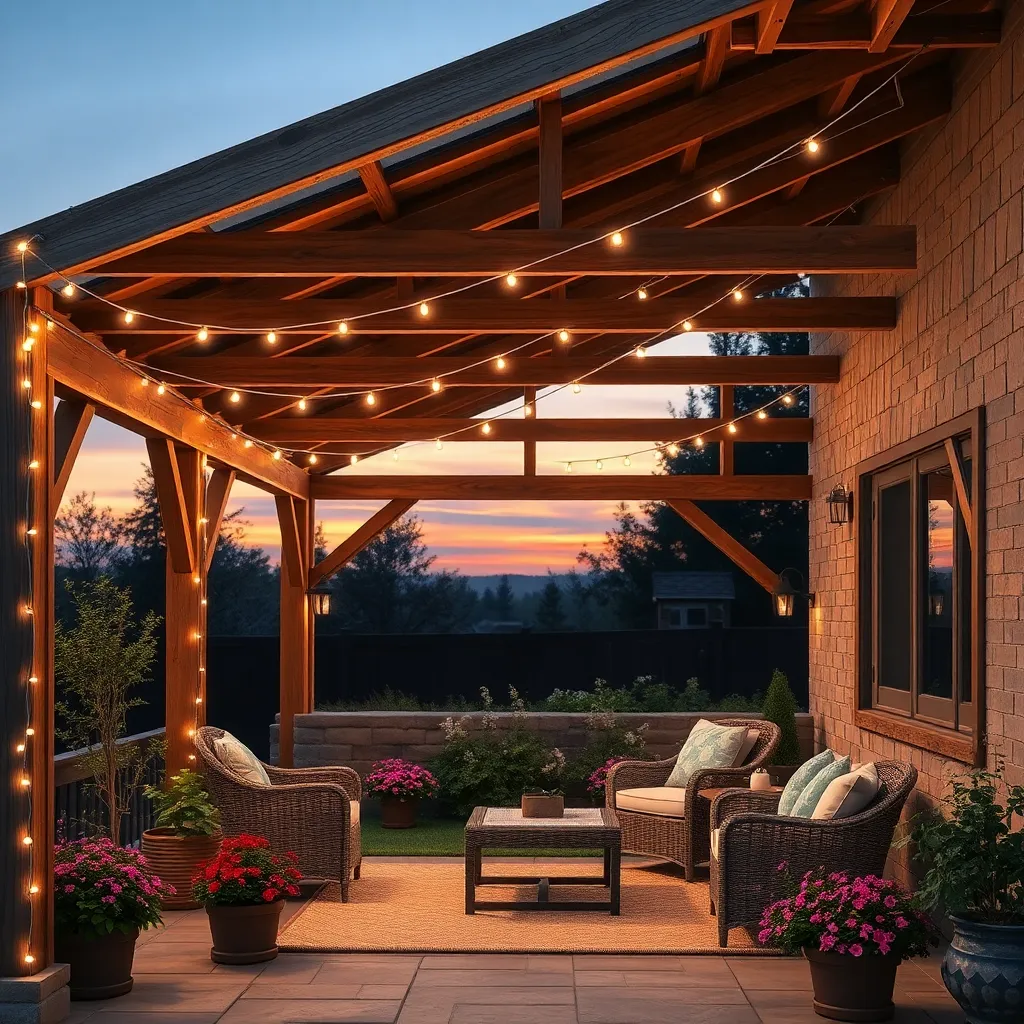
Transform your outdoor shelter into a cozy haven by installing rope lighting, which is both budget-friendly and easy to set up. Start by choosing weather-resistant LED rope lights, as these are energy-efficient and durable. To install, simply weave the lights along the roofline or wrap them around support beams to create a soft, inviting glow. For beginners, a basic setup involves using plastic clips or zip ties to secure the lights in place, ensuring they’re evenly spaced for a seamless look.
For those looking to elevate their design, consider creating patterns or highlighting specific architectural features of your shelter with the lights. Advanced users might incorporate a dimmer switch to adjust the brightness and set the perfect mood for any occasion. When selecting your rope lights, aim for lengths that match your shelter’s dimensions, typically available in 16-foot or 32-foot rolls, to avoid excess or shortage. With these simple enhancements, your outdoor space will become the perfect setting for evening gatherings or quiet nights under the stars.
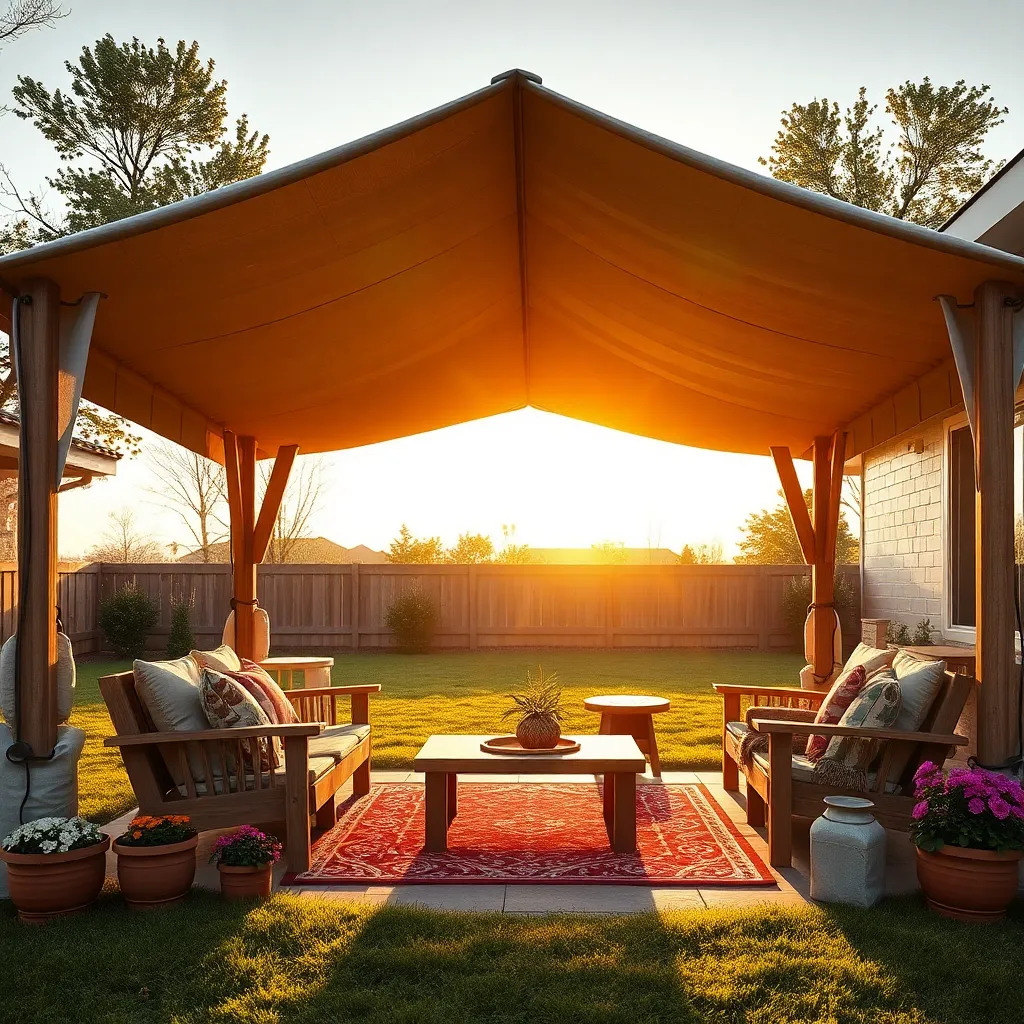
Construct a Canopy with Drop Cloths
Creating a canopy using drop cloths is an affordable way to add style and shade to your outdoor space. Start by selecting durable, heavy-duty cotton or canvas drop cloths, which you can find at most hardware stores. Choose drop cloths that are large enough to cover the desired area, typically 9×12 feet or larger. Secure the cloths to sturdy structures like trees, poles, or existing pergolas using heavy-duty grommets and hooks. For a more permanent setup, consider using weather-resistant rope or cable to hang the drop cloths, ensuring they remain taut and don’t sag with the wind or rain.
Enhance your drop cloth canopy by adding personal touches to match your outdoor décor. Consider dyeing the drop cloths in colors that complement your garden or patio furniture, or stencil patterns onto the fabric for a custom look. To keep the canopy stable, use concrete-filled planters to anchor the poles if no natural supports are available. Advanced DIYers might install a pulley system to adjust the height and angle of the canopy for optimal sun protection and airflow. This simple yet effective setup can transform your yard into a cozy, inviting retreat perfect for any gathering.
Employ Old Doors as Windbreaks
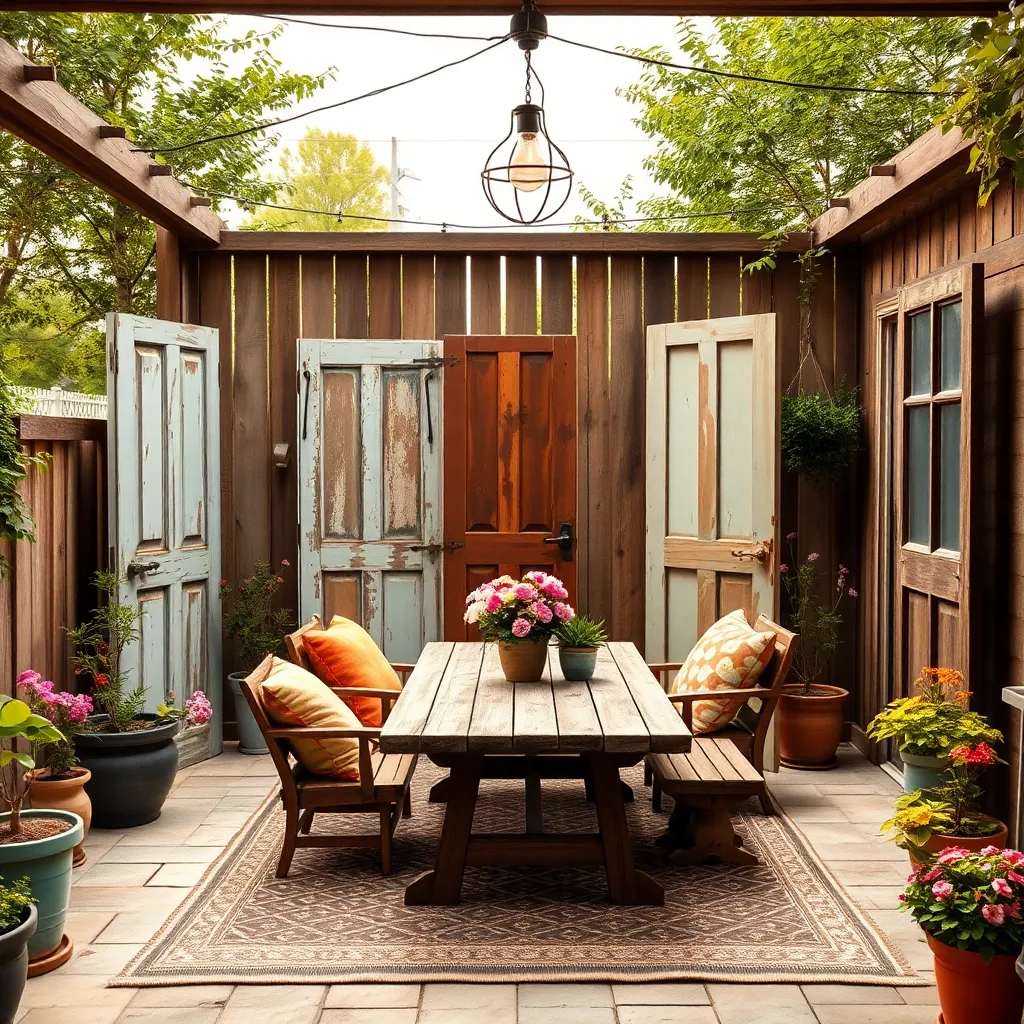
Repurposing old doors as windbreaks is a creative and cost-effective way to shield your outdoor space from the elements. Start by selecting sturdy, solid doors from salvage yards or flea markets, ensuring they’re weather-resistant. Arrange the doors in a zigzag pattern, which not only adds structural stability but also enhances the aesthetic appeal of your garden. Secure the doors using metal brackets or stakes, and paint them in weatherproof colors for added durability and charm.
For those looking to add a touch of creativity, consider using different door styles to create a rustic patchwork effect. Incorporate glass-paneled doors to allow light while maintaining protection from the wind. Advanced gardeners can further enhance their windbreak by mounting planters on the doors, creating a vertical garden that adds both greenery and privacy. Remember to regularly inspect and maintain your door windbreaks to ensure they remain secure and effective throughout the seasons.
Craft A-Frame Tents from Canvas
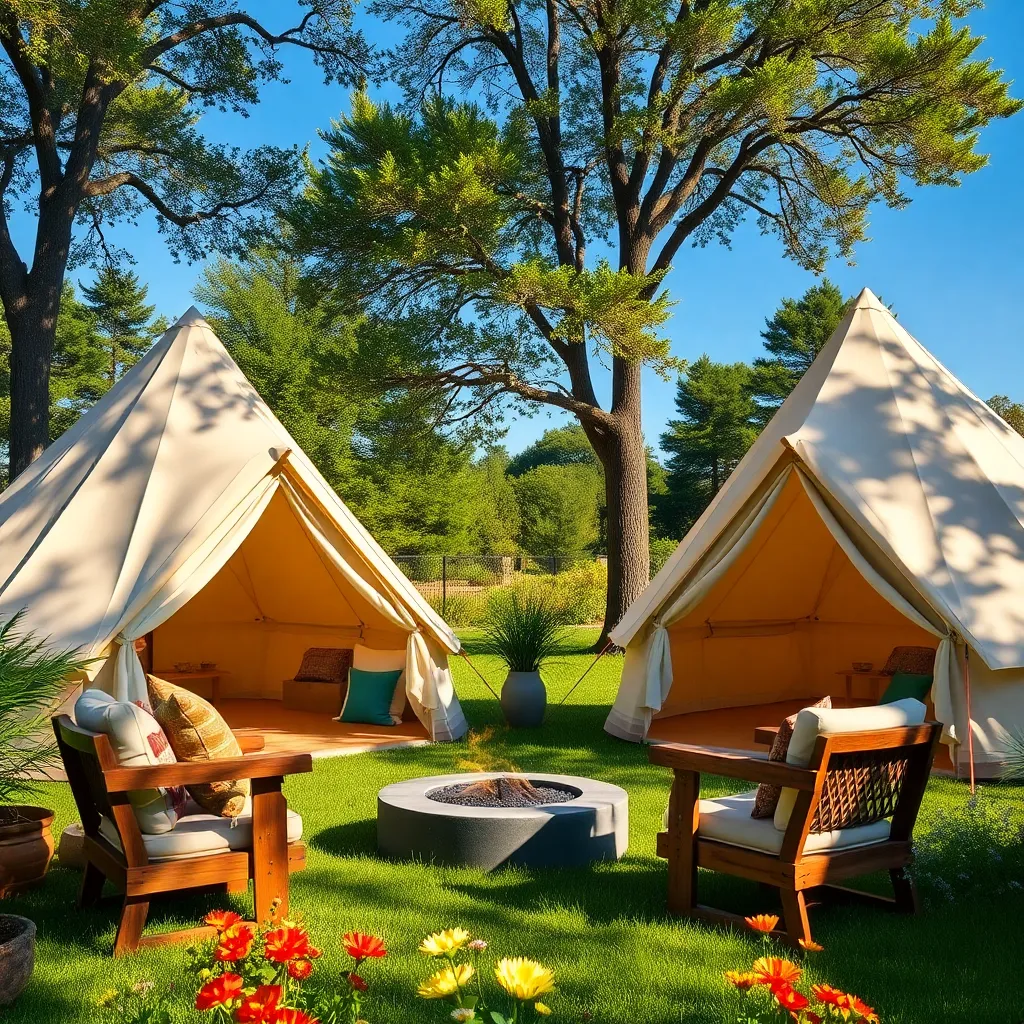
Transforming canvas into an A-frame tent is both economical and rewarding. Start with a sturdy canvas, which is durable and provides excellent weather resistance. For beginners, use a simple frame made from treated wooden poles or PVC pipes. Cut the canvas to a width that matches the distance between your poles and a length that allows for comfortable headroom. For a more advanced build, consider adding reinforced grommets along the edges for secure tie-downs, ensuring the tent withstands strong winds.
Consider the setup location before constructing your A-frame tent. Choose a spot with level ground to ensure stability, and position the tent so the entrance faces away from prevailing winds. For additional comfort, add a ground tarp underneath to protect against moisture. To personalize your tent, paint or stencil designs onto the canvas, creating a unique and inviting outdoor space. Whether for a child’s play area or a serene retreat, a canvas A-frame tent is a versatile and charming addition to any garden or backyard.
Anchor Shelters with Sandbags
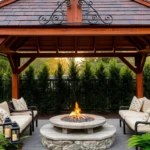
When setting up outdoor shelters, such as gazebos or pop-up canopies, anchoring them securely is crucial to prevent them from being blown away by strong winds. Sandbags are an affordable and effective solution for this purpose. Simply fill heavy-duty sandbags with sand or gravel, ensuring each bag weighs at least 25 pounds for optimal stability. Place these bags at each corner of your shelter, attaching them to the frame using sturdy rope or bungee cords. This technique is not only practical but also allows for easy repositioning or removal of the shelter when needed.
For those looking to add a touch of creativity to their setup, consider camouflaging your sandbags by covering them with decorative fabric that complements your outdoor theme. Advanced gardeners can even grow climbing plants around the shelter, using the sandbags as a base for trellises, adding both beauty and extra weight. If you’re dealing with uneven ground, stack additional sandbags to level the area and provide a more stable foundation. By using these techniques, you can ensure your outdoor shelter remains secure and stylish throughout the seasons.
Conclusion: Creating Beautiful Outdoor Spaces
In exploring the 10 budget-friendly outdoor shelter ideas, we’ve unearthed a treasure trove of possibilities for enhancing your outdoor space while nurturing your relationships. From the cozy embrace of a DIY pergola to the creative ingenuity of repurposed pallets, these ideas offer a canvas for togetherness and shared memories. Picture the joy of a sunlit picnic under a sail canopy or the intimate chats beneath a simple tarp tent, each shelter a testament to the power of connection without breaking the bank.
Now, take the first step toward transforming your outdoor area by choosing one idea that resonates with you. Whether it’s starting with a small project like a fabric gazebo or collaborating on a full-fledged pergola, action paves the way to deeper bonds and shared joy.
Remember, these ideas are not just about structures but about building the foundation for lasting relationships. Bookmark this article to revisit these ideas as you nurture your outdoor haven and relationships. As you embark on this journey, envision a future where your outdoor space becomes a sanctuary of love, laughter, and shared dreams. Your relationship success story awaits—start building it today!